

AR3 in Florida
Hi everyone, I am starting an AR3 build in Aluminum. I purchased from Chris the hardware kit and the 3D models. I was able to import them in F360 and have spent the last week CAMing. I am planning to machine most parts on my PCNC1100 - wish me luck
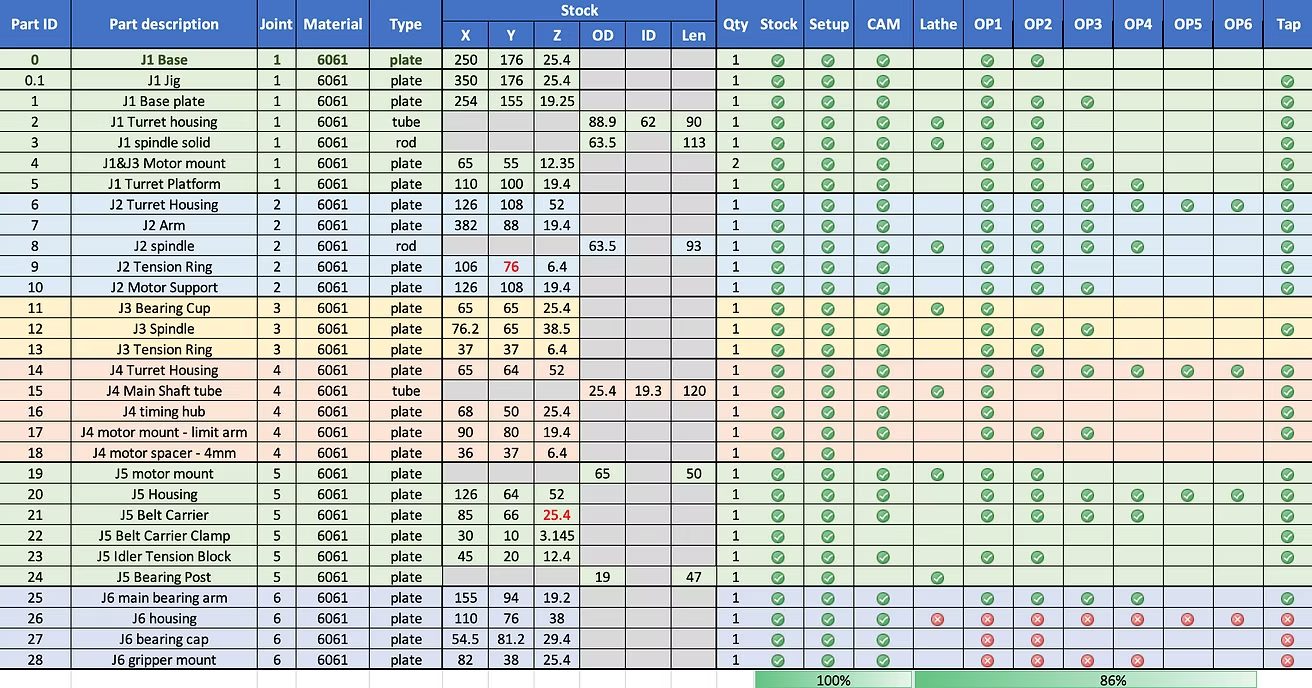
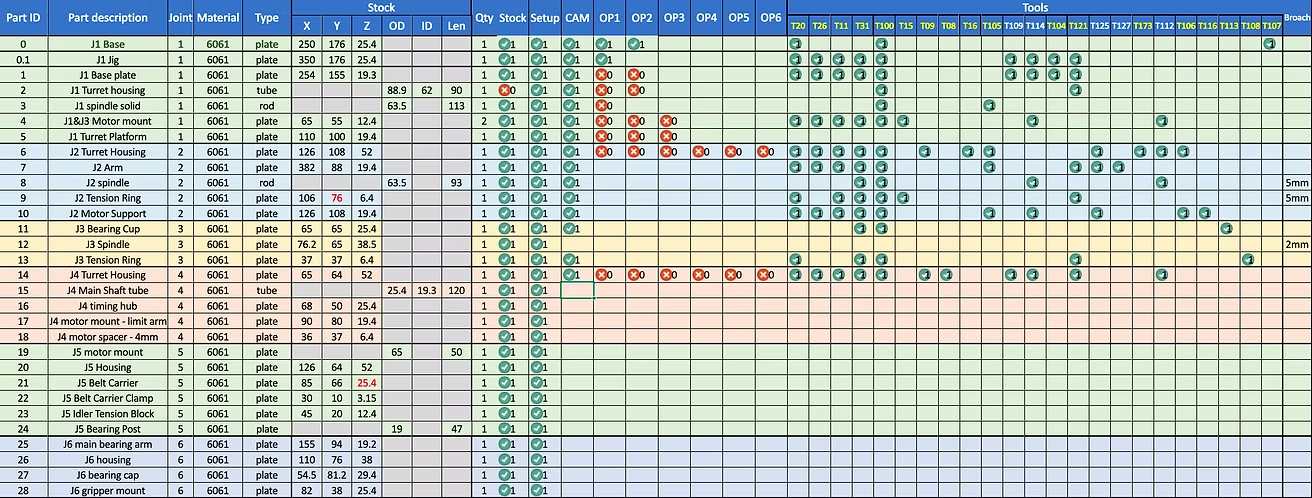
Here are all the stock parts
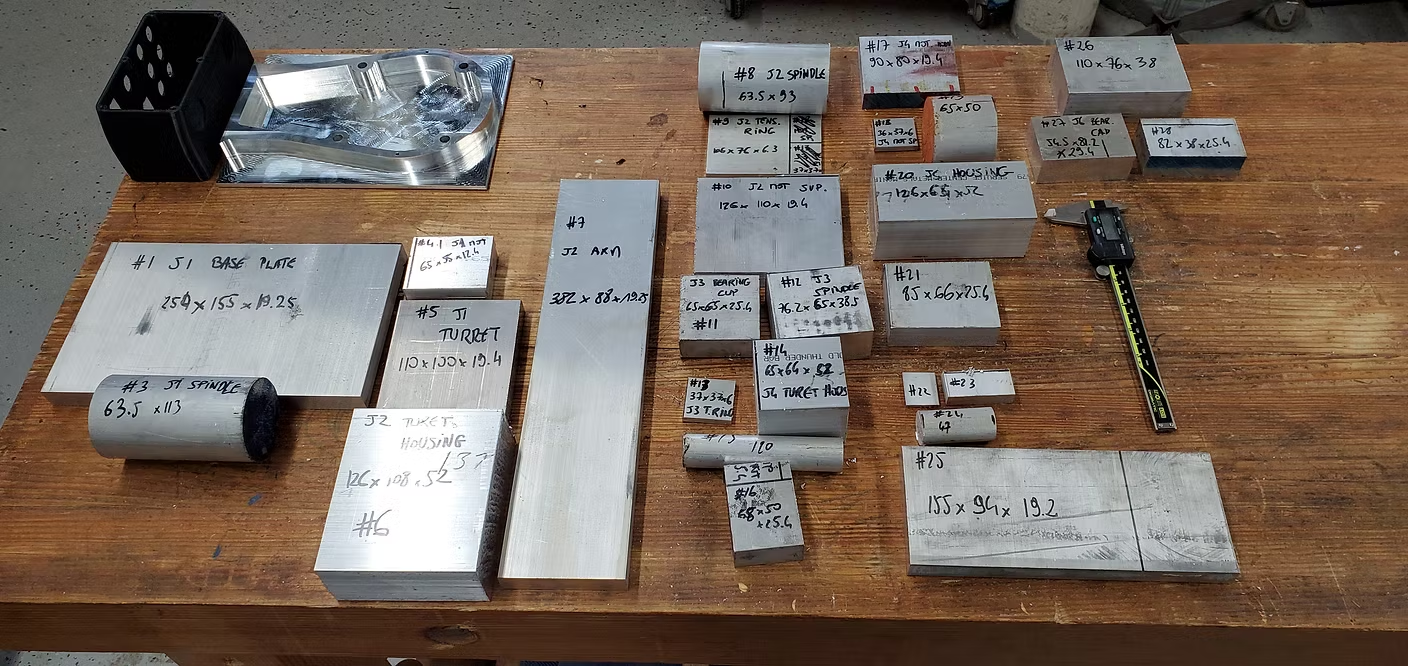
I just received today the hardware kit, the motors and drivers kit. I just started sorting thru all the parts. This is a very exciting project with a lot of learning in sight. Many thanks to Chris for sharing his work and detailed instructions.
Hey man,
I had a question I was hoping you could help me with. I'm a complete noob when it comes to CAM but I have access to a CNC machine (and know someone who can operate it). I was wondering what files would I need to machine the parts and would a CNC machine be sufficient (no lathe)? Really appreciate the help!
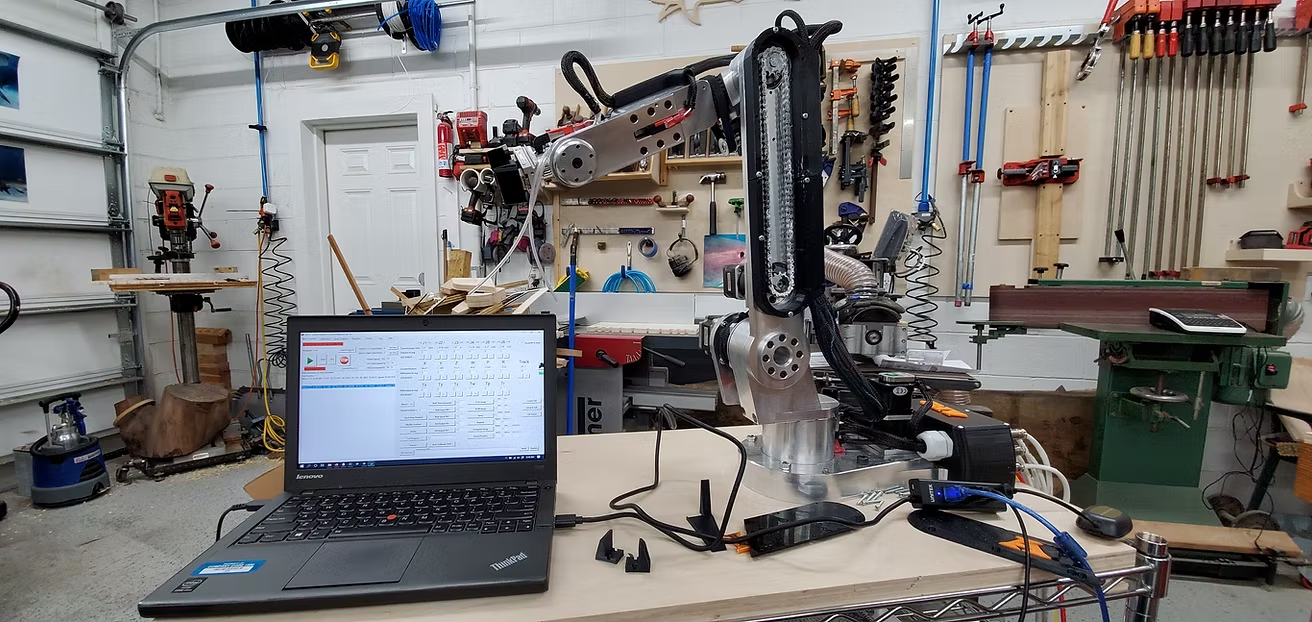
I was able to complete the wiring, the programing and the first tests, there are good and bad news:
-
J1 skips, I have about +/- 10 degrees of joint movement before the motor skips. I need the check the set screws and the pulley tension
-
J2 motion is good
-
J3 only goes in one direction (-) or down - can't manage to have it go up. I also have a lot of slop in J3 when I move the joint manually - I'm going to try to tighten the chain a bit.
-
J5 works fine but I think my alignment is off
-
J6 works good
-
I have tried to home the joints that move correctly individually but I get an error every time saying the joint is out of calibration. I guess the encoder response doesn't match the motor target position.
-
I have tried the limit switches manually but they do not seem to response. Is there a way to troubleshoot the inputs (Limit switch and encoder data ?)
Any help or suggestion welcomed
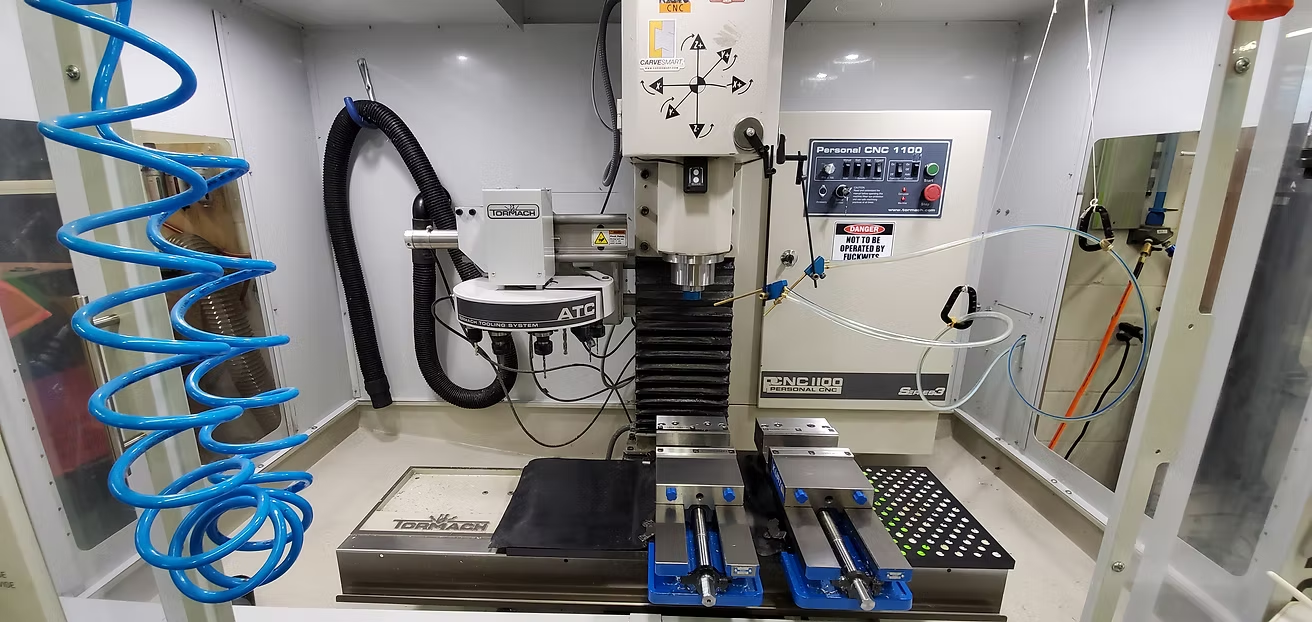
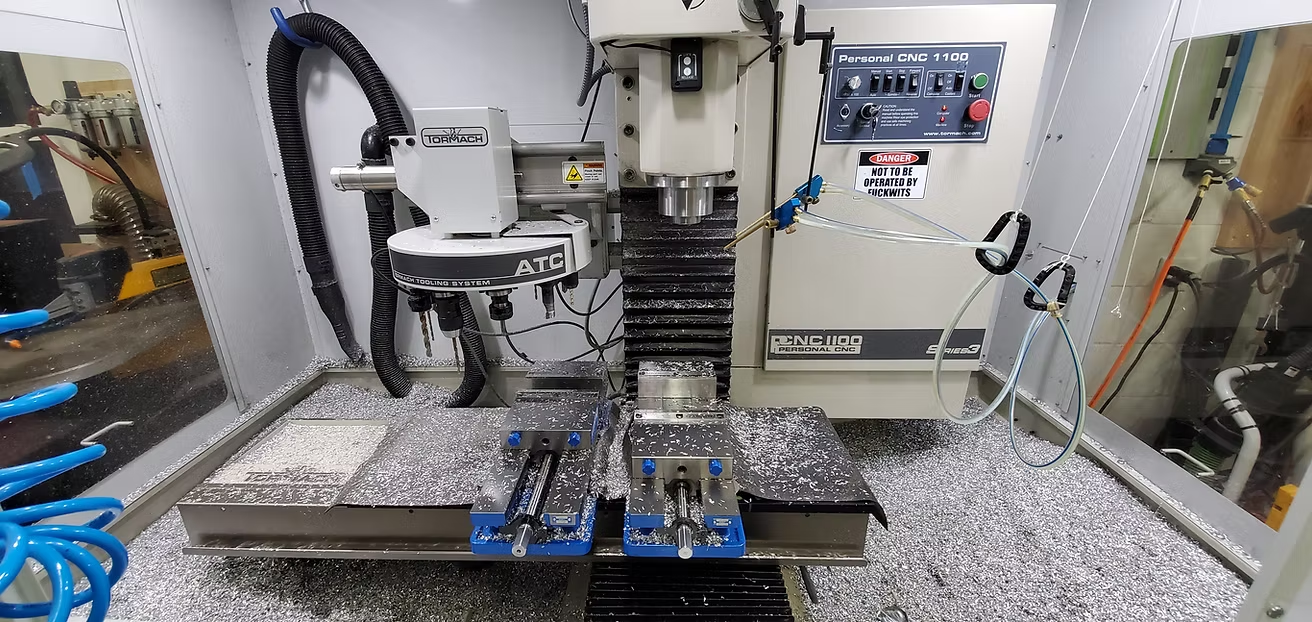
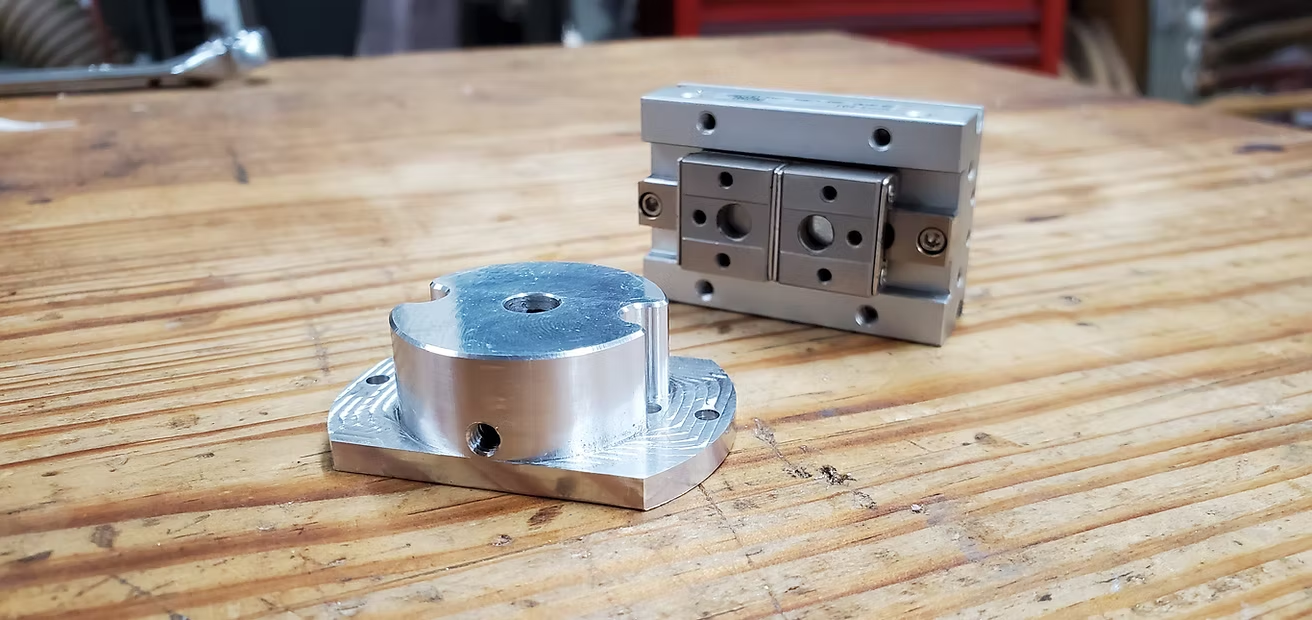
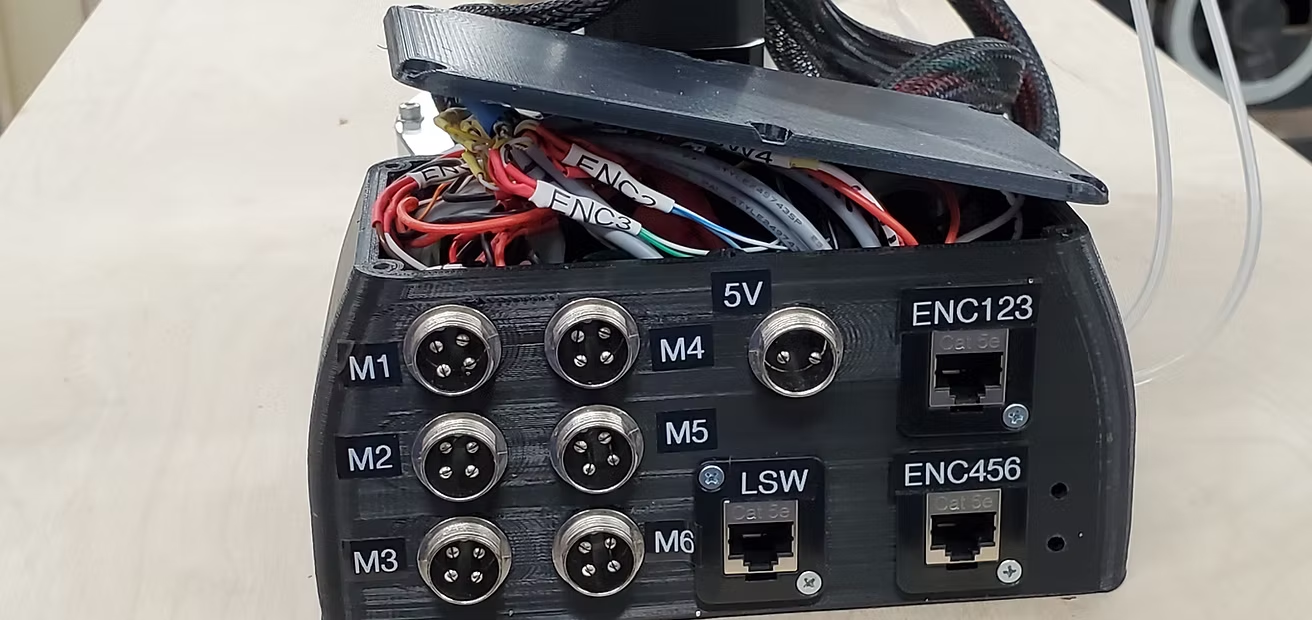
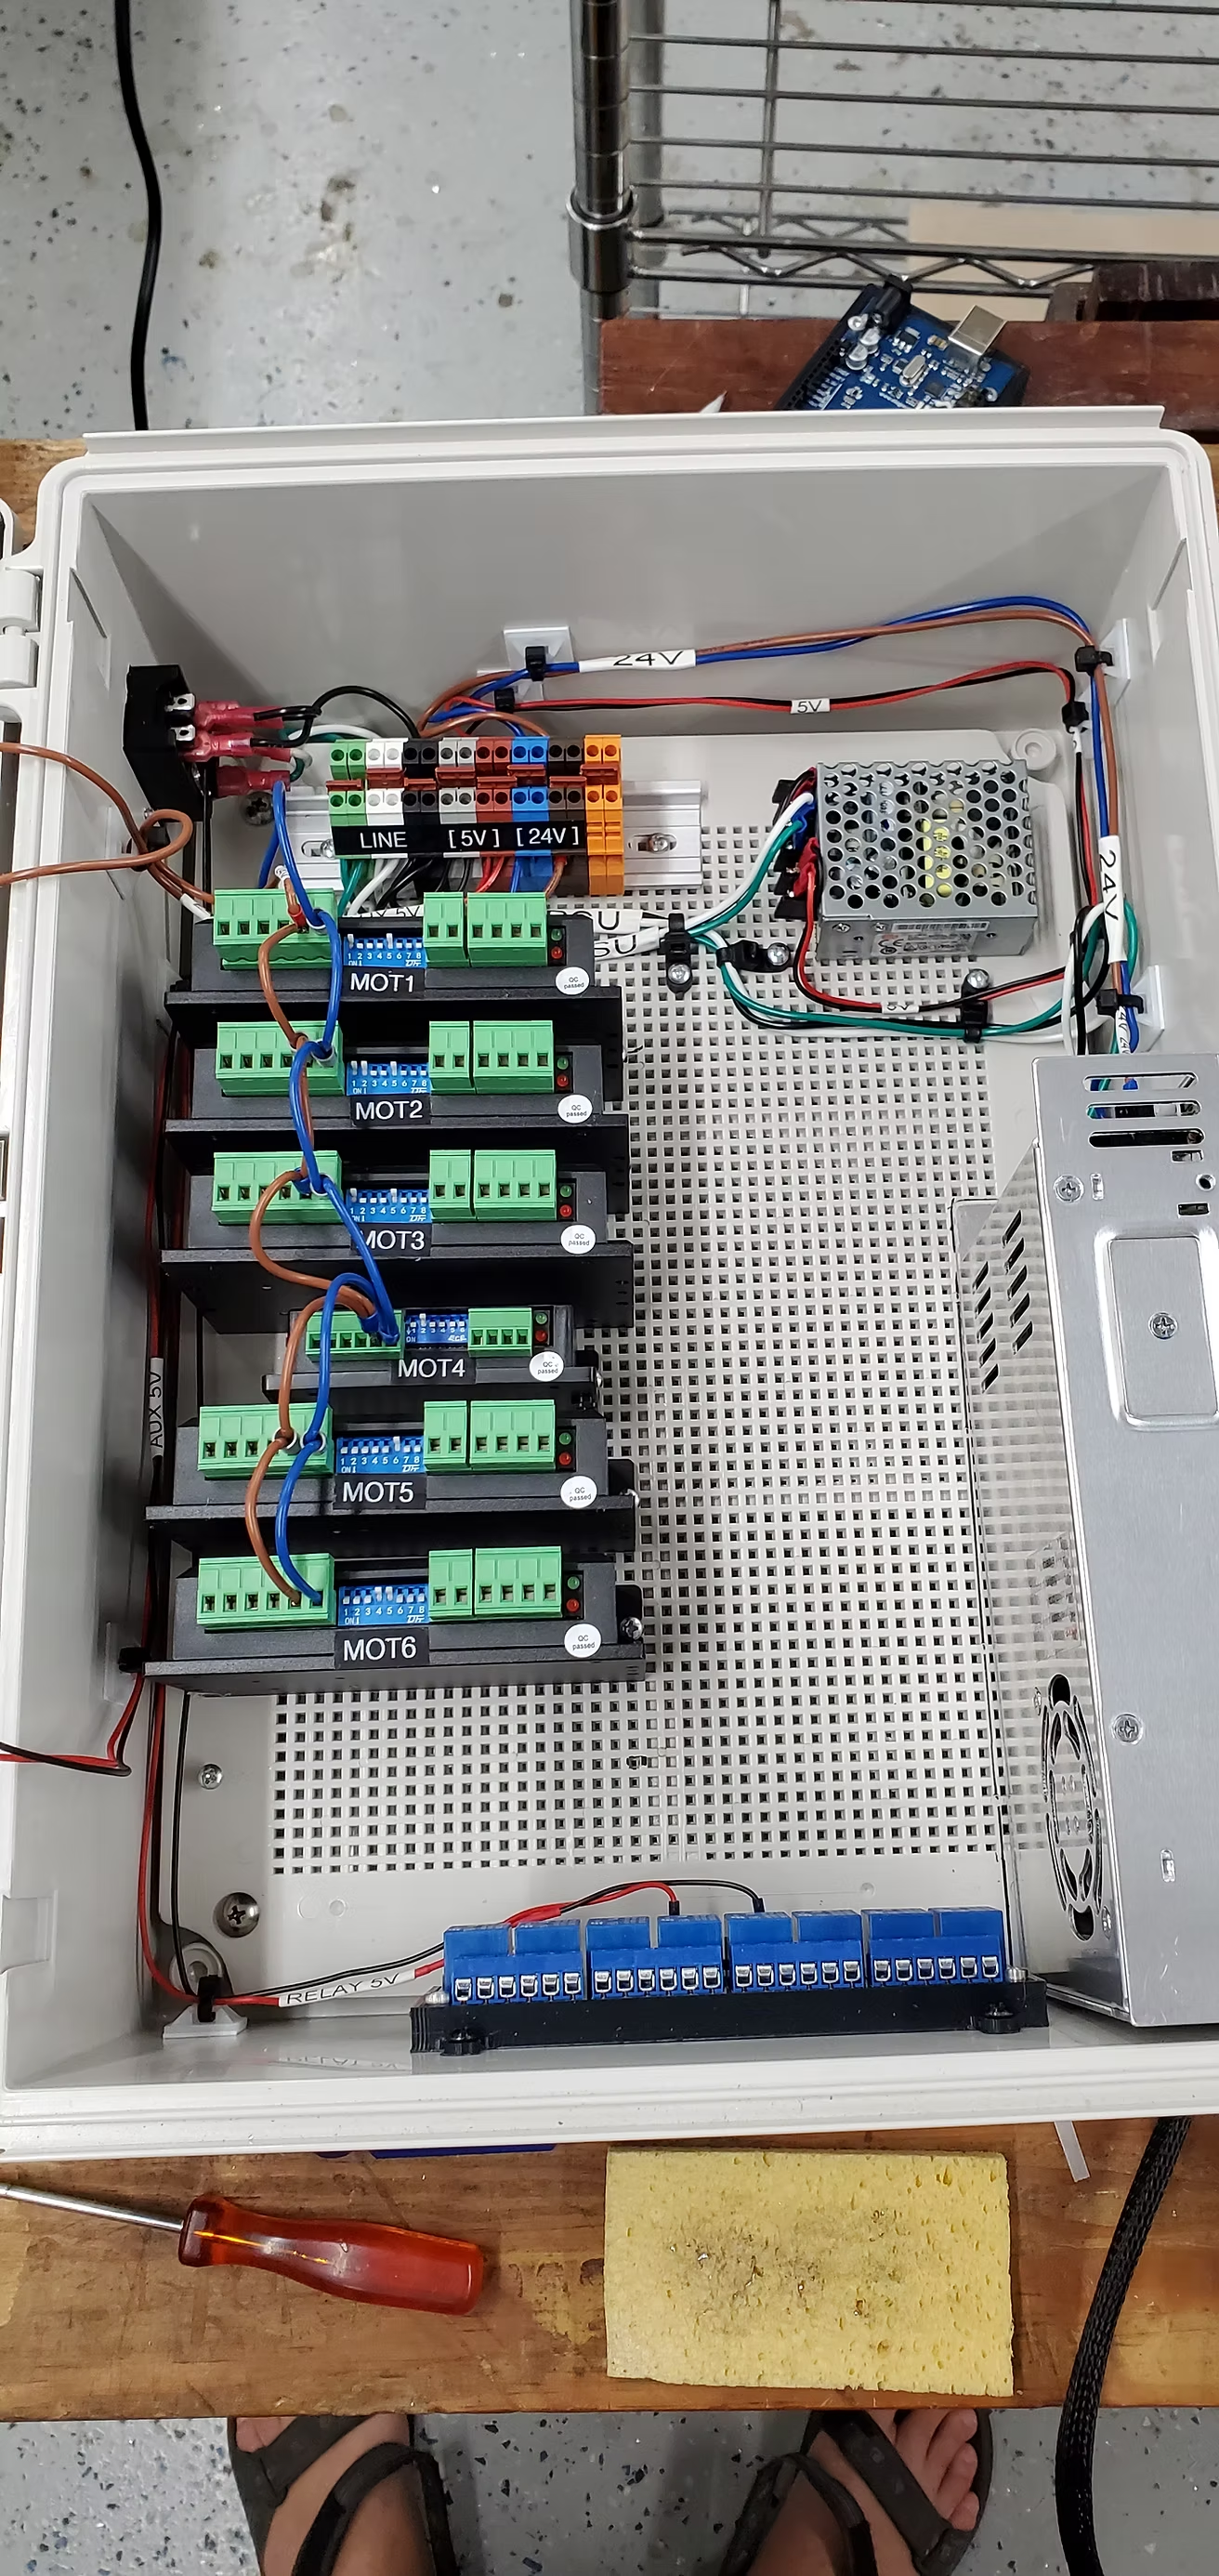
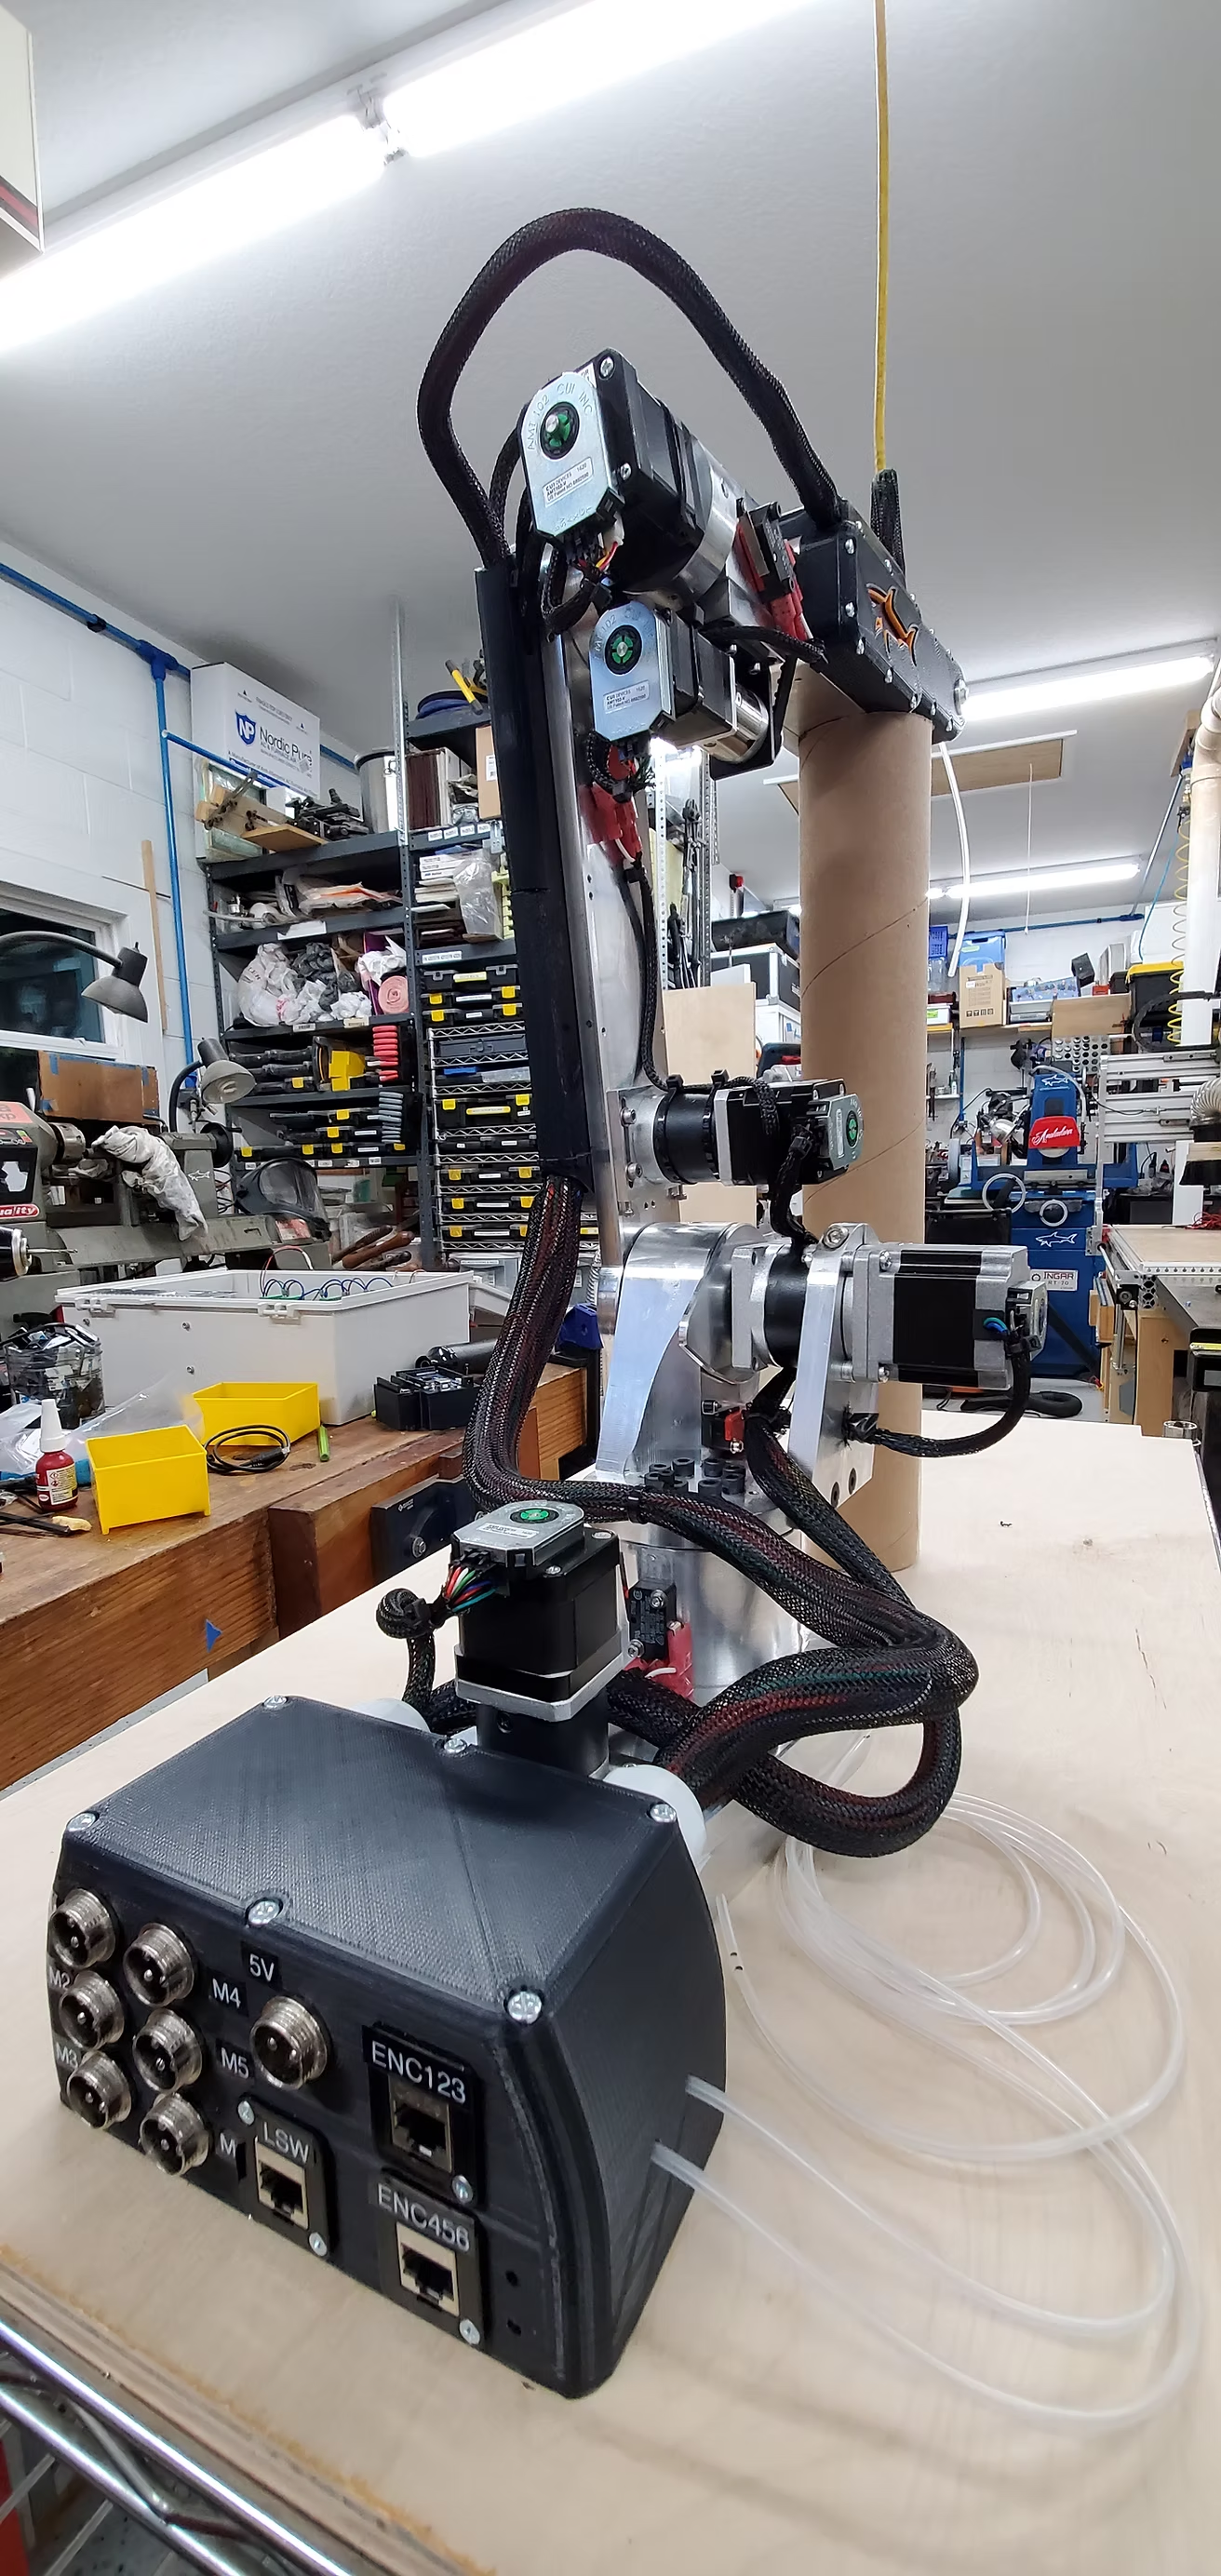
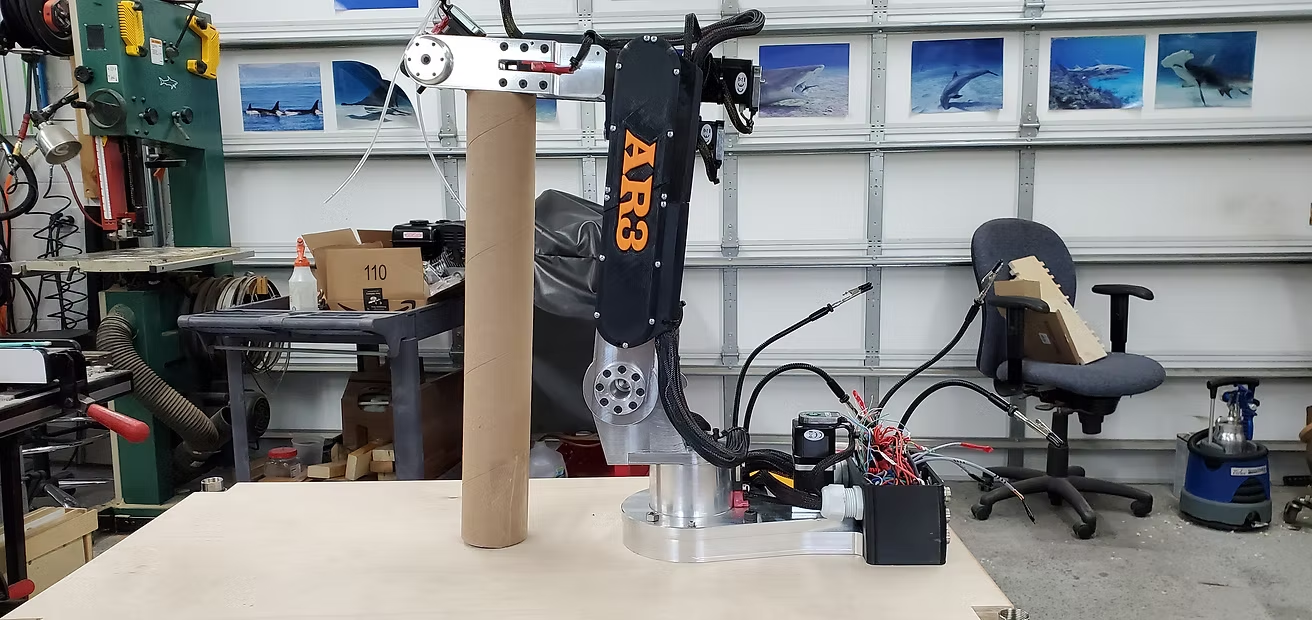
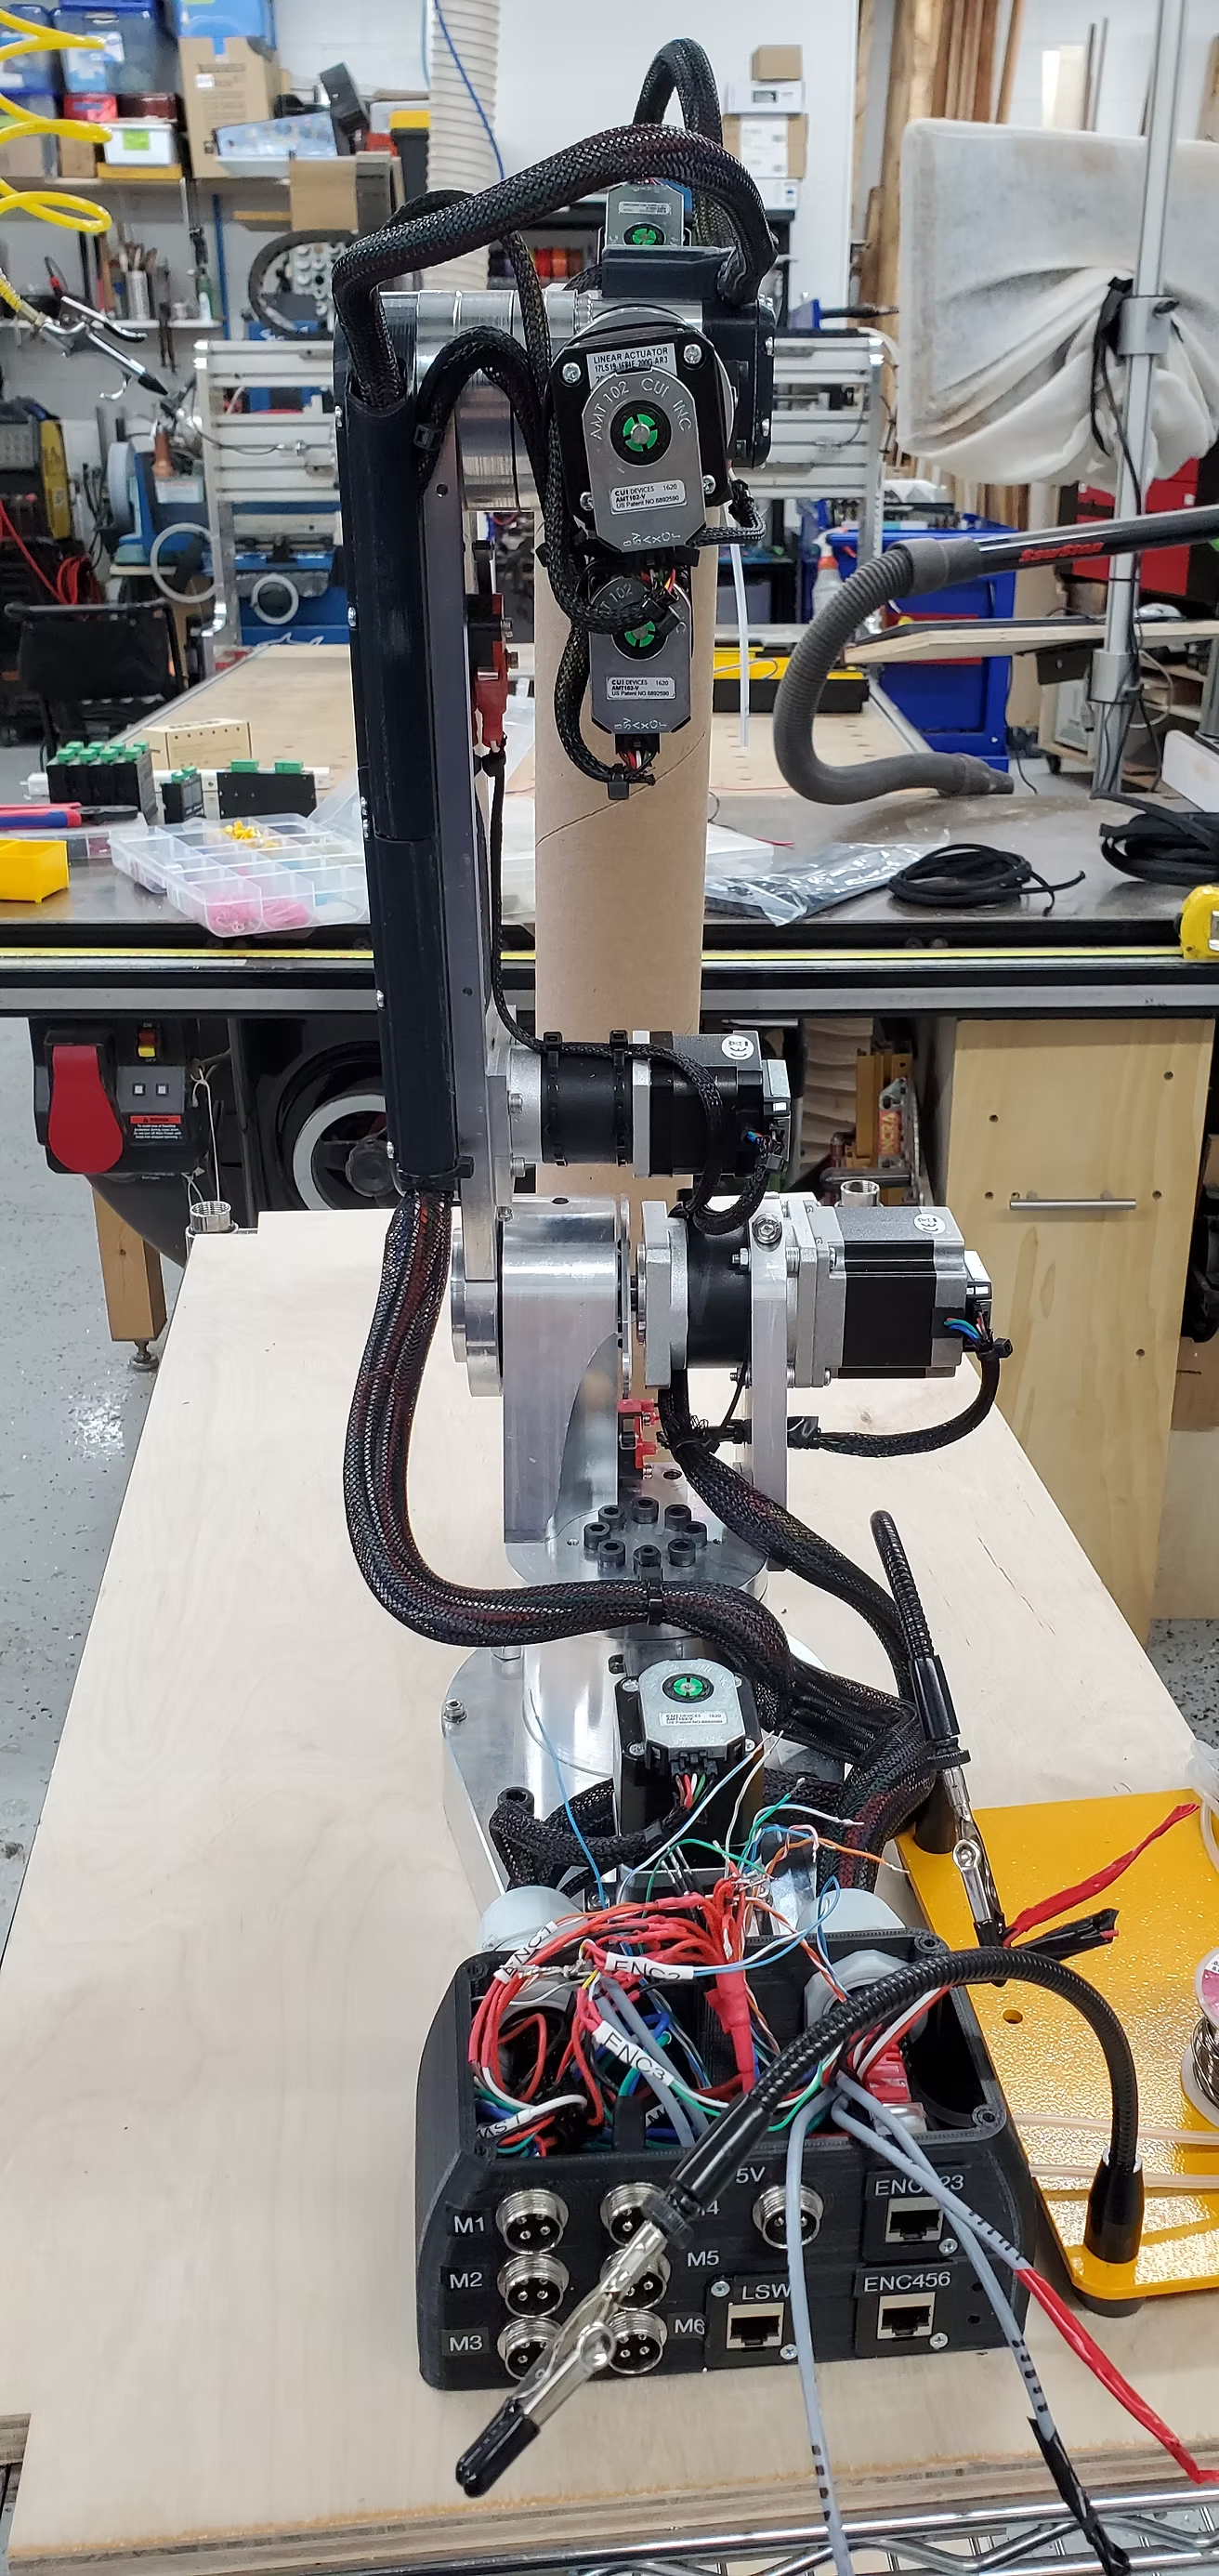
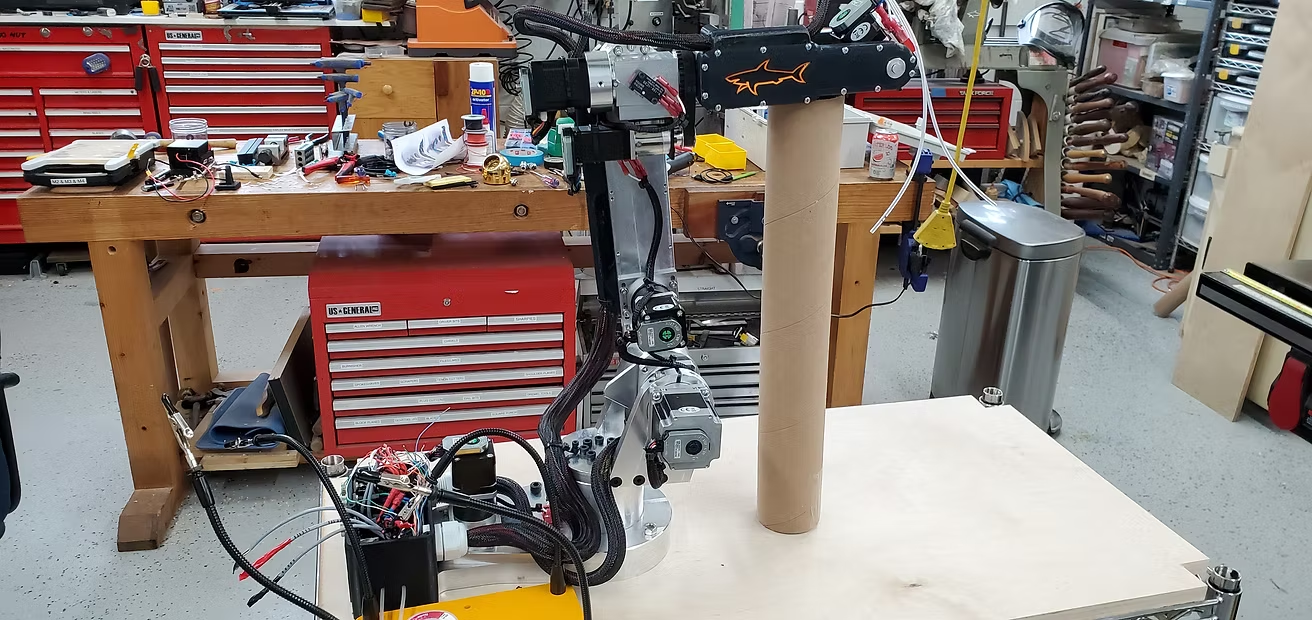
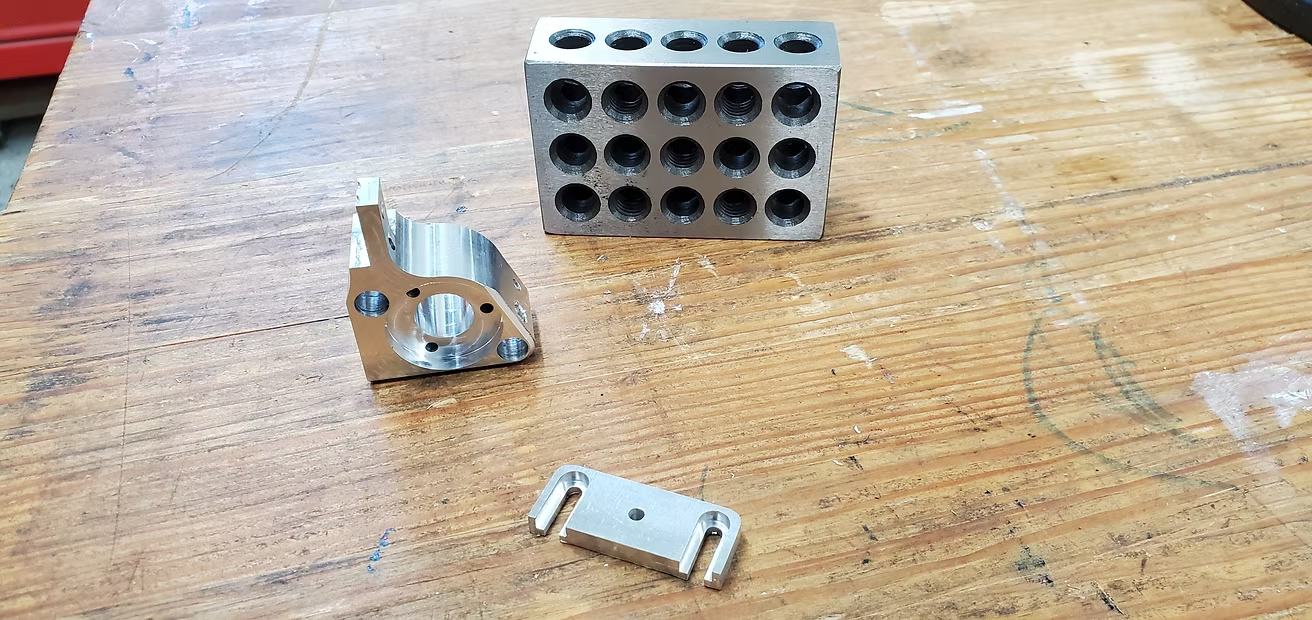
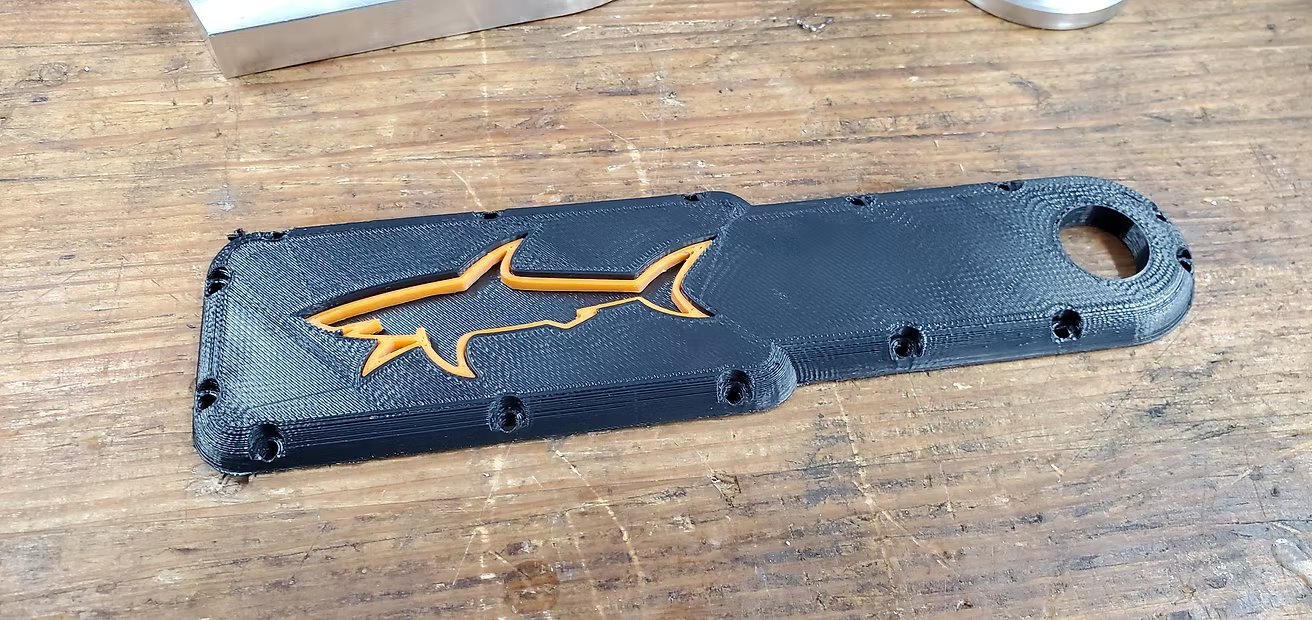
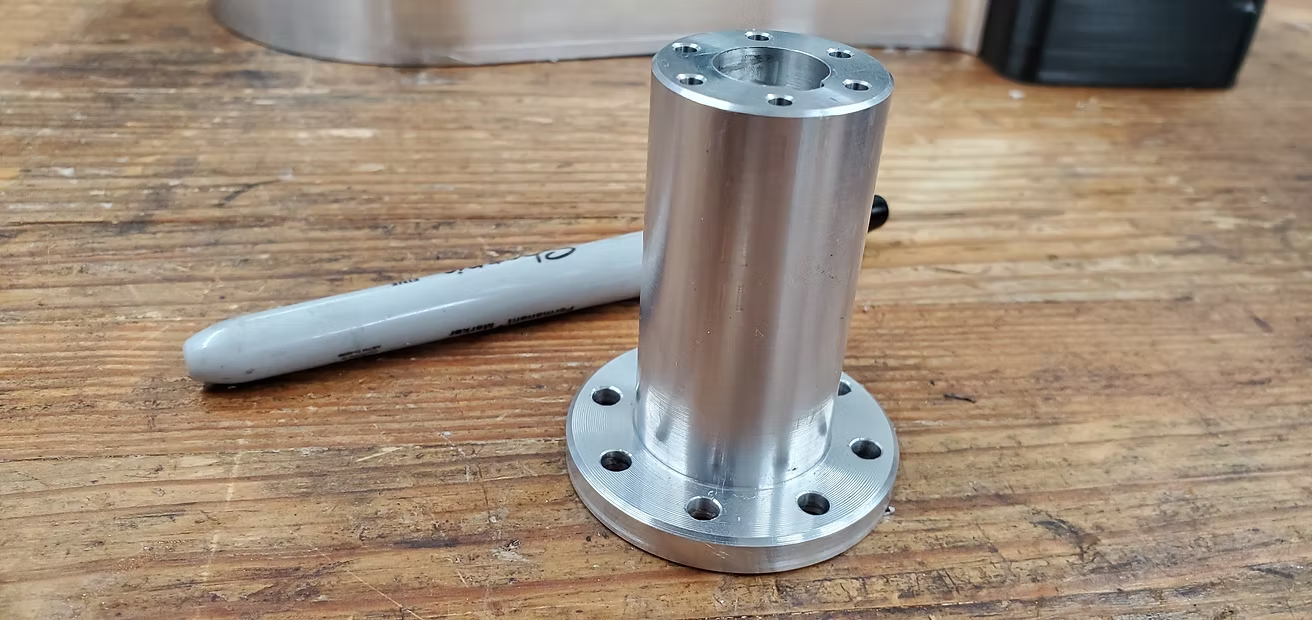
Just for fun - here are the parts that didn't made the cut....
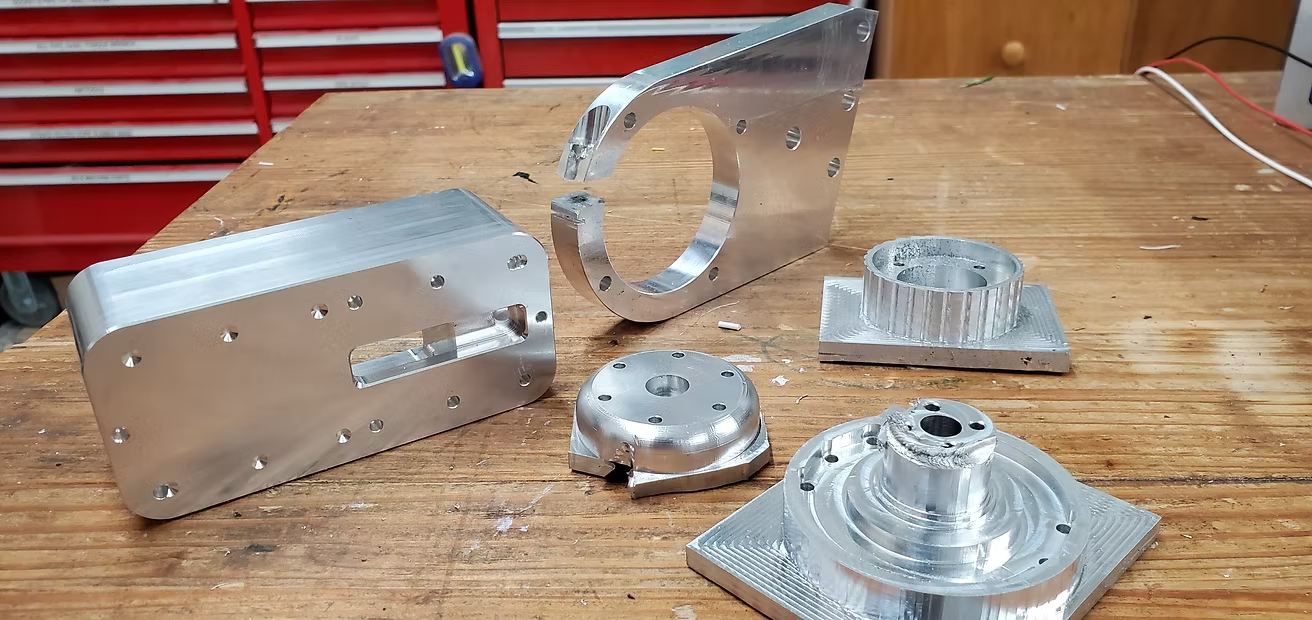
From left right:
-
check the orientation of your part when you flip it for OP2...
-
Drill the big holes first on a curves surface
-
check that your chuck is tight when facing a part or it will go flying
-
Sometimes you just need a 4th axis !
-
Remember to check the clearance of your tool holder/length of your cutter in CAM....
But overall 5 bad parts and 28 good ones in just 21 days - not too shabby
And here are 2 more parts :
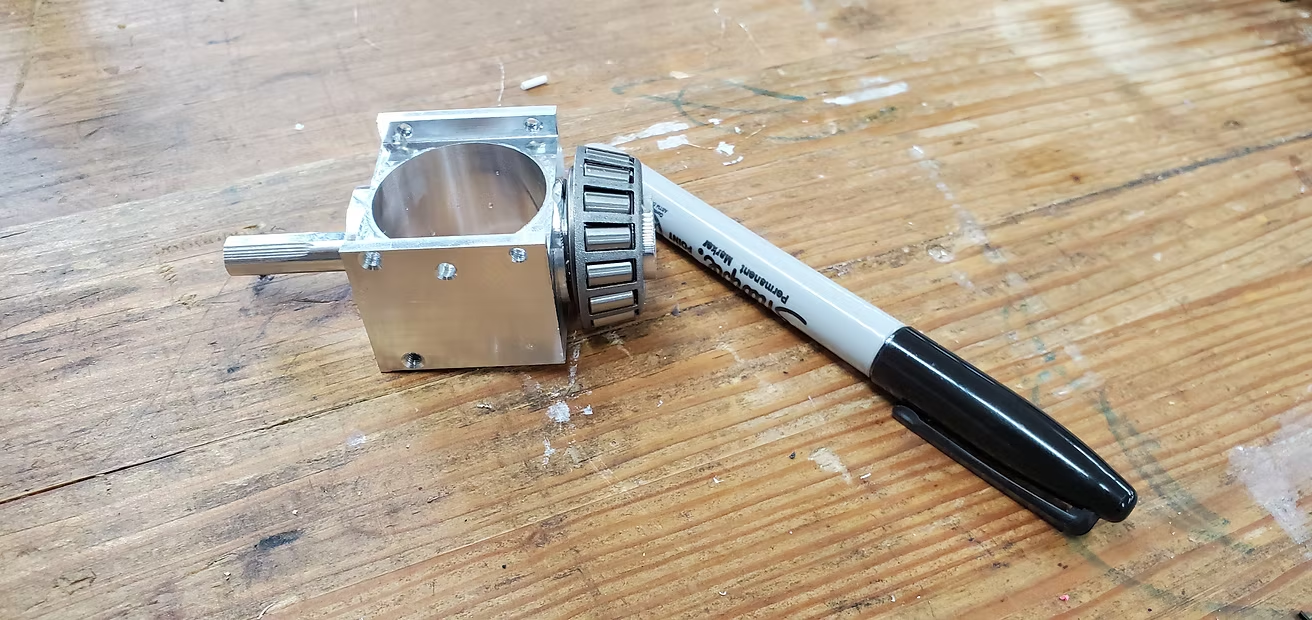
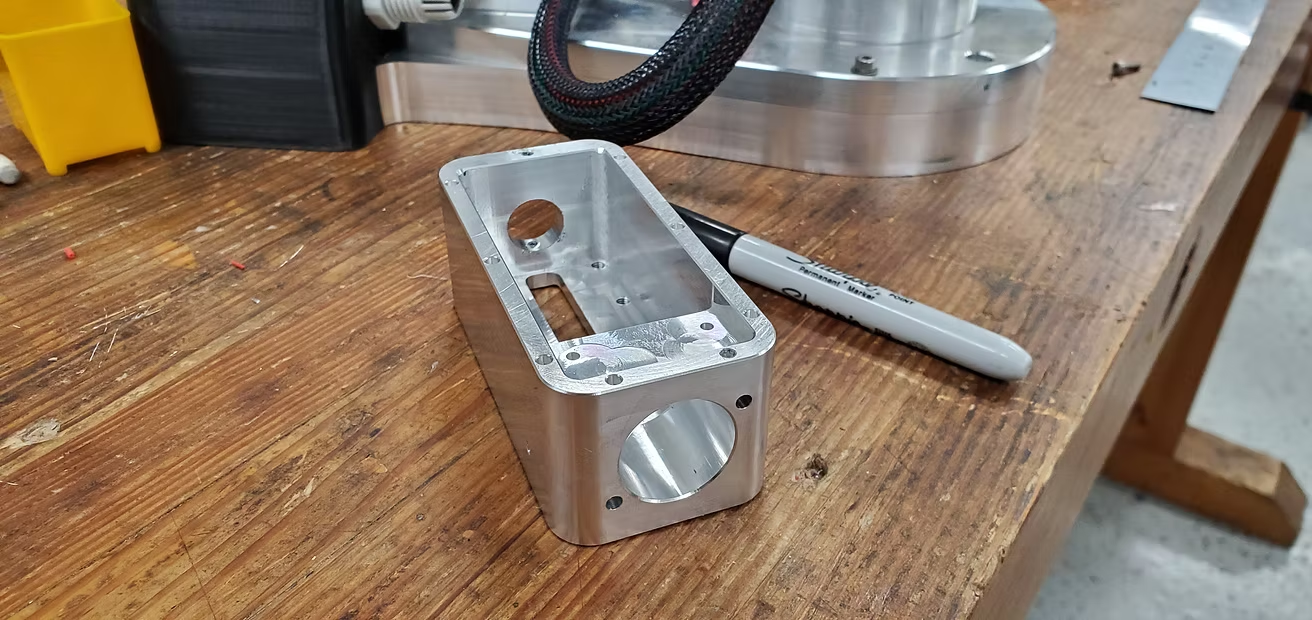
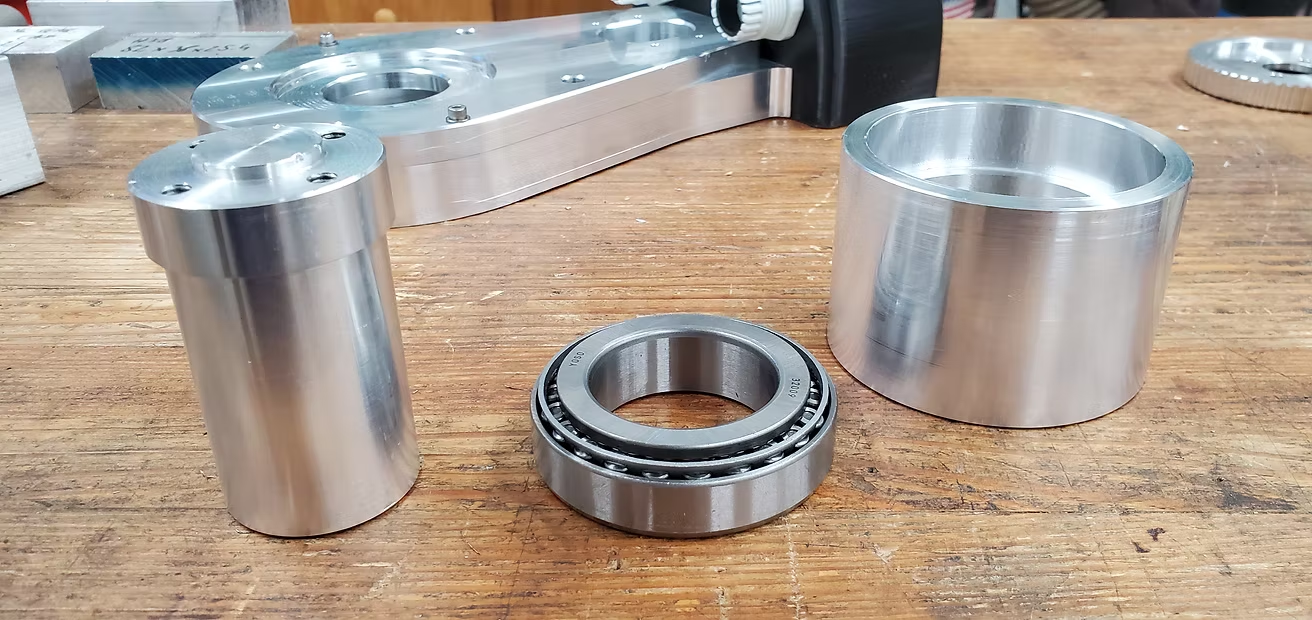
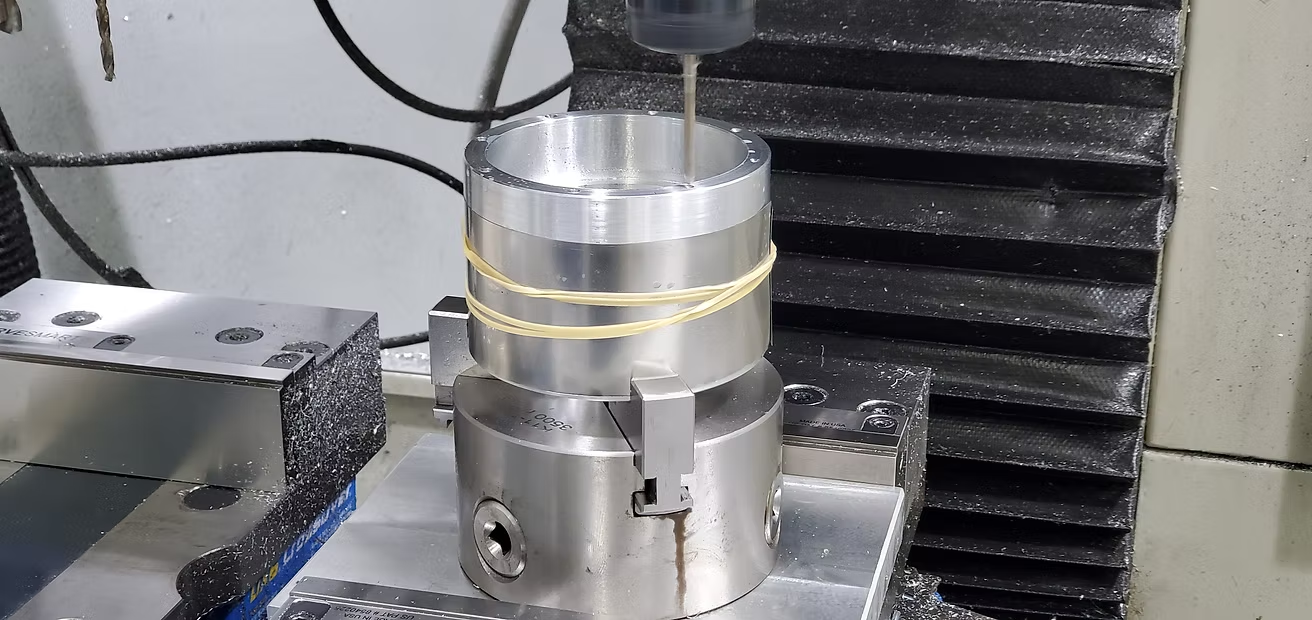
J6 housing - I machined it on the CNC exclusively (6 ops) and no lathe - a bit unconventional but it sort of worked
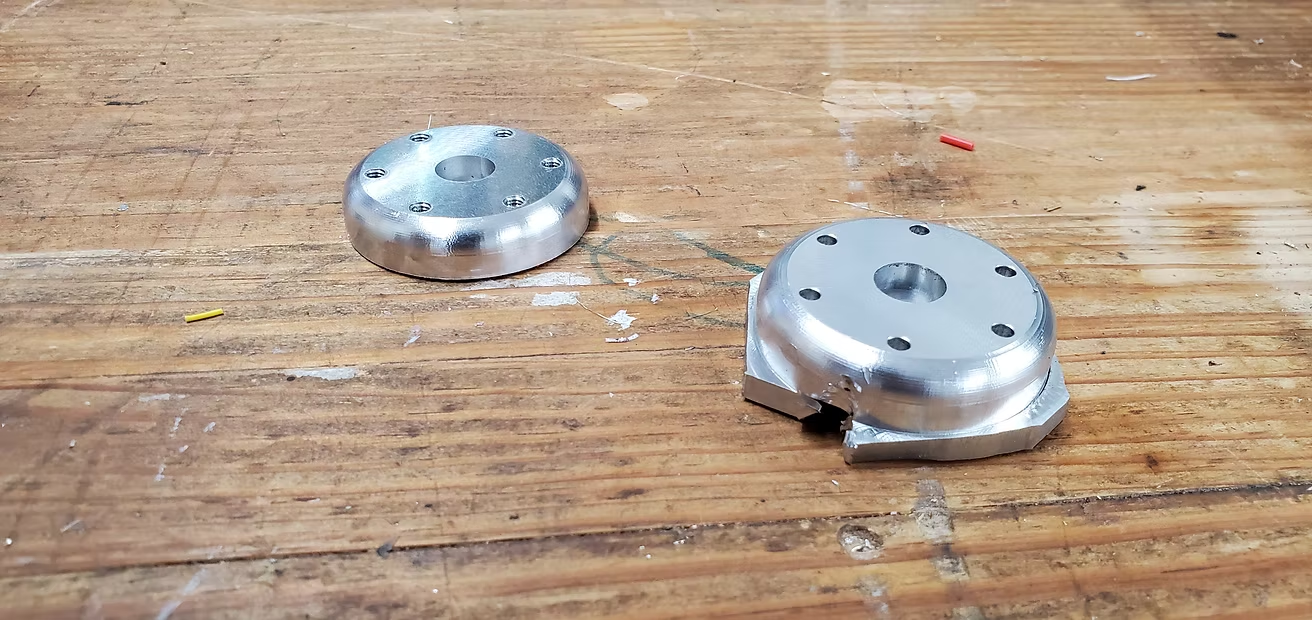
And finally J6 bearing cup - another part that required a second take....remember to tighten your vise/chuck folks...
I plan to machine the gripper mount later as I haven't received he gripper yet and I want to make sure it will fit.
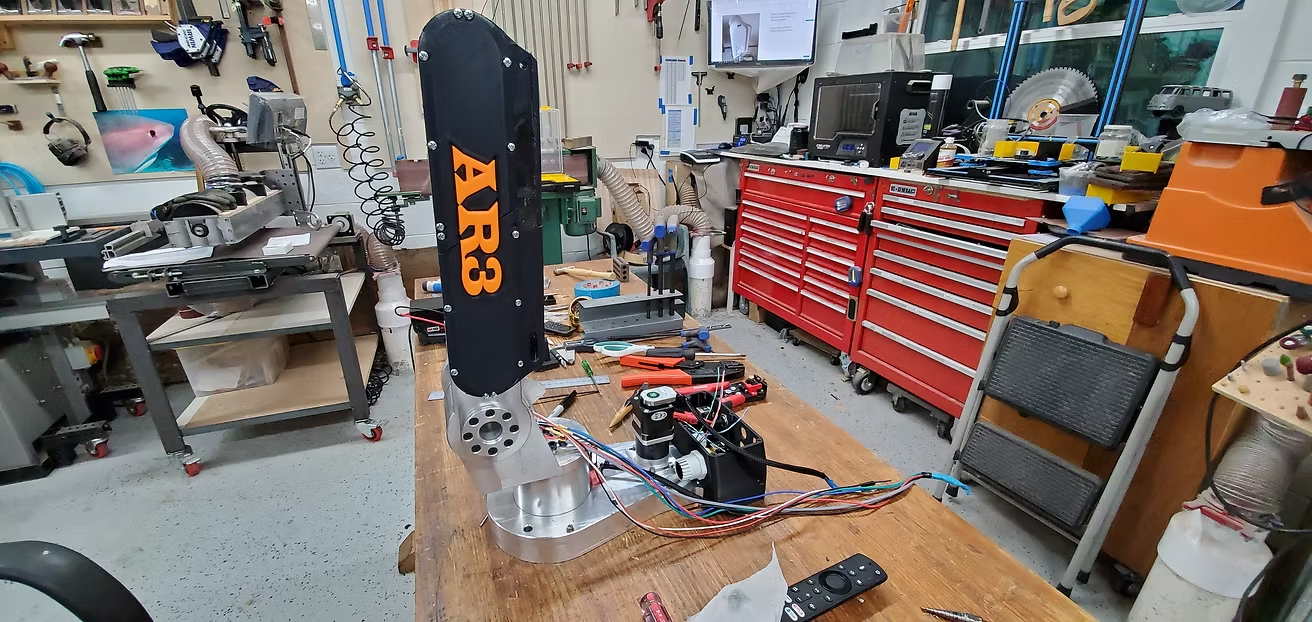
Now I'm going to focus on assembly and wiring
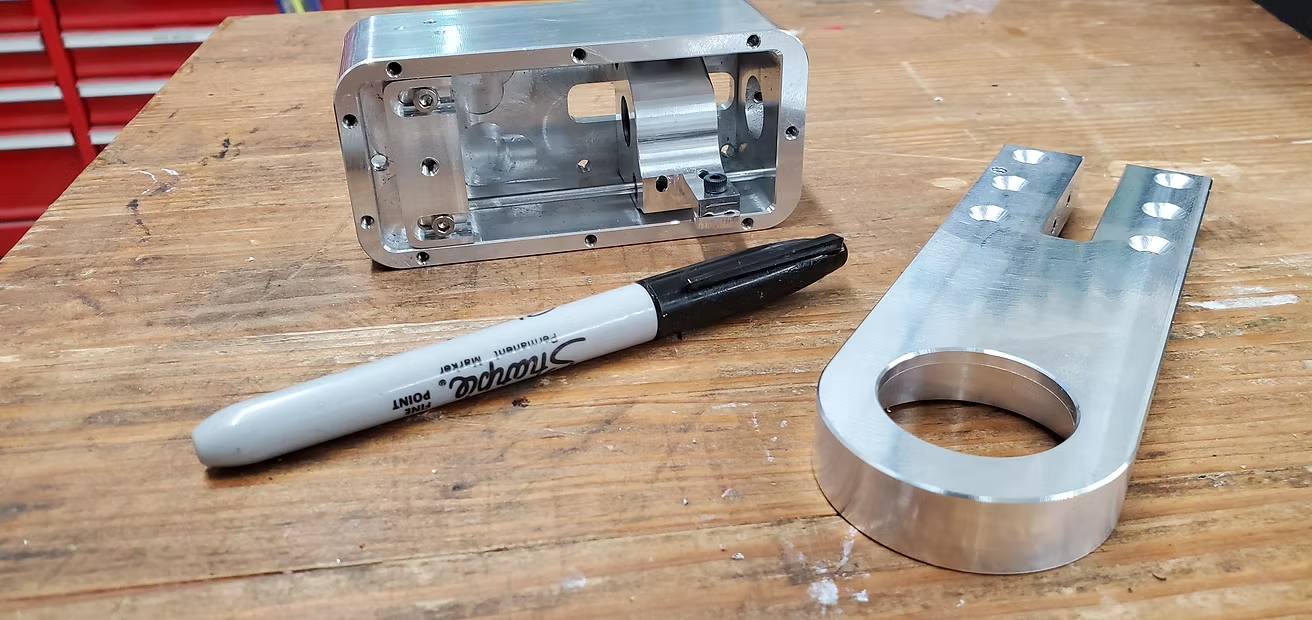
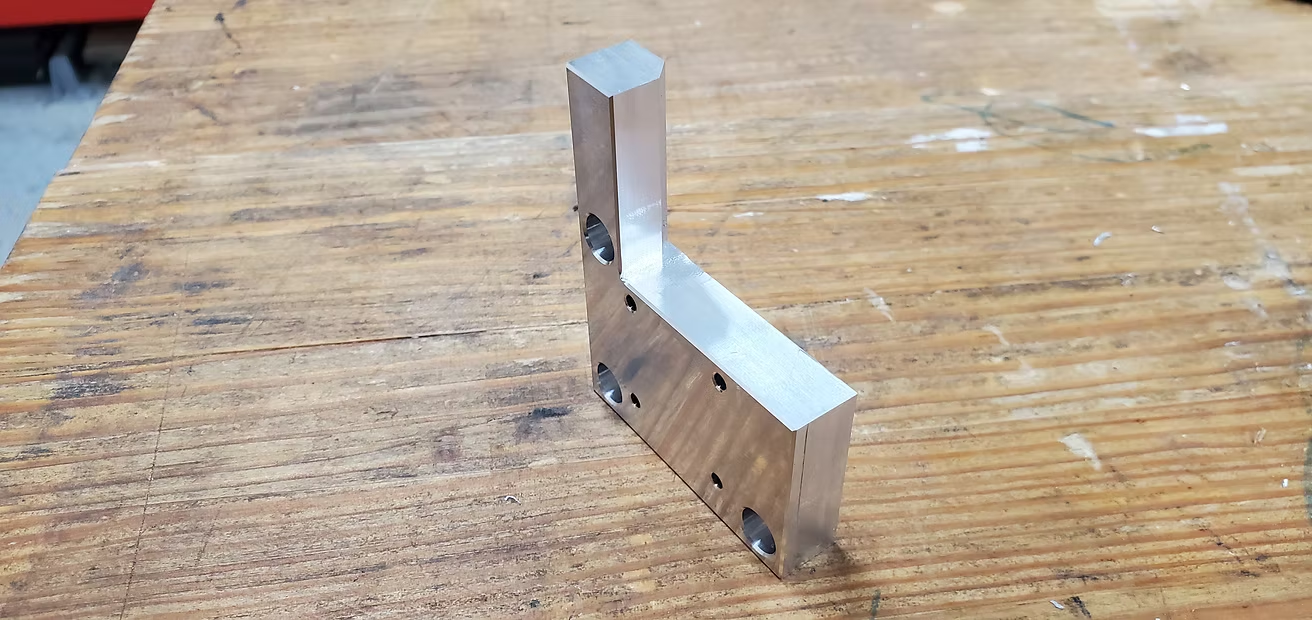
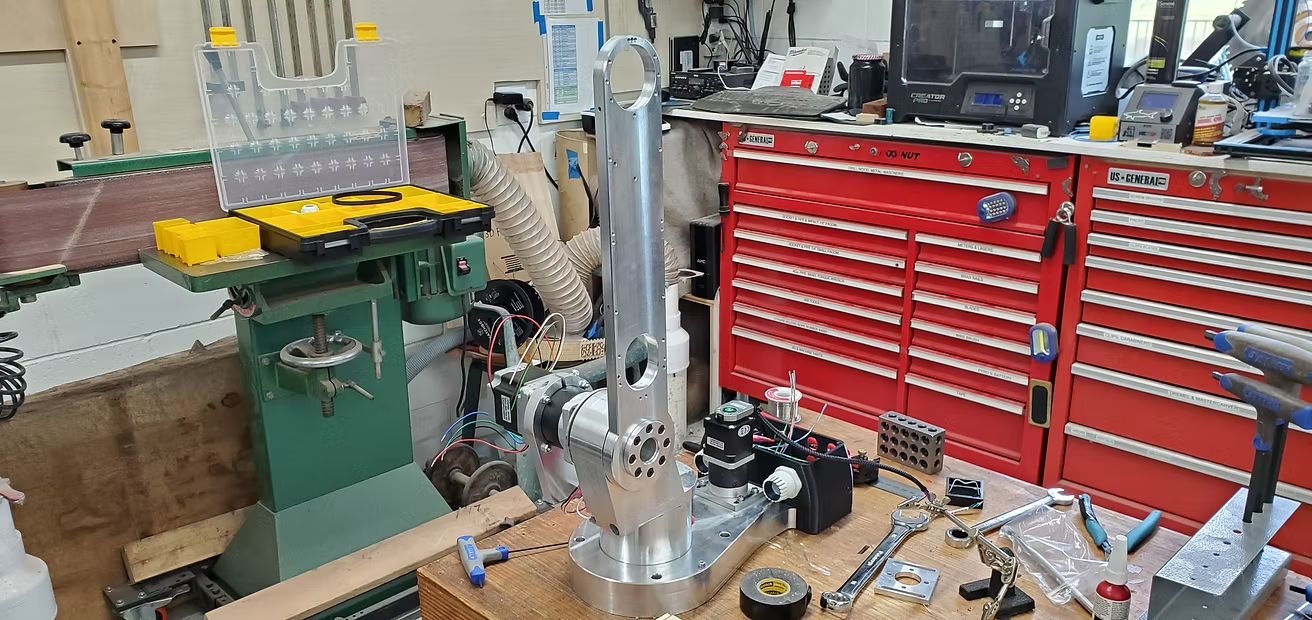
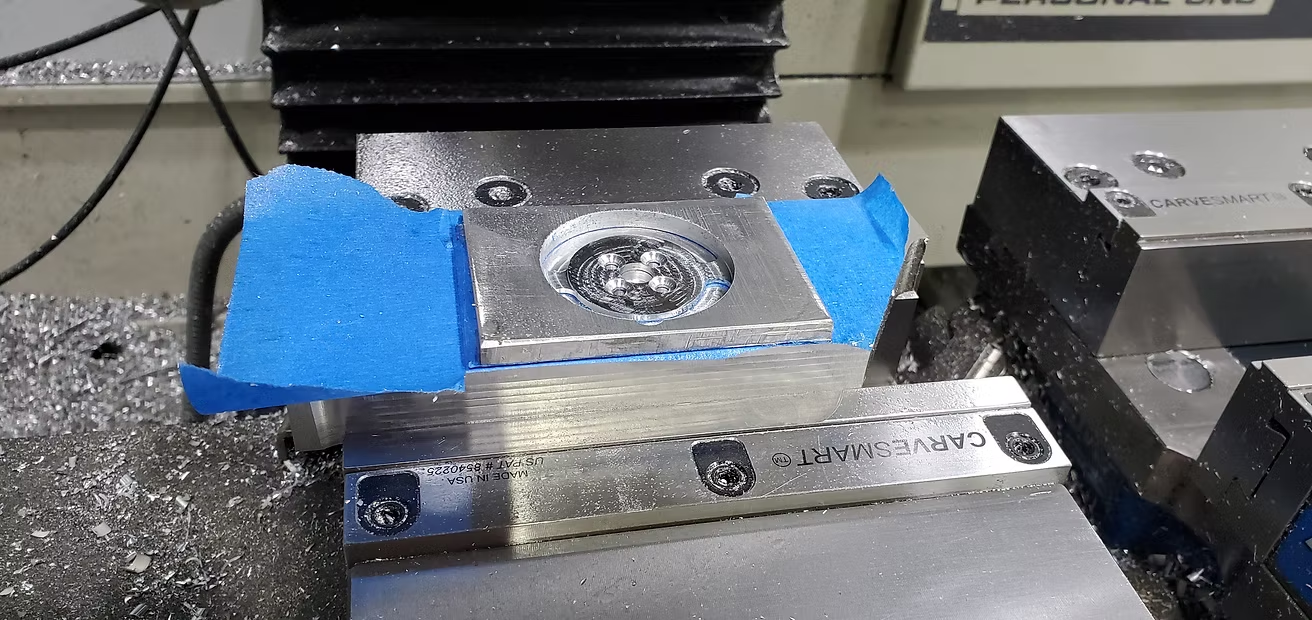
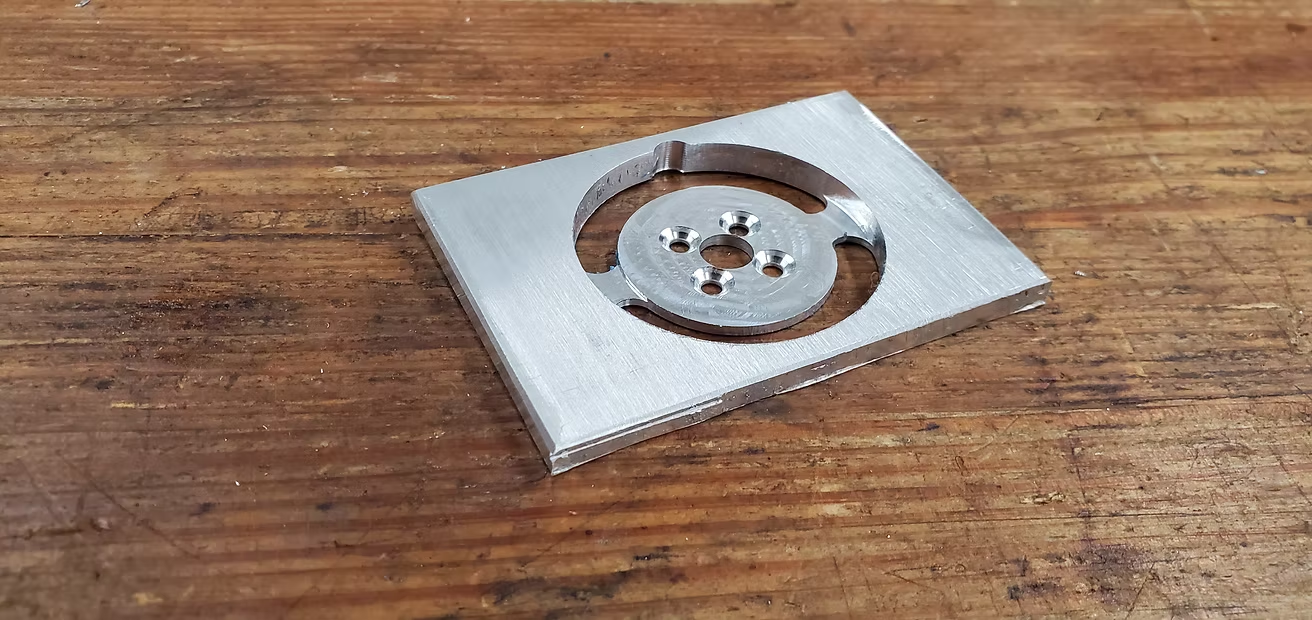
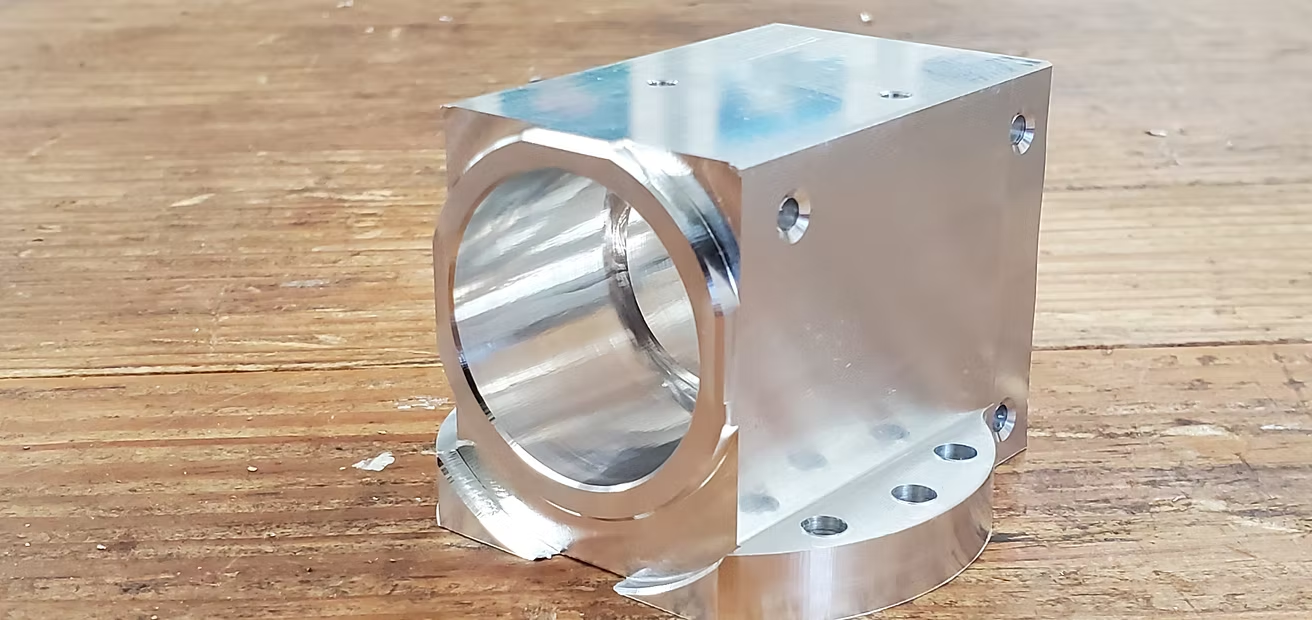
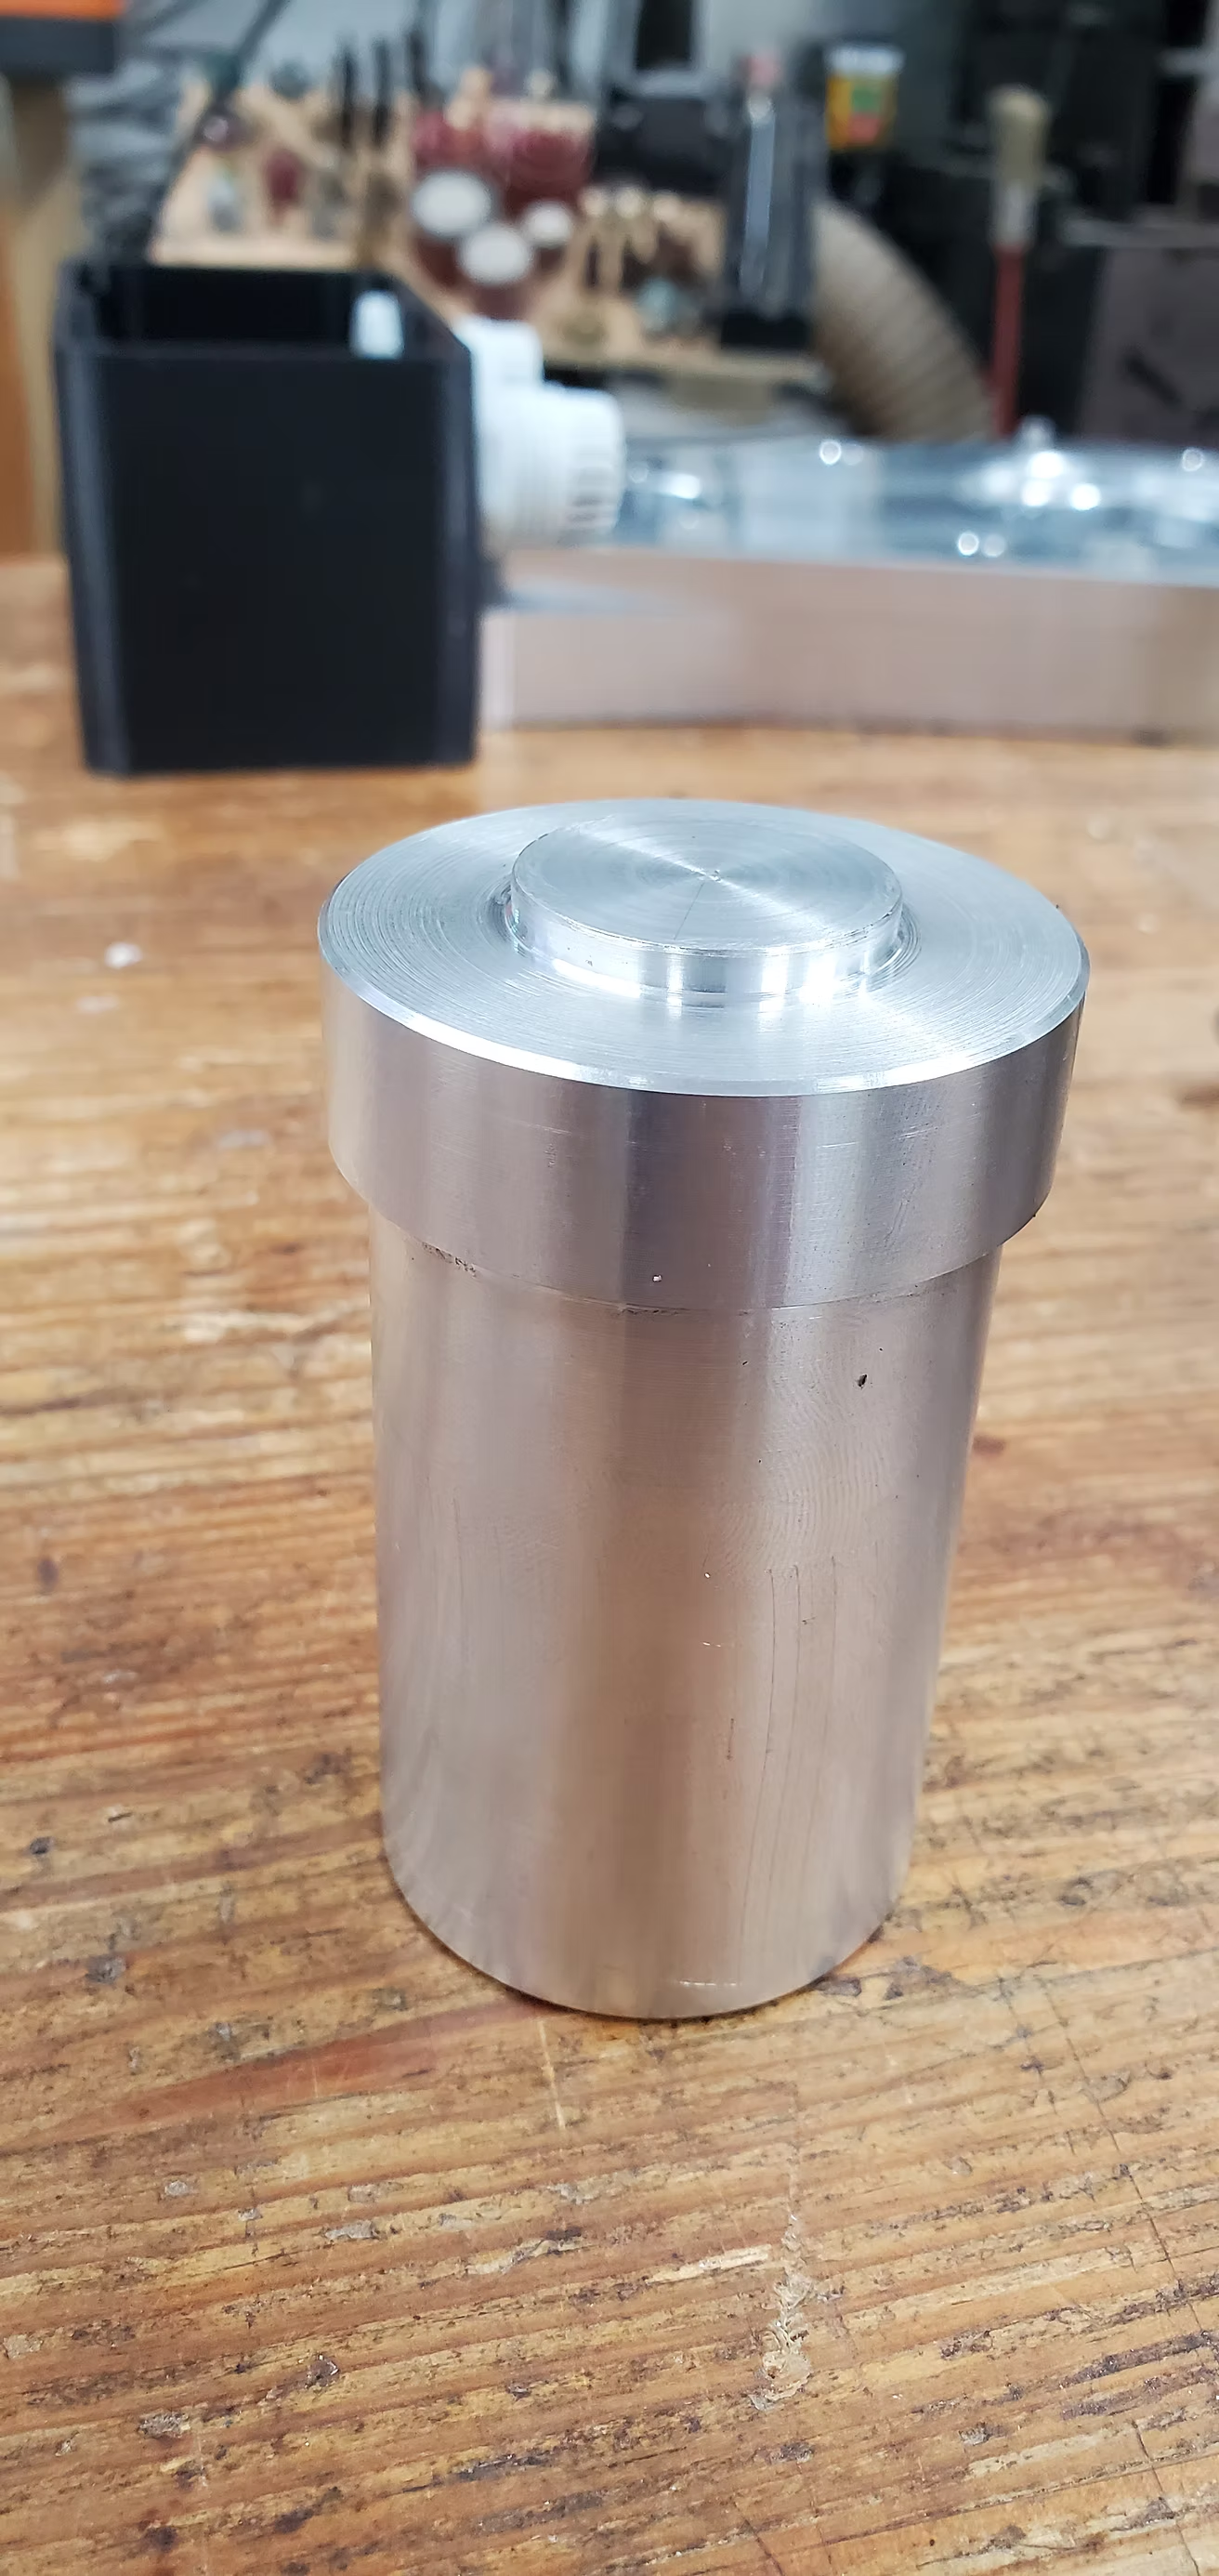
While the CNC was busy with J3 spindle I could run the lathe and create most of the features for J3 bearing cup. Then run a final op on the CNC for the hole pattern
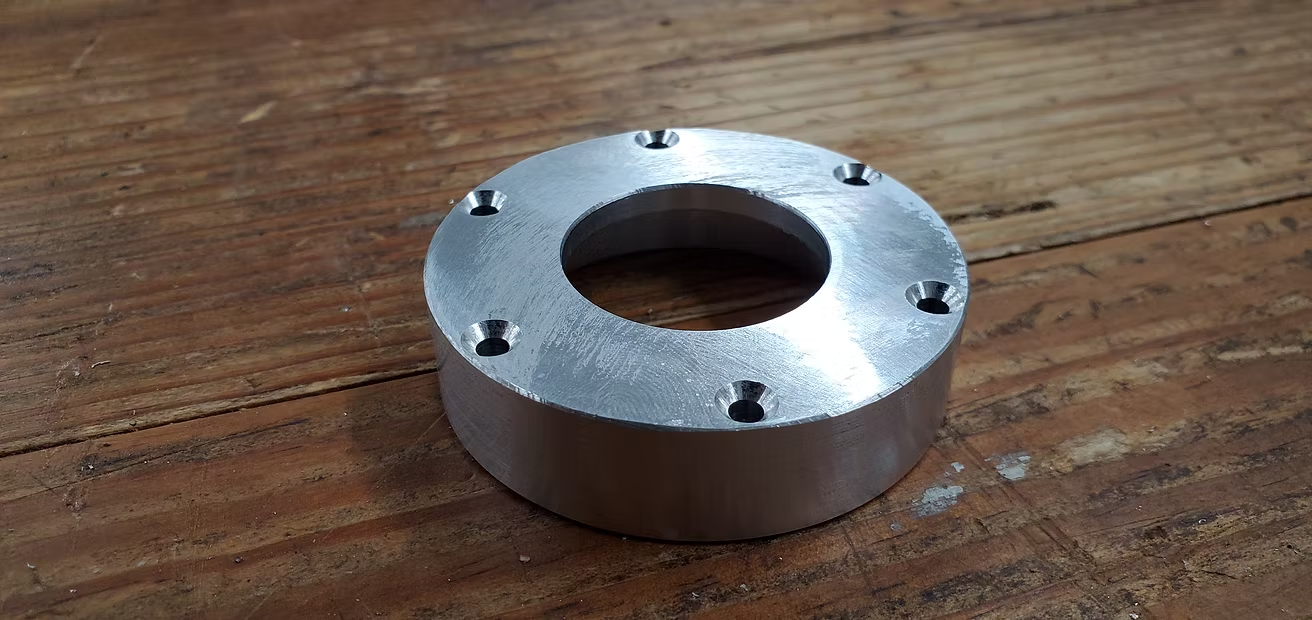
Last but not least I have been trying to machine J3 tension ring but the part is so thin (2mm) that the CA glue work holding is not working and sent the part flying twice in the mill - I am going to find an alternative method - stay tuned

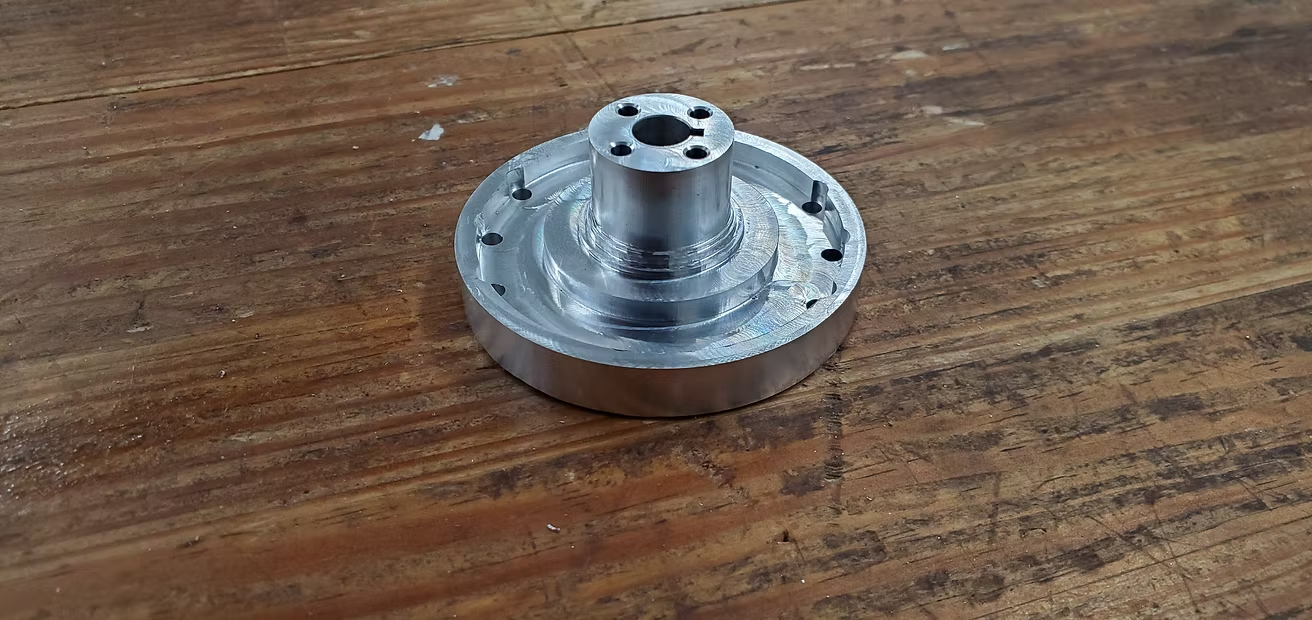
Moving on to the second join, the J2 tension ring was a bit tricky to machine due to the thin thickness, I used the CA glue work holding method and it worked great
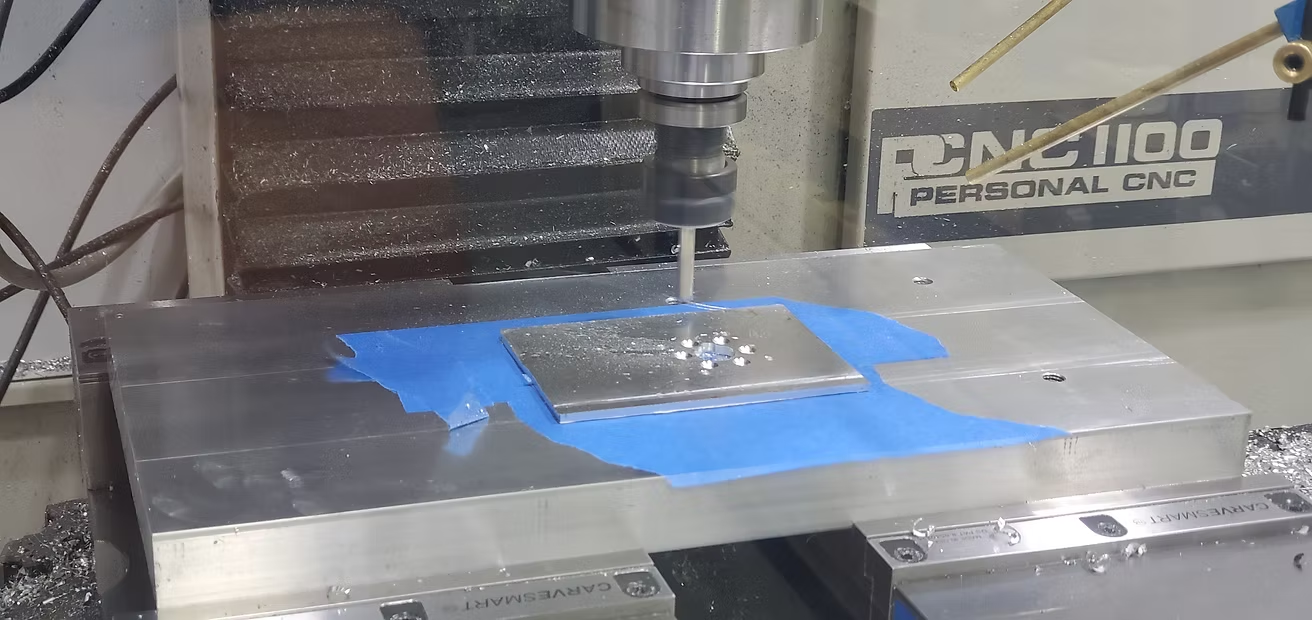
I didn't have a 5mm broach so I opted for machining the bulk and cleaning the corners with a file - this is no Clickspring quality but it worked
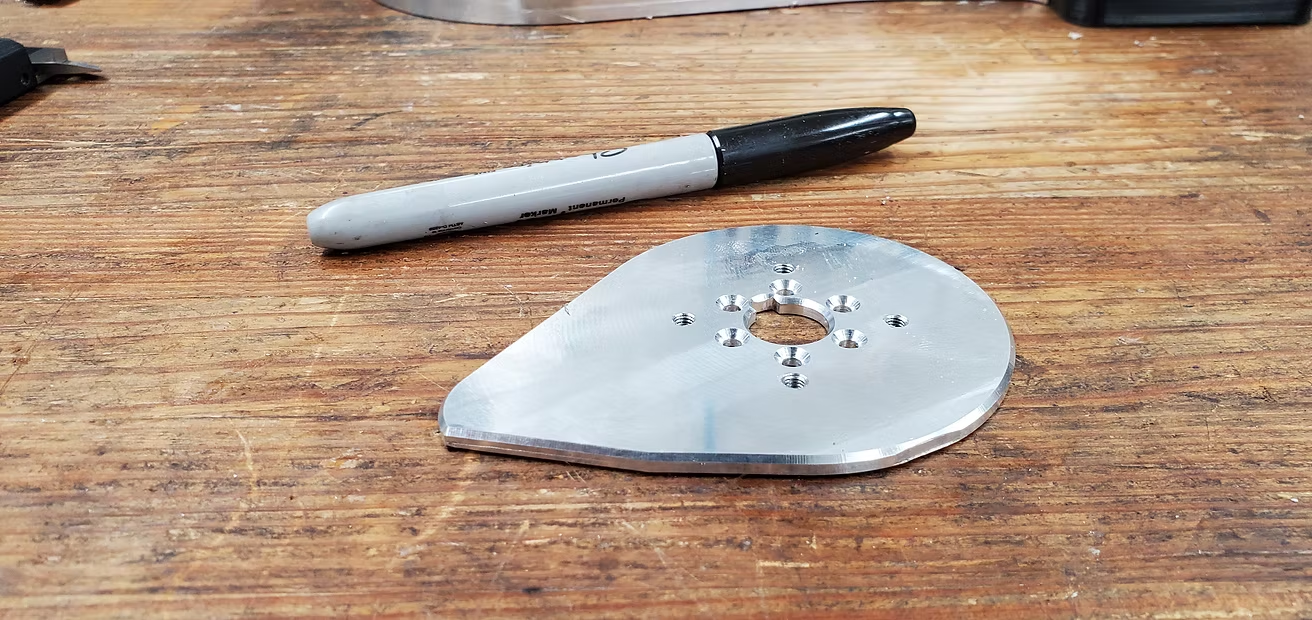


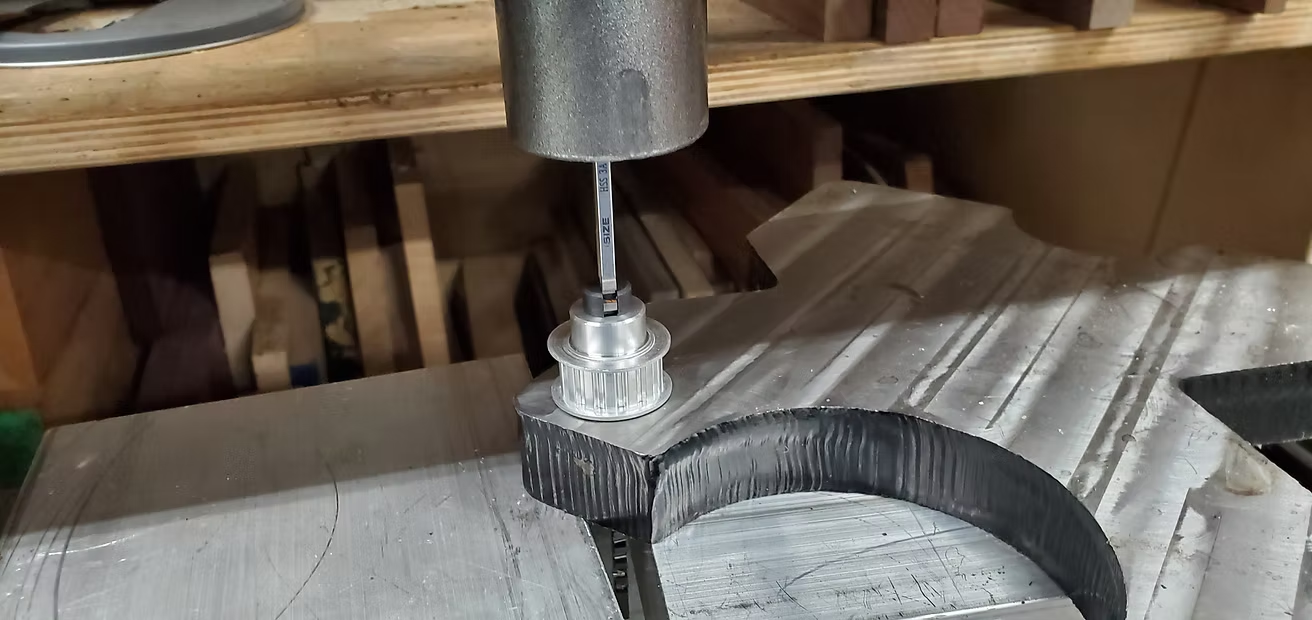
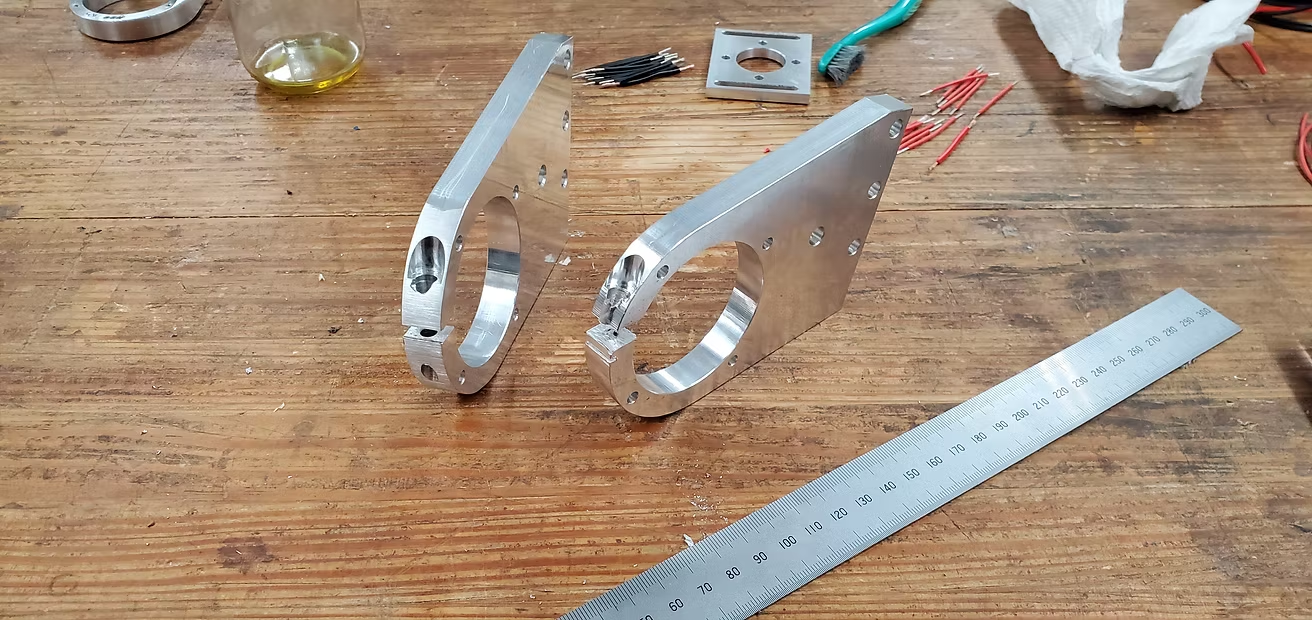
Next was J2 turret housing and this part really challenged me. I did offered a fresh end mill as a sacrifice to the gods of CNCs but that wasn't enough. I had the part fly off because the superglue work holding wasn't strong enough (or not enough surface in contact) for OP2.
I had to become creative with the setups and the tool path containment.

Overall it turned out all right, I blew the side of the part when I drilled for the countersink bolts but that's a small price to pay for 6 setups and over 2 hrs of machining time due to less than rigid setups.

While this was machining I was able to press the bearings into J1 with the help of my new shop oven. In retrospect I should have machined a die for my hydraulic press rather.

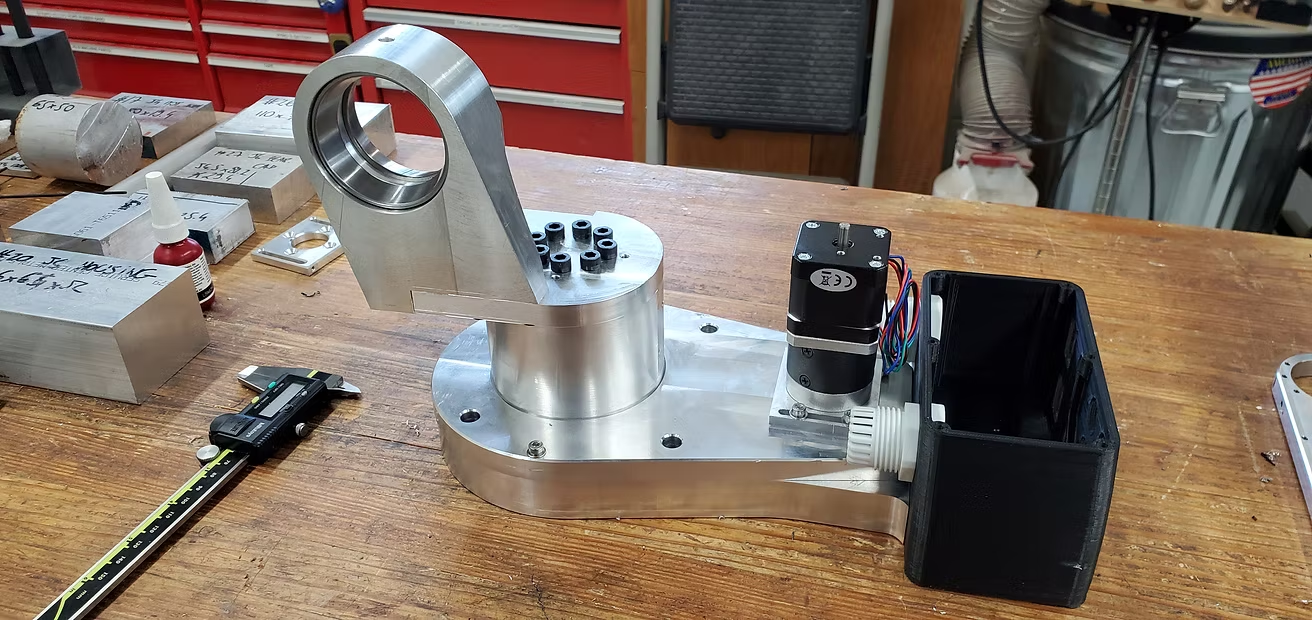
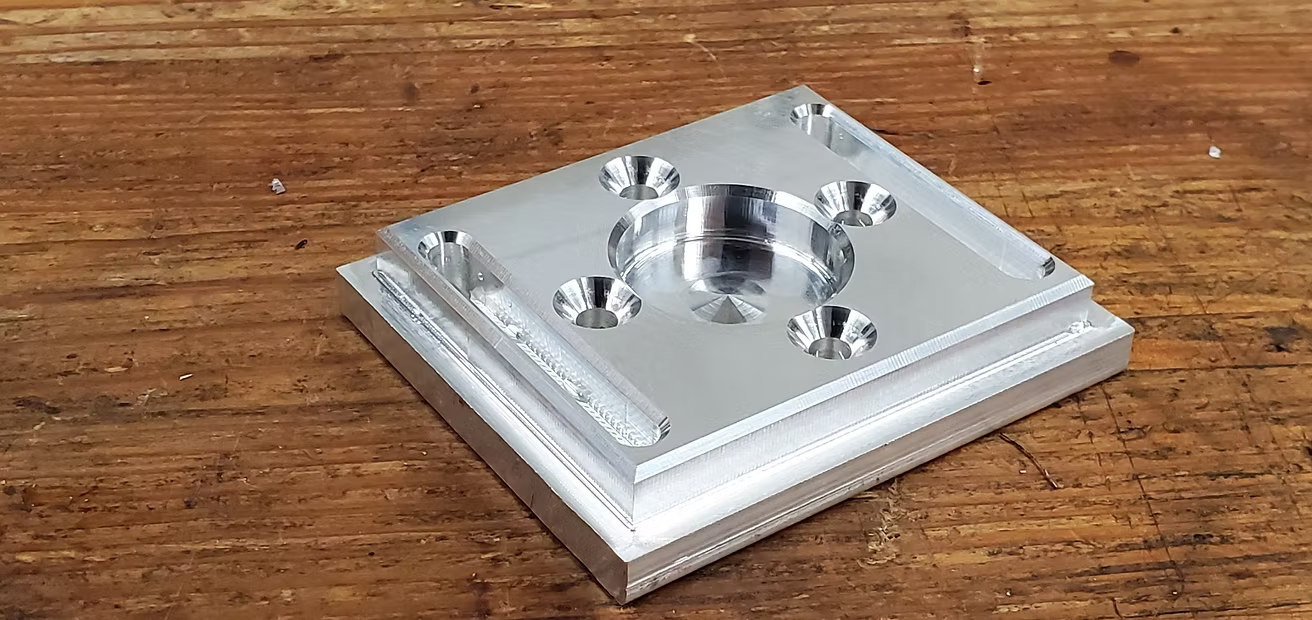
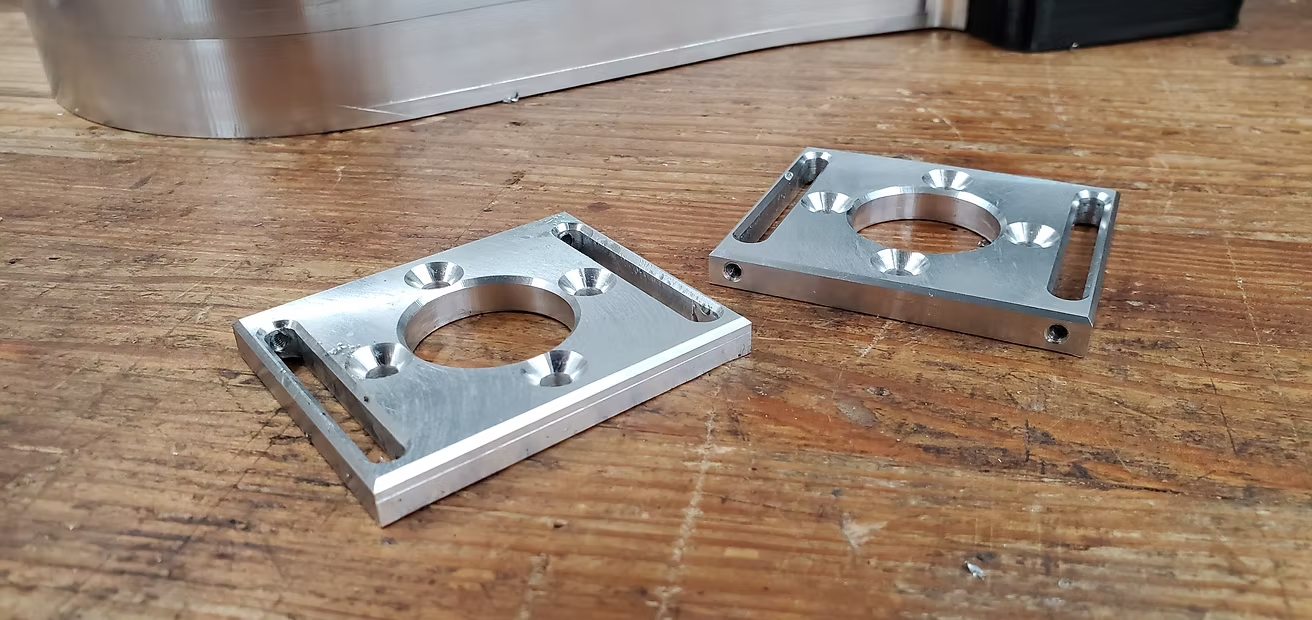
And the parts fit together


Hi Pierre,
I had a quick question. Is it possible to machine all the parts on the CNC machine or did you have to make some parts using another method?
Thanks!
I am about to find out 🙂
From a pure CAM perspective, I have been able to program all but one parts, some with 7 setups !
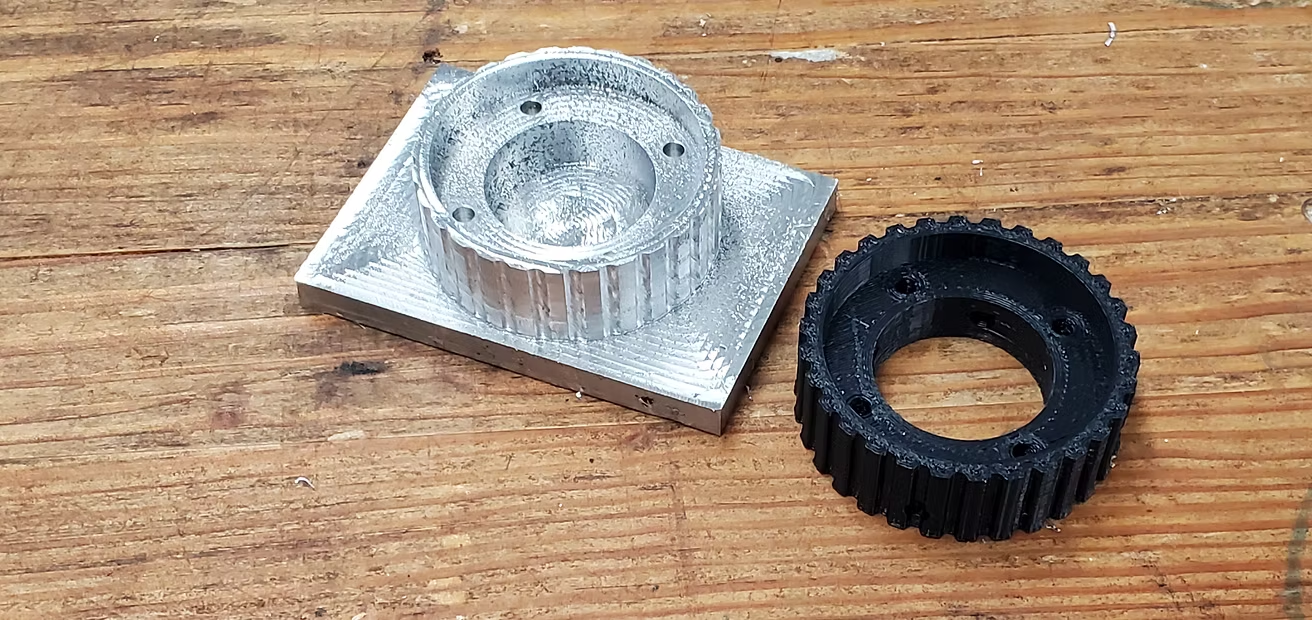
The only part I can't figure out how to machine (on my 3 axis CNC) is the J4 Timing hub (a 4th axis would be perfect). So I intend to 3D print this one.
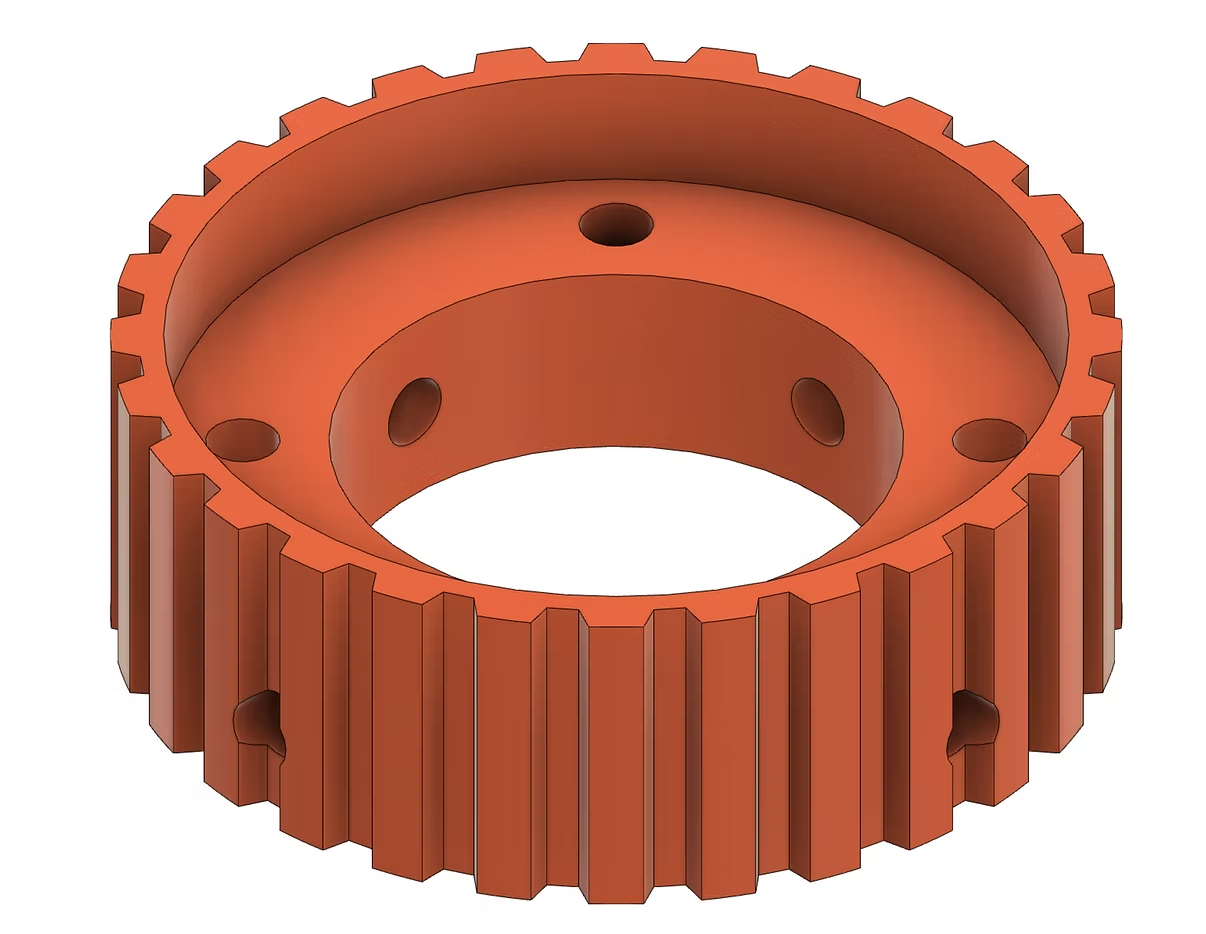
For the rest a CNC machine and a lathe should suffice, I'll keep you guys posted on my progress.
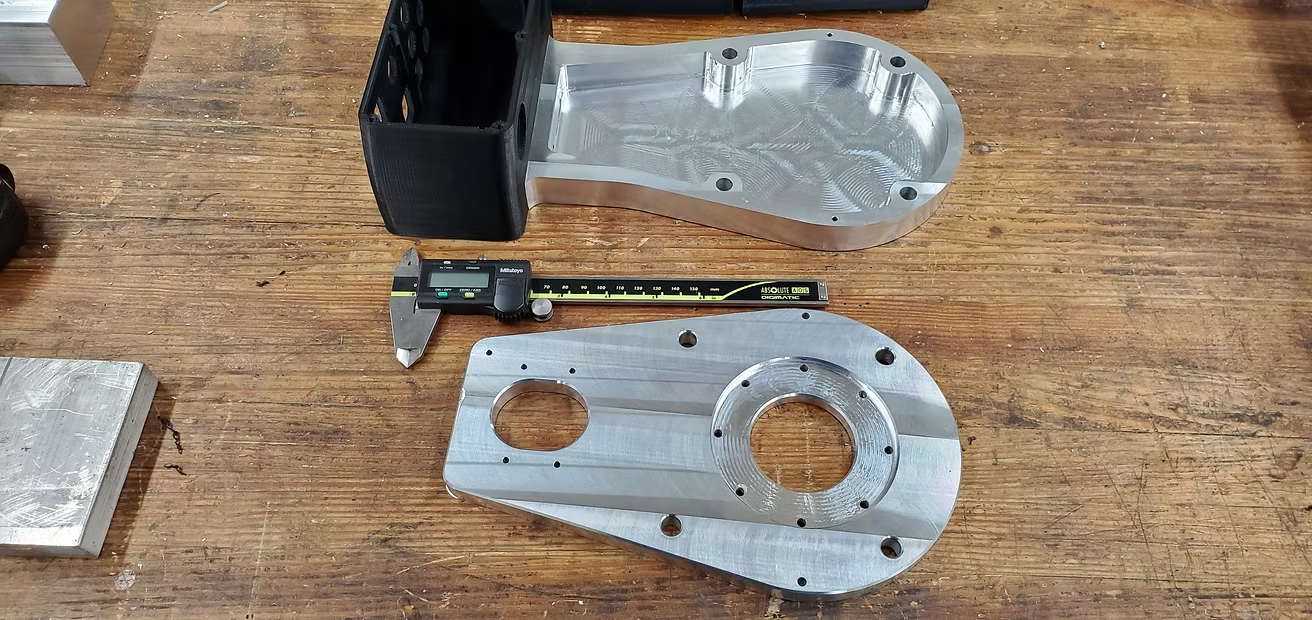
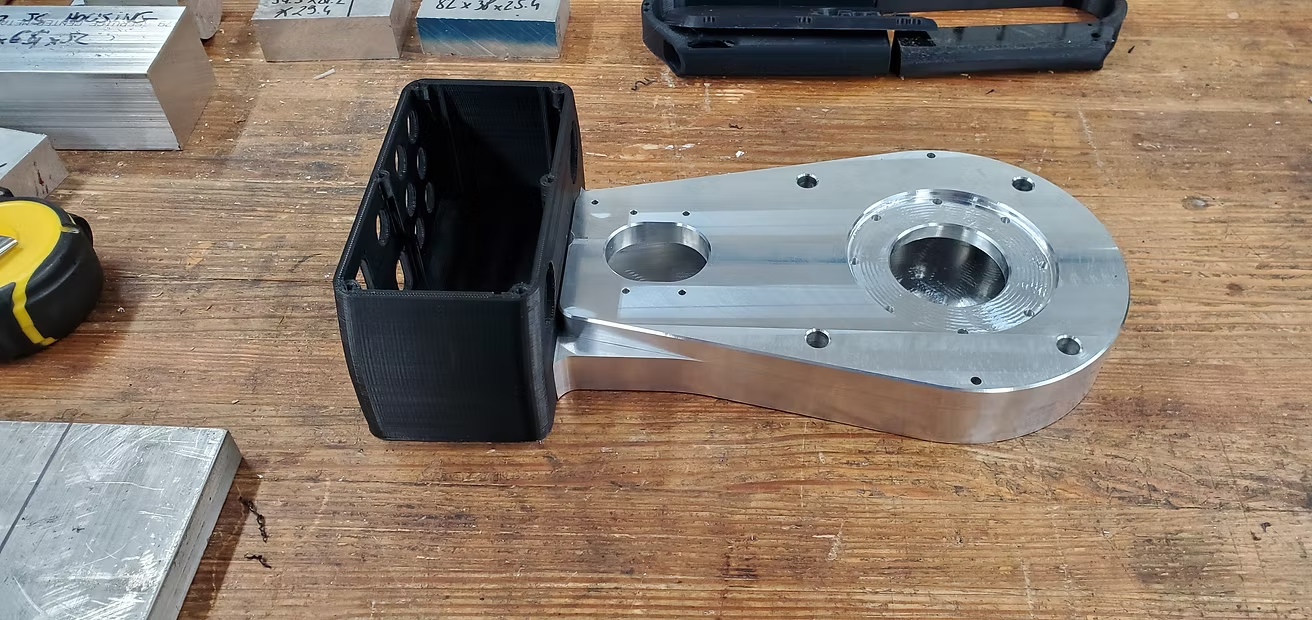
First part first modification, the J1 base is too large for my 3D printer (I'm using a flashforge creator pro). I contemplated modifying the base and cut it in 3 pieces to make it fit my printer envelope but i decided instead to make the base in aluminum.
You can see here OP1 what I cleared most of the material for the base, I now need to make a jig to be able to hold the part for OP2.
As the saying goes, machining is 80% work holding !
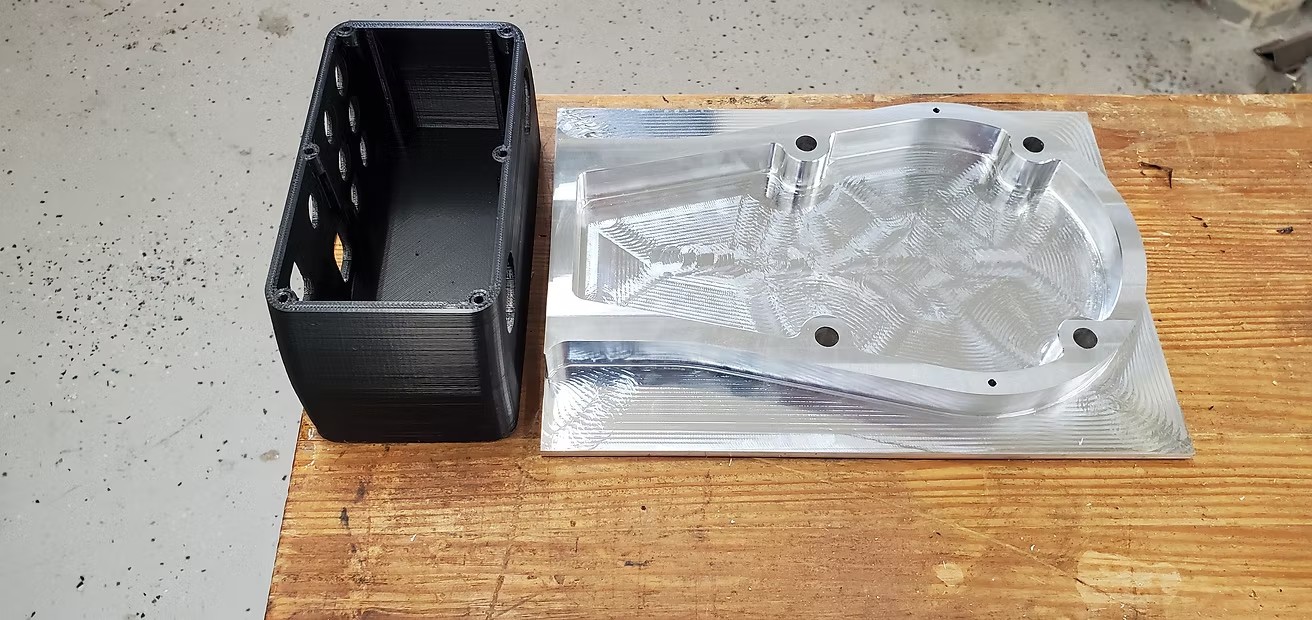
The enclosure is printed in ABS @230degC, I use a fine height resolution of 0.2mm because my extruder is 0.4mm.
The base is now finished, I opted to leave the floor of the base, this way no dirt can sneak but I'm sure I'm going to pay for this decision when assembling, tuning and calibrating the robot because I no longer have access to the belt. Time will tell.
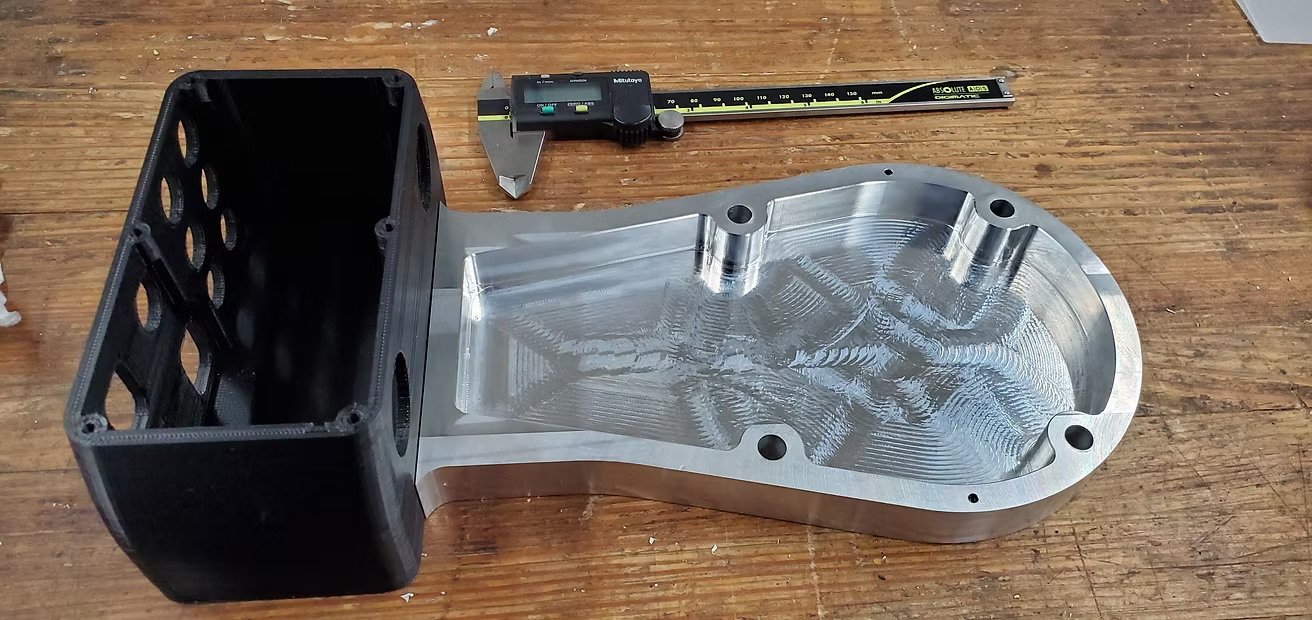
I then drilled and taped 4 M4 holes to connect the base to the enclosure
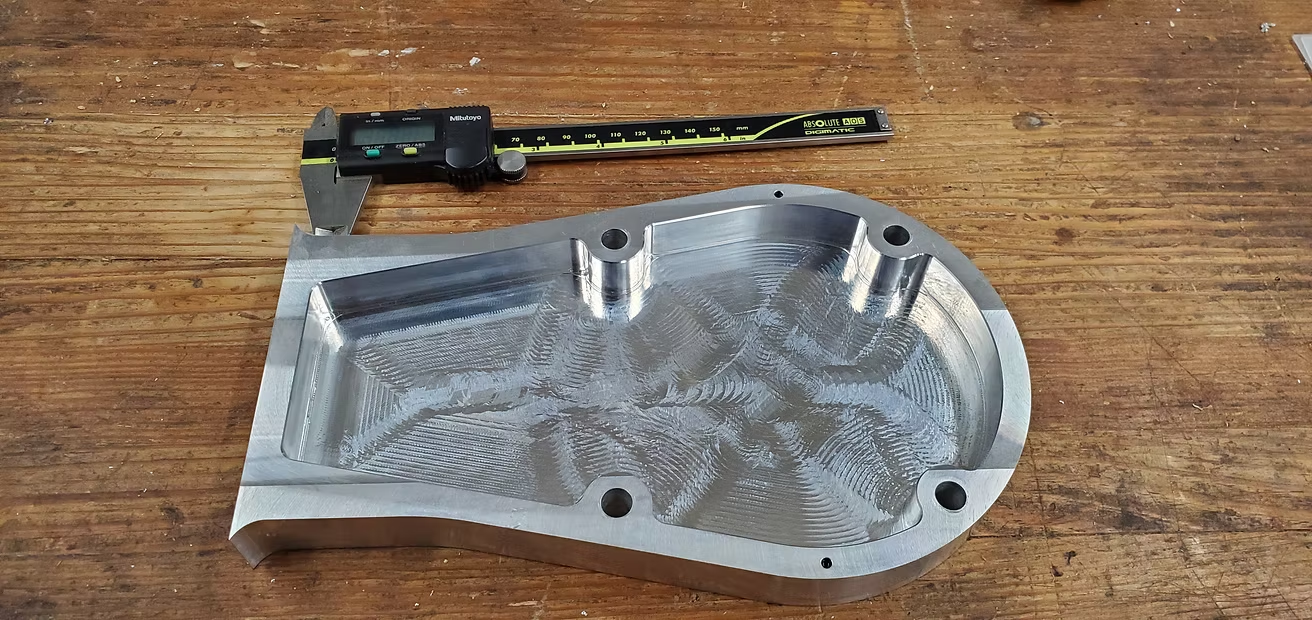
Moving on the J1 Base now on the CNC, I'm hoping I can now run the program while working on the lather for J1 spindle...
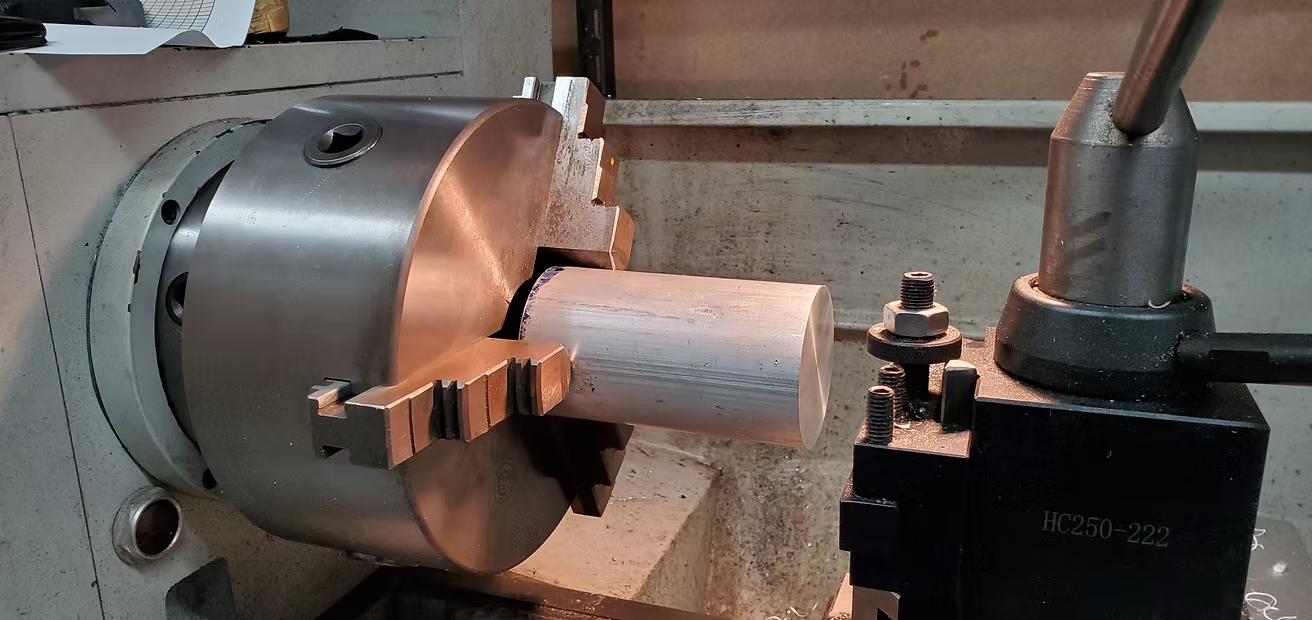
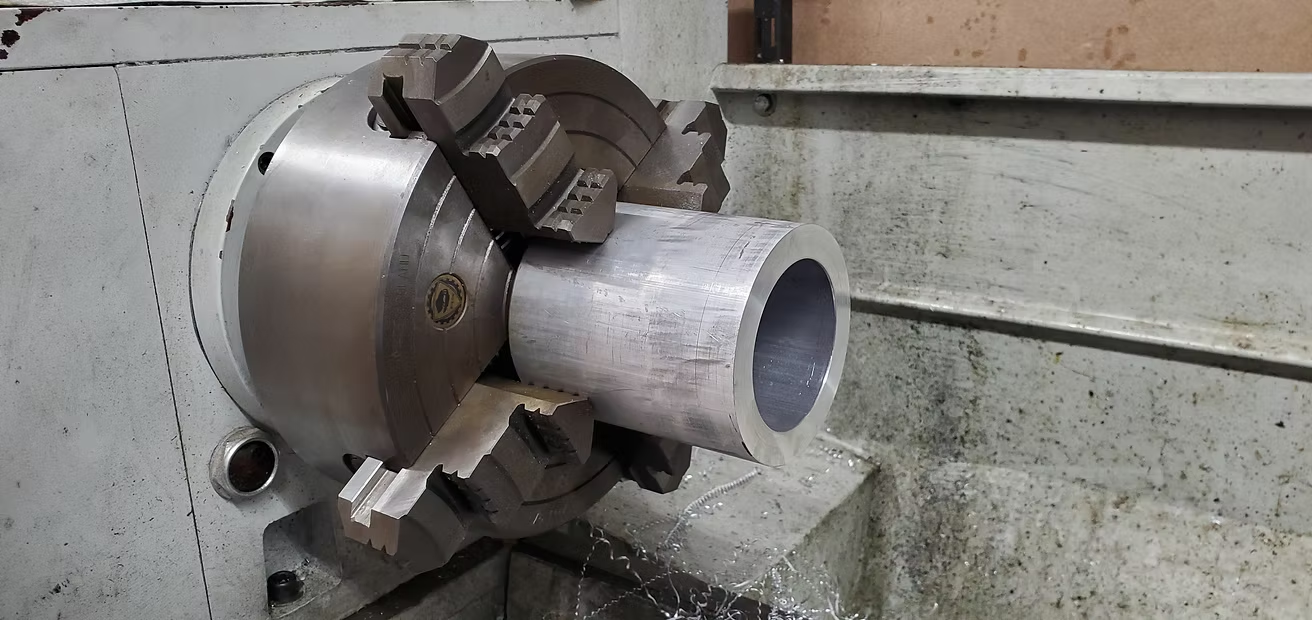
If you are wondering the aluminum stock for the robot is fairly inexpensive, I'm working mostly with scraps and pieces I bought in the remnant section of my local steel shop. I only had to order the special tubing for J1 Turret Housing and J4 main shaft tube.
In today's remnant price I would say the stock for the ARM is around $250 (including the special tubes) - so hats off to Chris again for providing the complete kit for $489 !
Not to mention you need a lot of tools to machine these parts and a lot of setups if you are using 3 Axis
39 replies
Pierre-Alexandre Girard
Hi,
In order to machine these parts all you need are the STEP files that Chris is selling on this site. I converted these files to Fusion 360 and added the CAM operations. I can't share that with you since Chris sells the 3D model I used to generate the CAM but I will be happy to share the F360 files with anyone that purchase Chris's model. To answer your other question, with the right tooling I'm sure you could do most of the robot on the CNC 3 axis mill (like I did). I had to 3D print 1 part ( J4 timing hub) and I found that 3 parts are much easier to do on the lather (J1 turret, J1 spindle, J2 spindle) and you have to buy precision stock for J4 timing tube.
If you need these 3 parts don't hesitate to contact me and I'll help you with the lathe work