
← General Discussion
Alessandro Chite@alessandrochite· 3,405 viewsin Robot Builds

AR2 from Italy

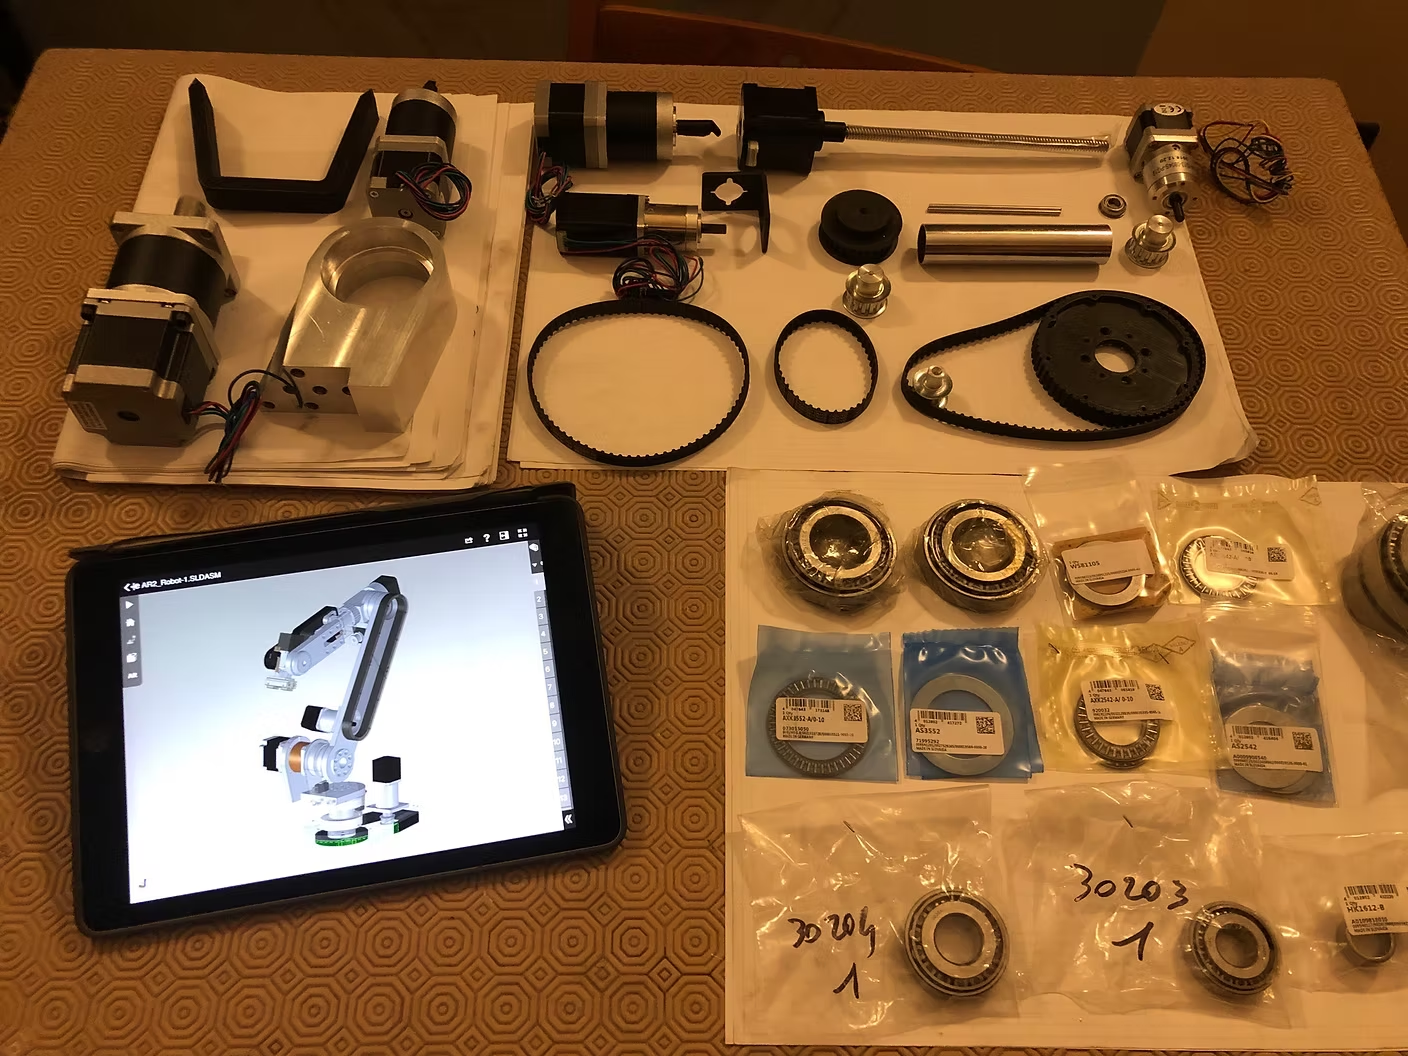
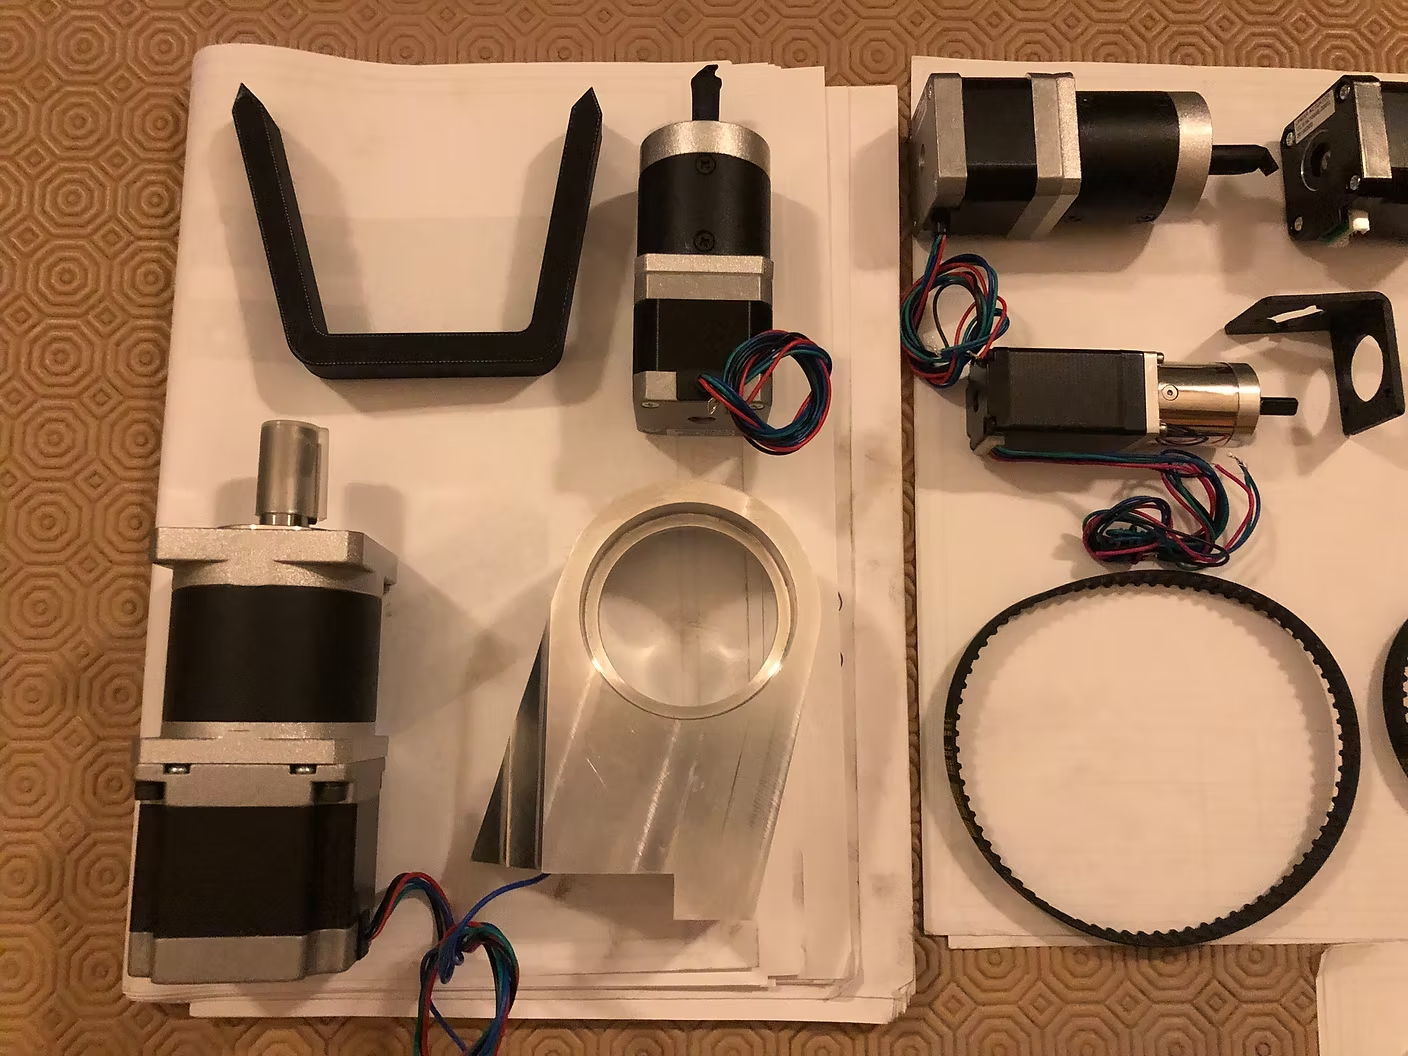
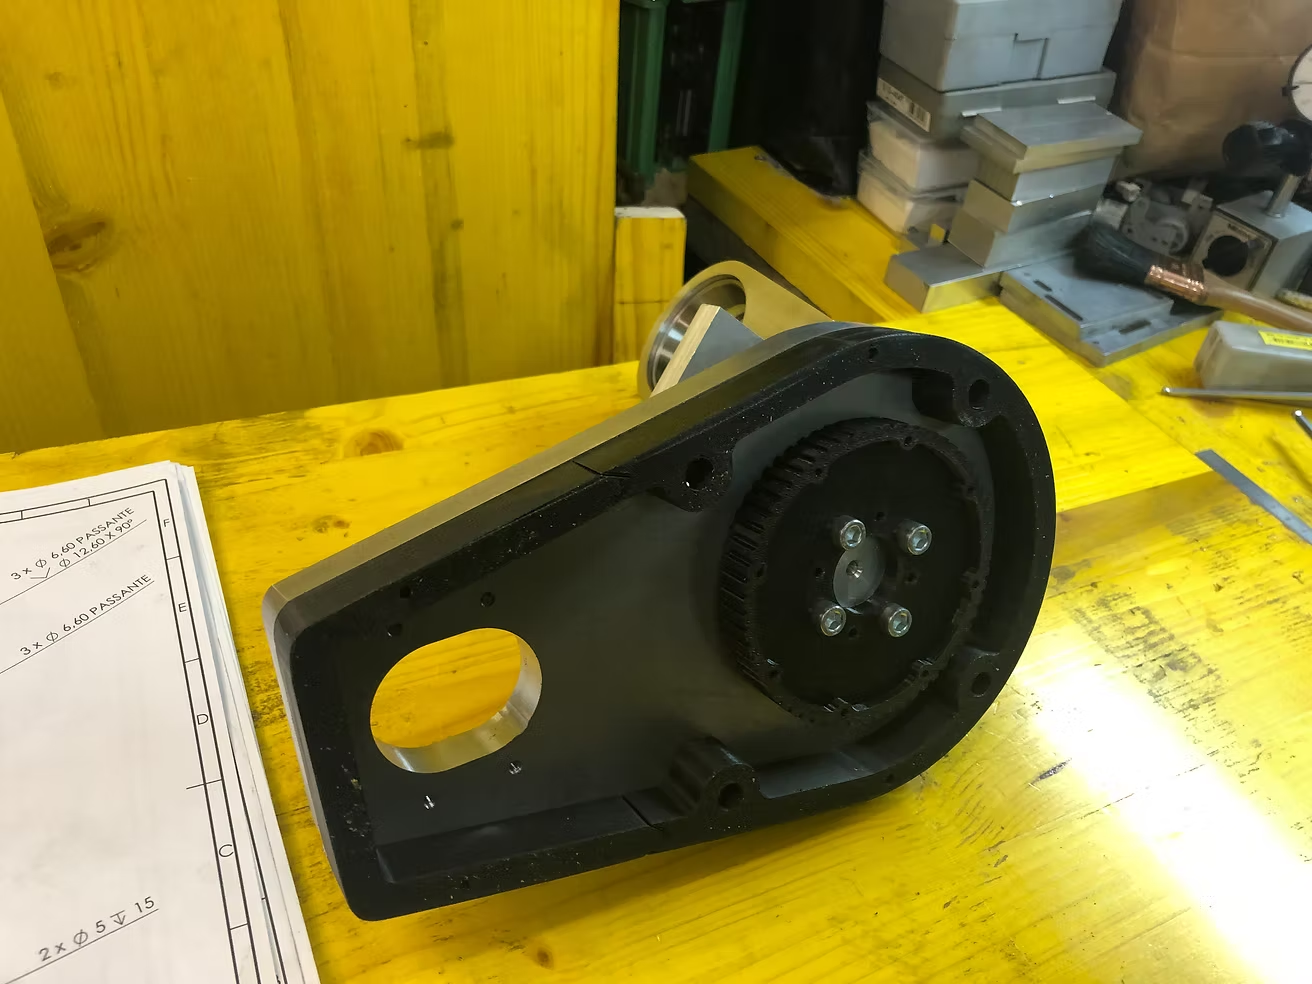
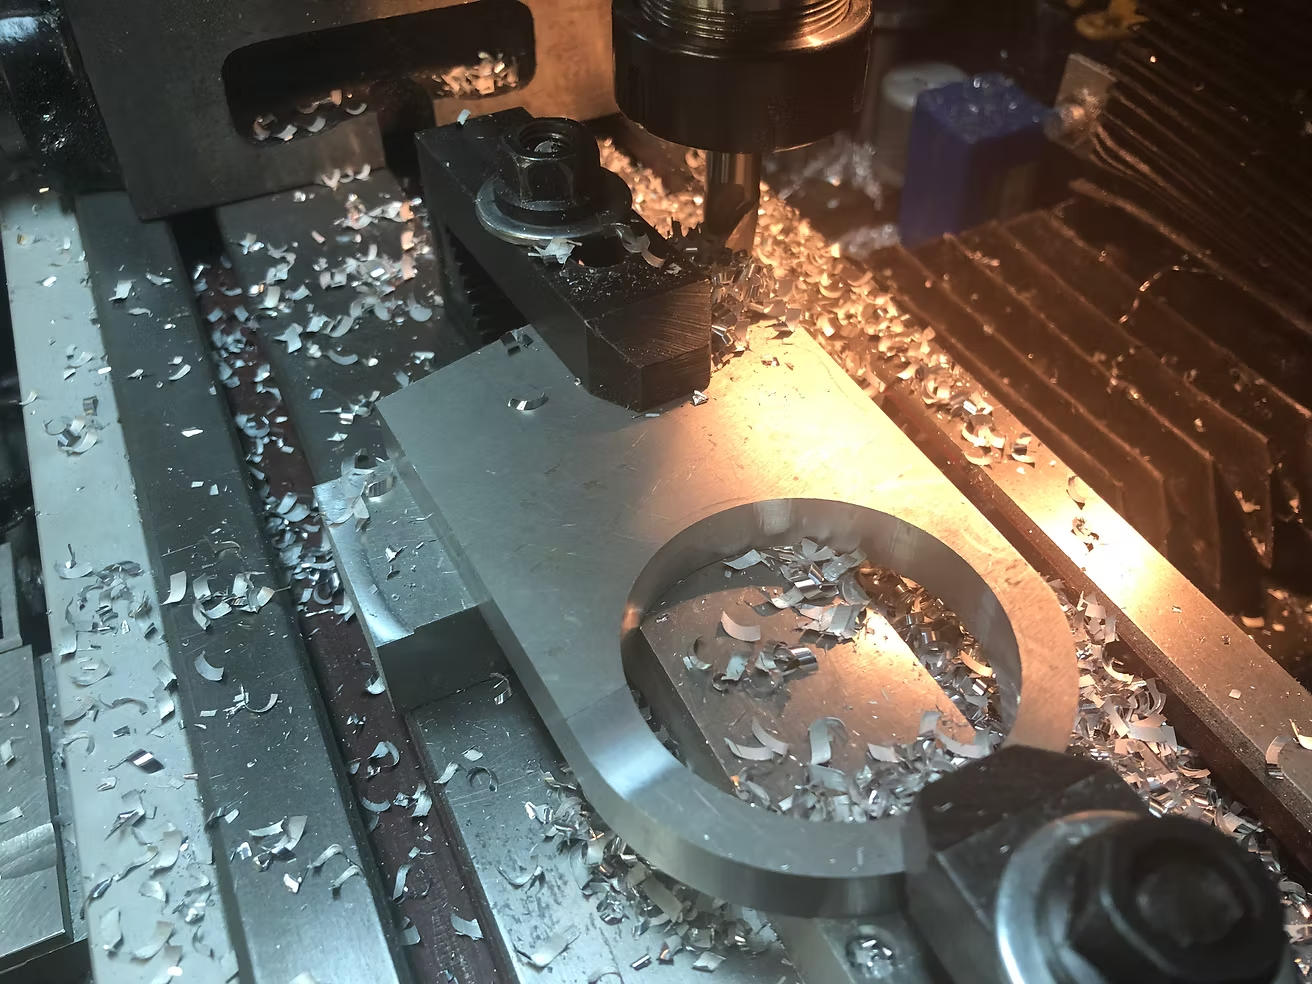
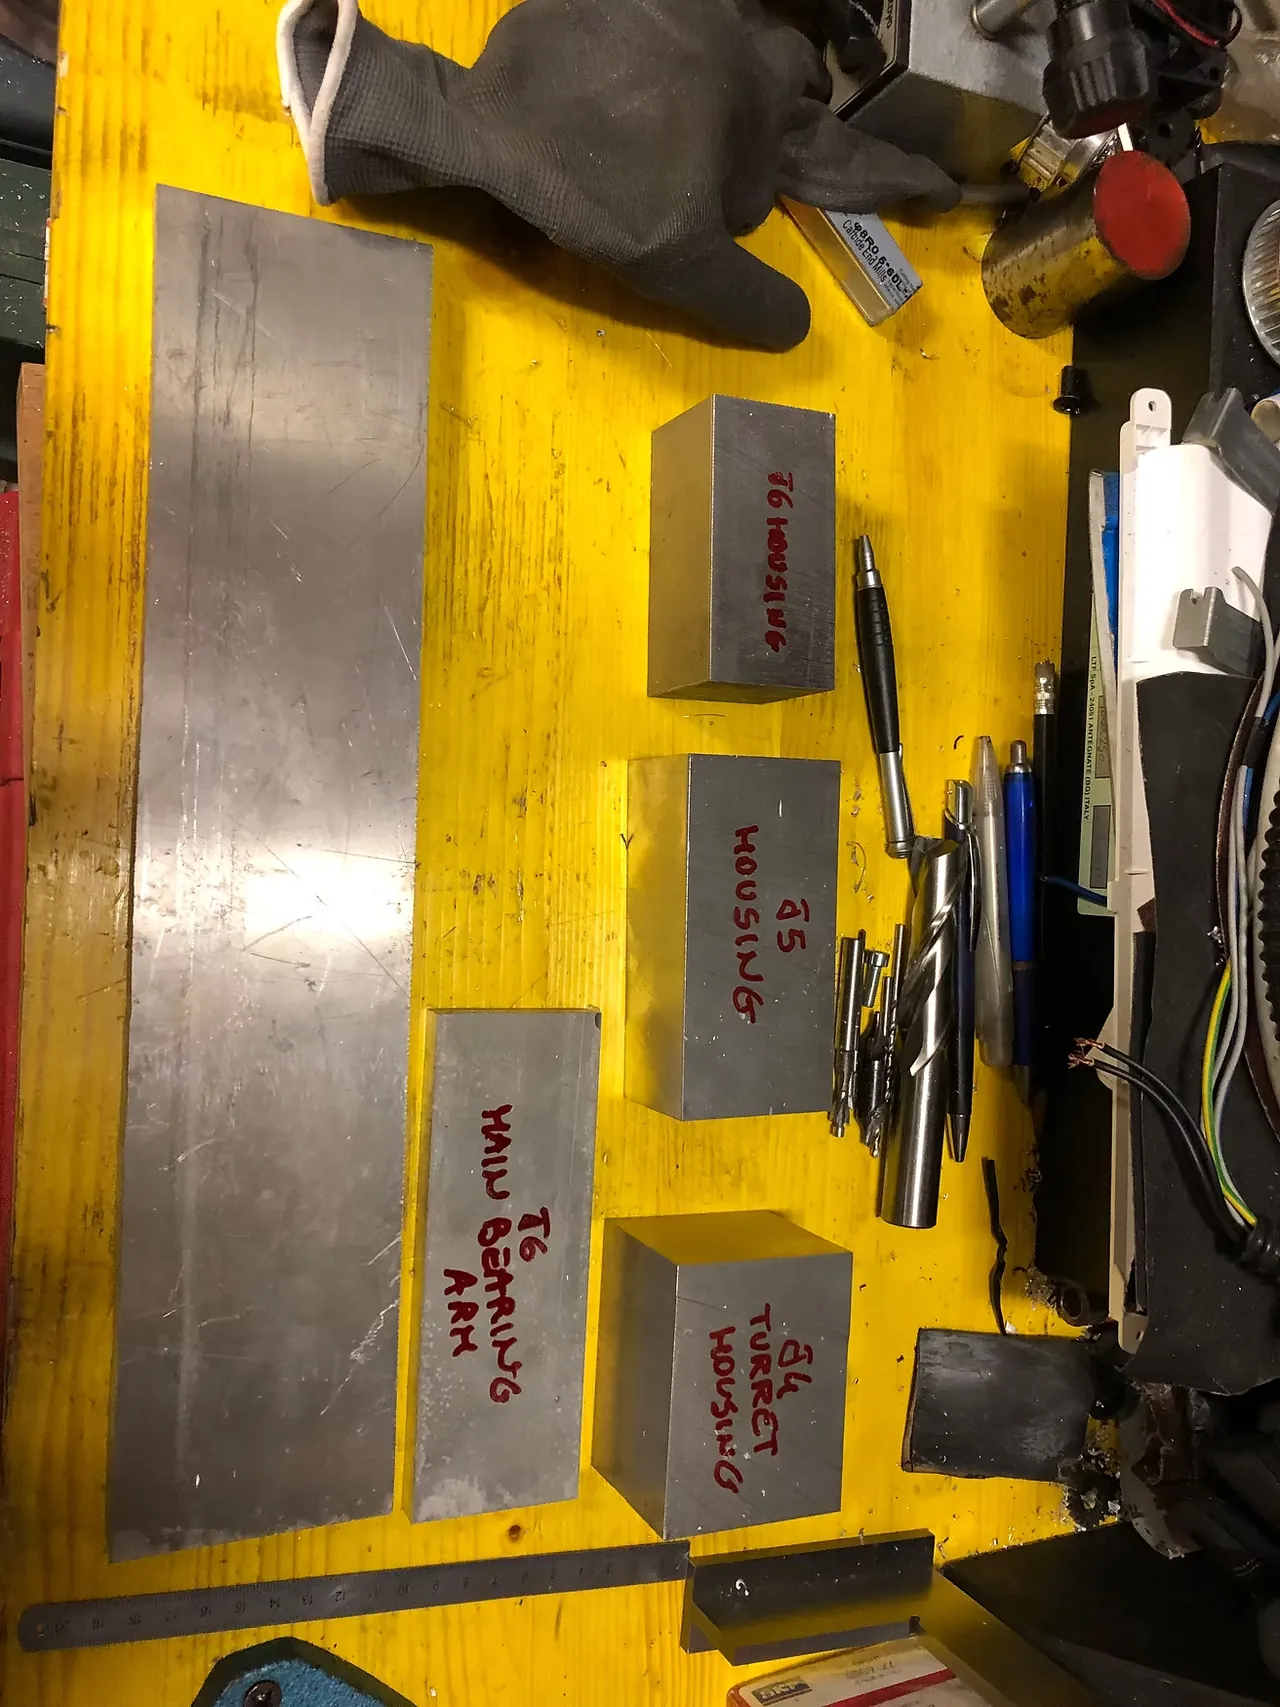
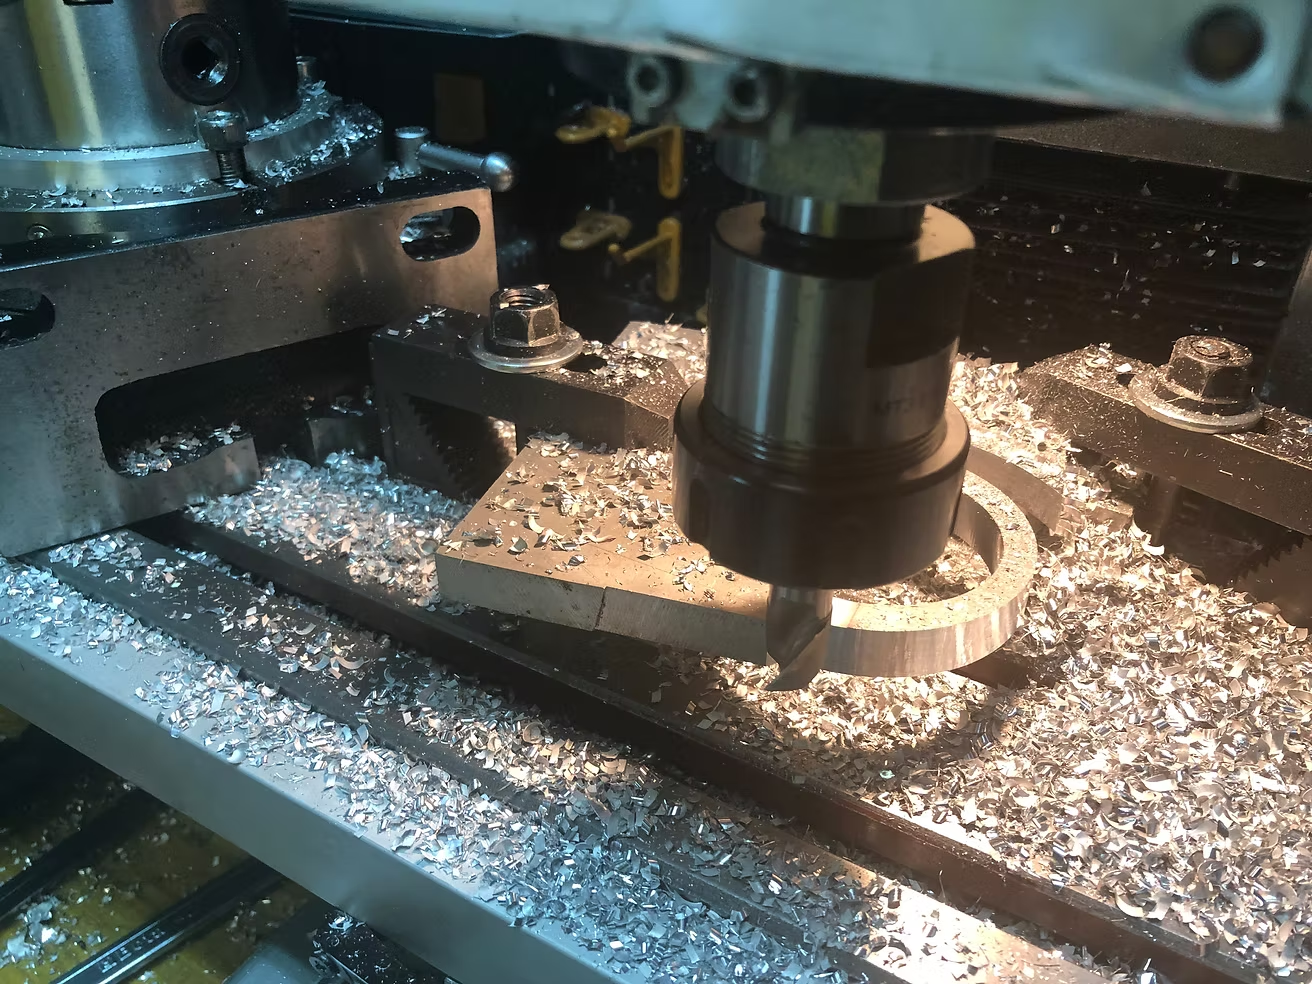
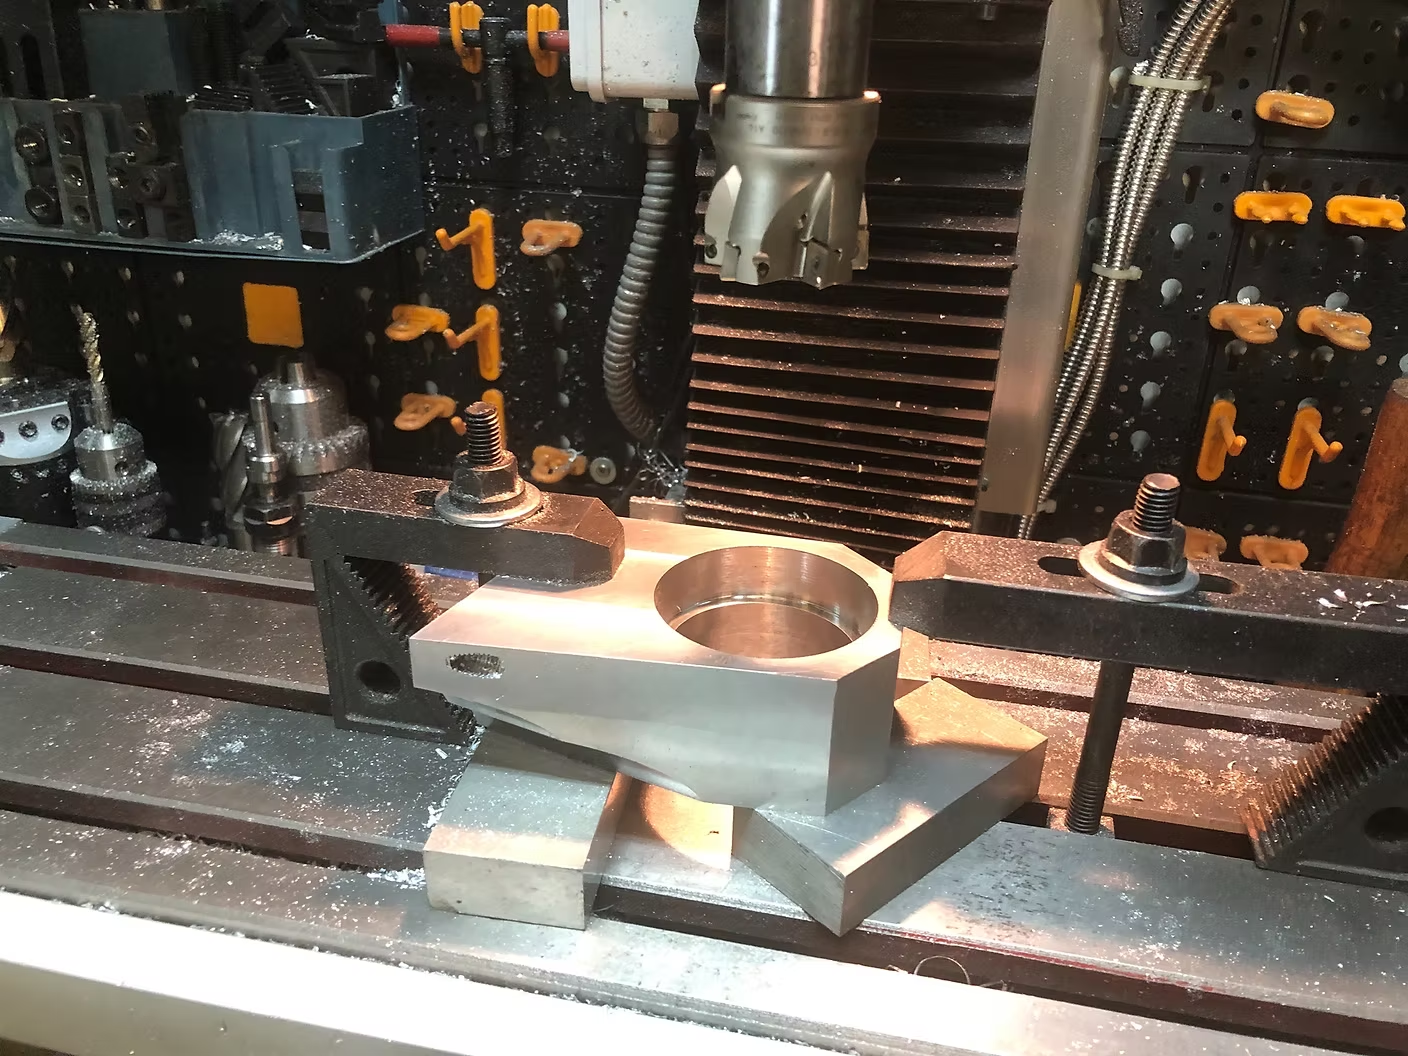
Hi all, here are my first steps to the robot costruction. I am also a mechanical hobbyst so I will realize all

the aluminium parts.

Thank you Chris for your great job.
Comment 54

Pierre-Alexandre Girard

Great build - thanks for sharing, I too am building the robot in aluminum and my setups and fixture are very different - I learned a lot from your experience.

Alex Man

Looks awesome!!!

Alessandro Chite

Thank you for your replay. I will try ...

Alessandro Chite

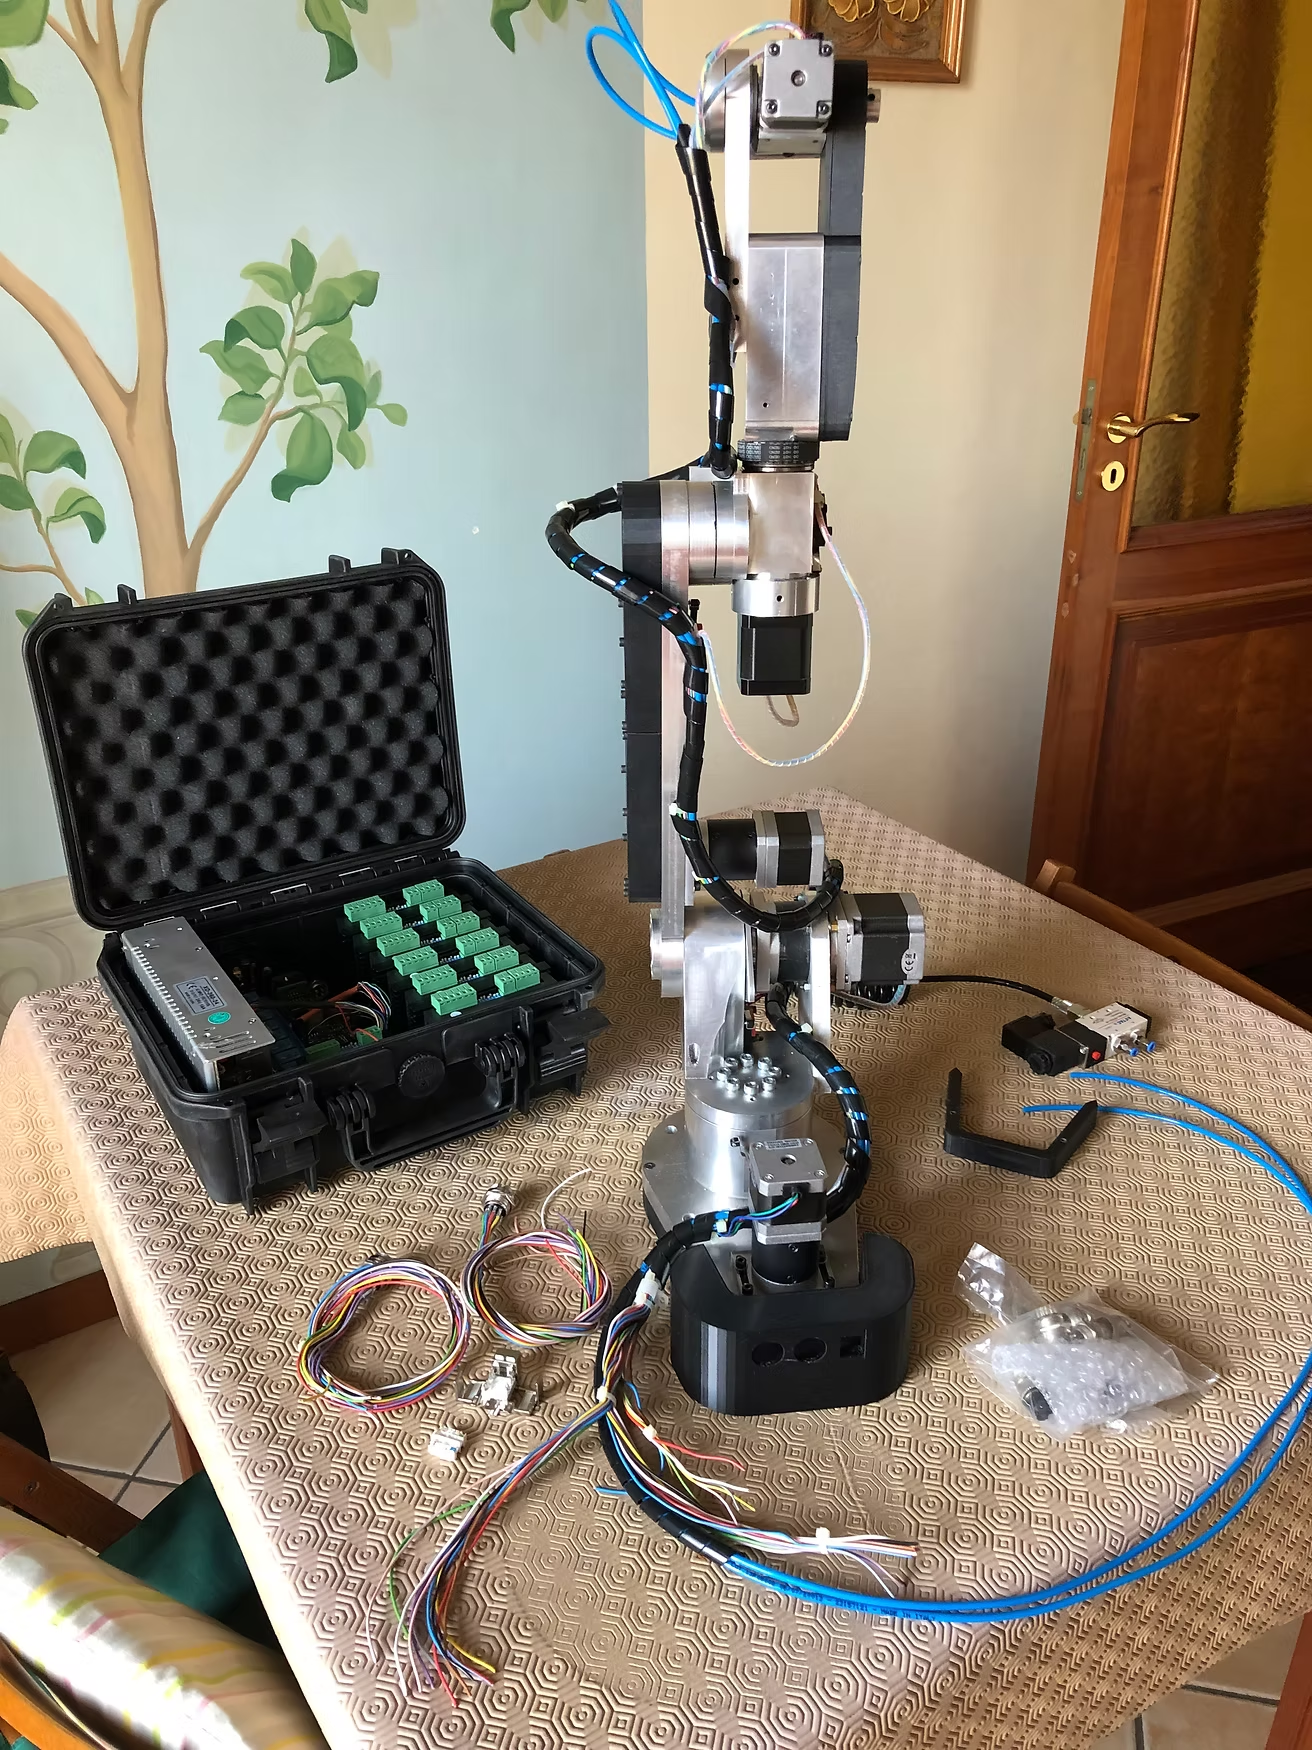
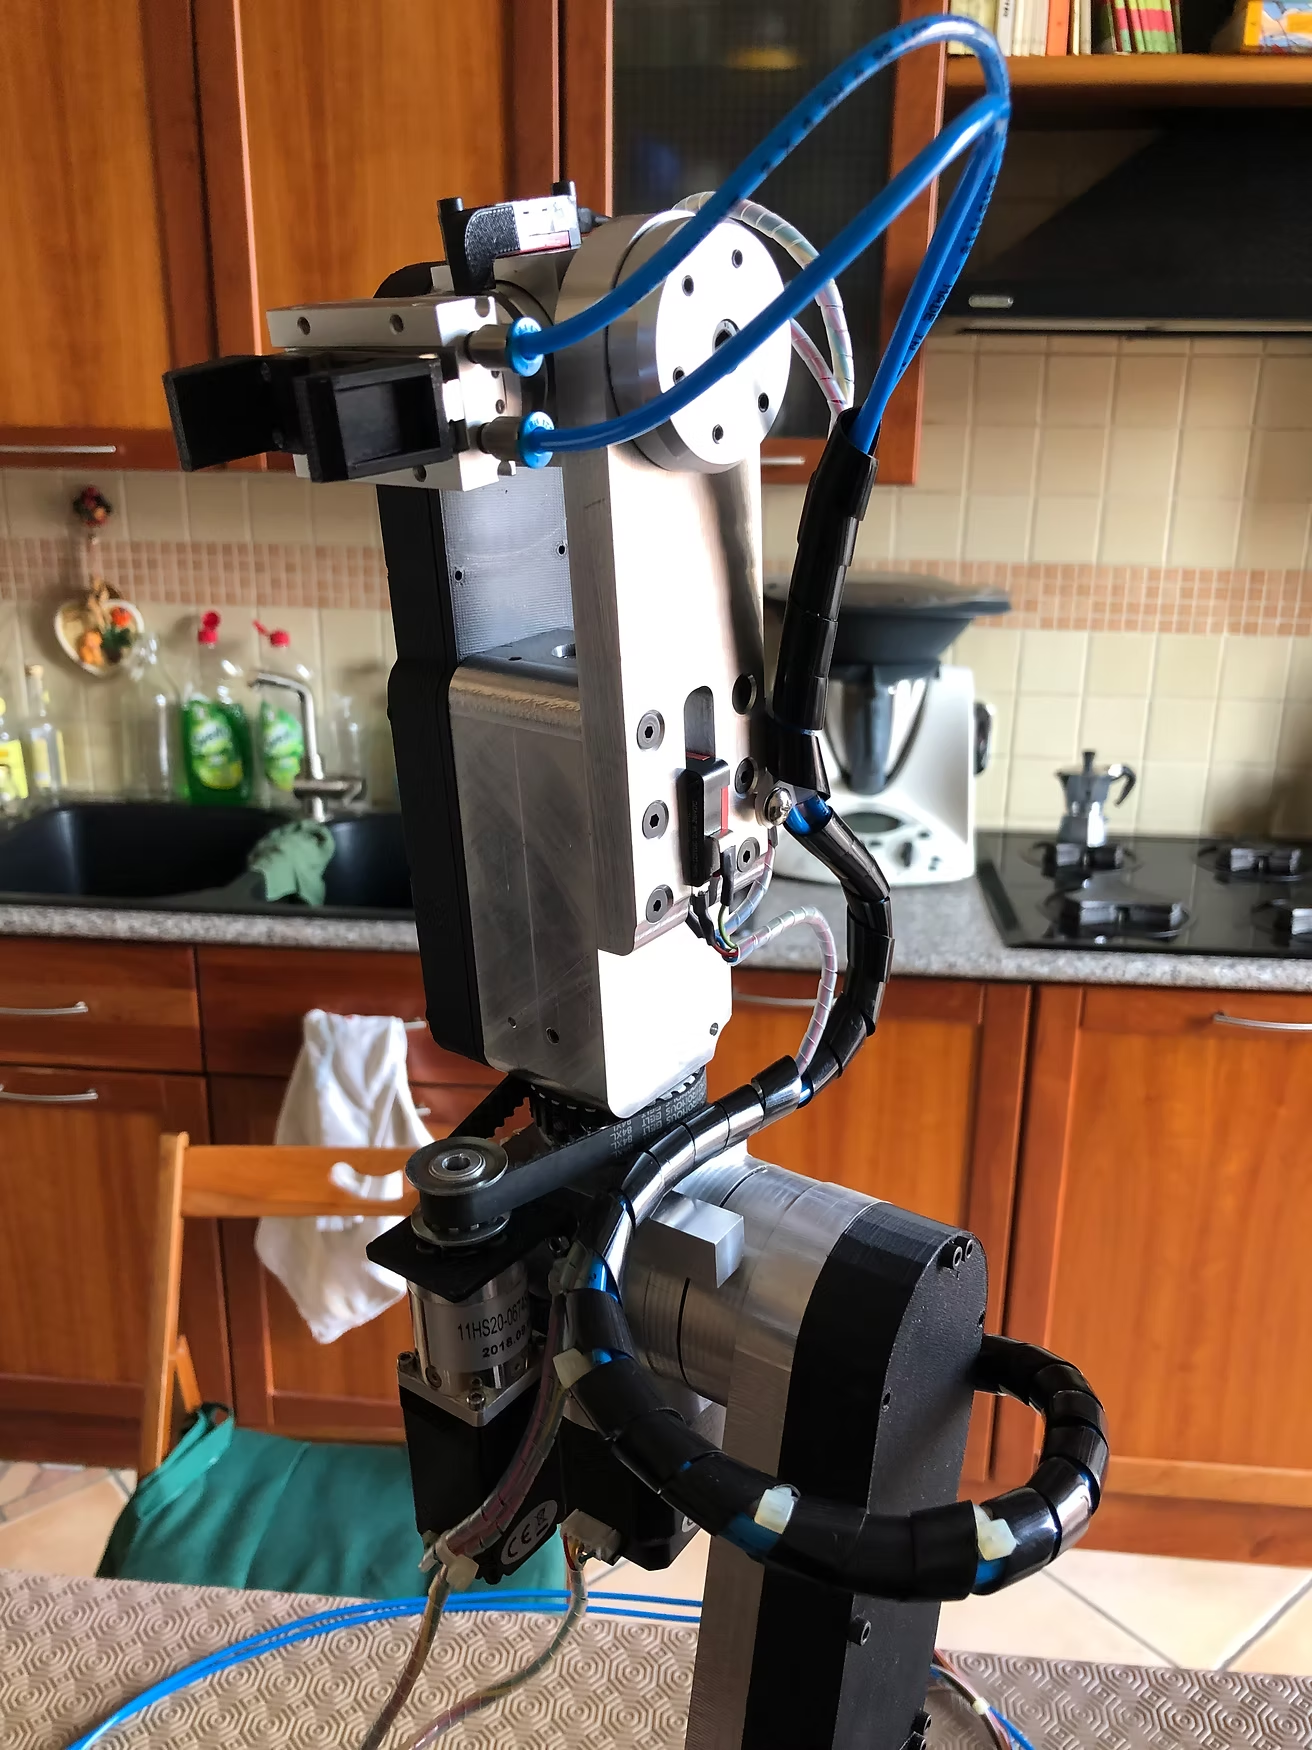
During these days i completethe robot and driver cabling and test, so it is finish. Somethis is to do but robot works fine.

I also install the Raspberry software so i will move soon the control to this platform.

Two questions:

Is it possible to use the Xbox controller with Rasperry and AR2?

And, is there a way to change the usage of button and control of the Xbox controller to use, for example, the joypads for moving different axis of robot without change the axis selection?

Chris Annin

Wow, very impressive. thank you for sharing.

Alessandro Chite

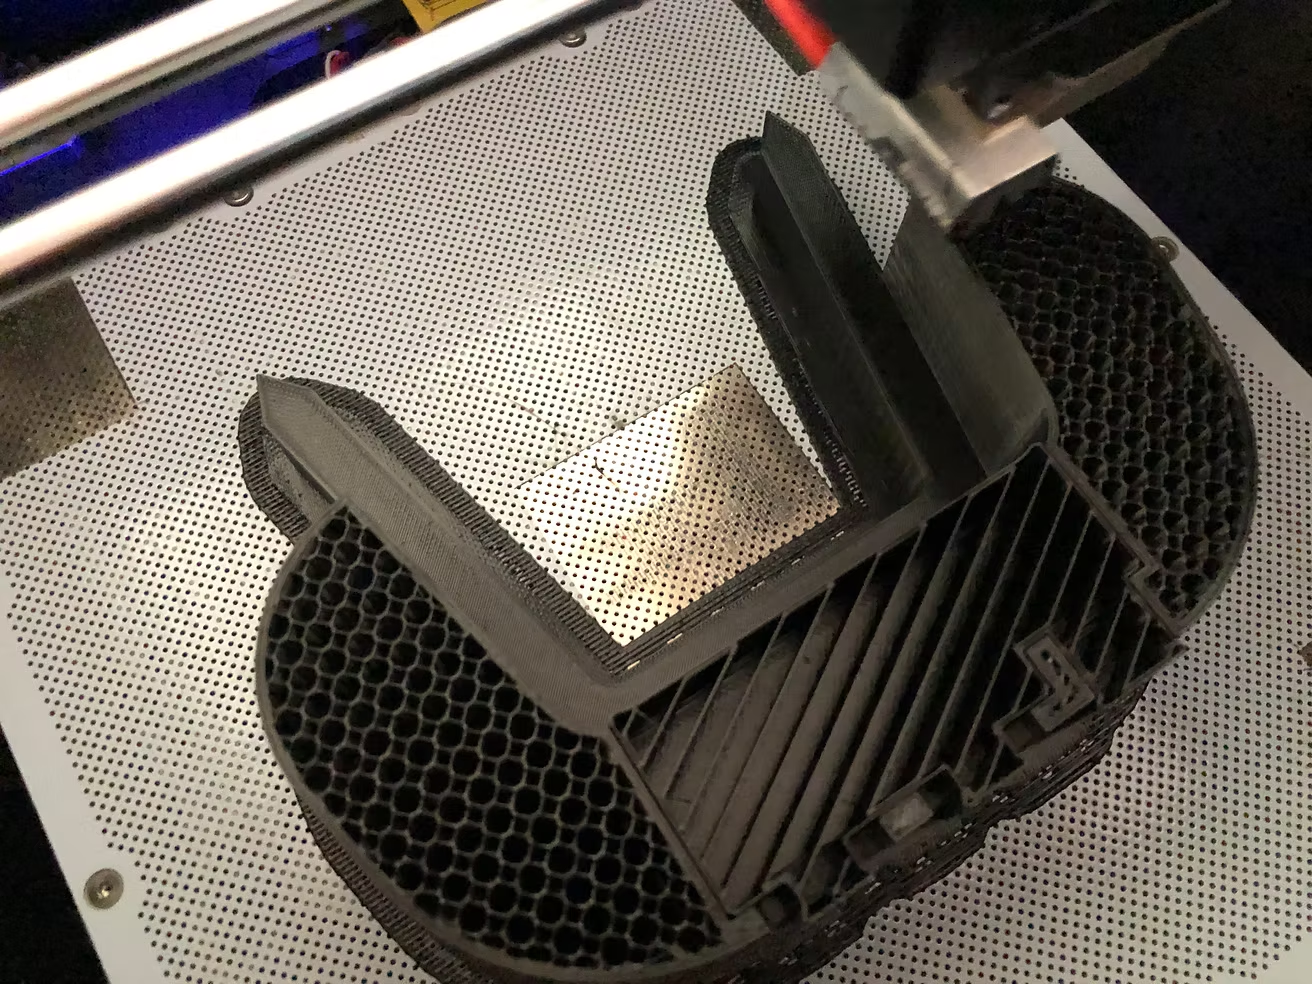
Chris, i will send to you by mail the cover 3d model so you can share it for other users.

Alessandro Chite

Alessandro Chite

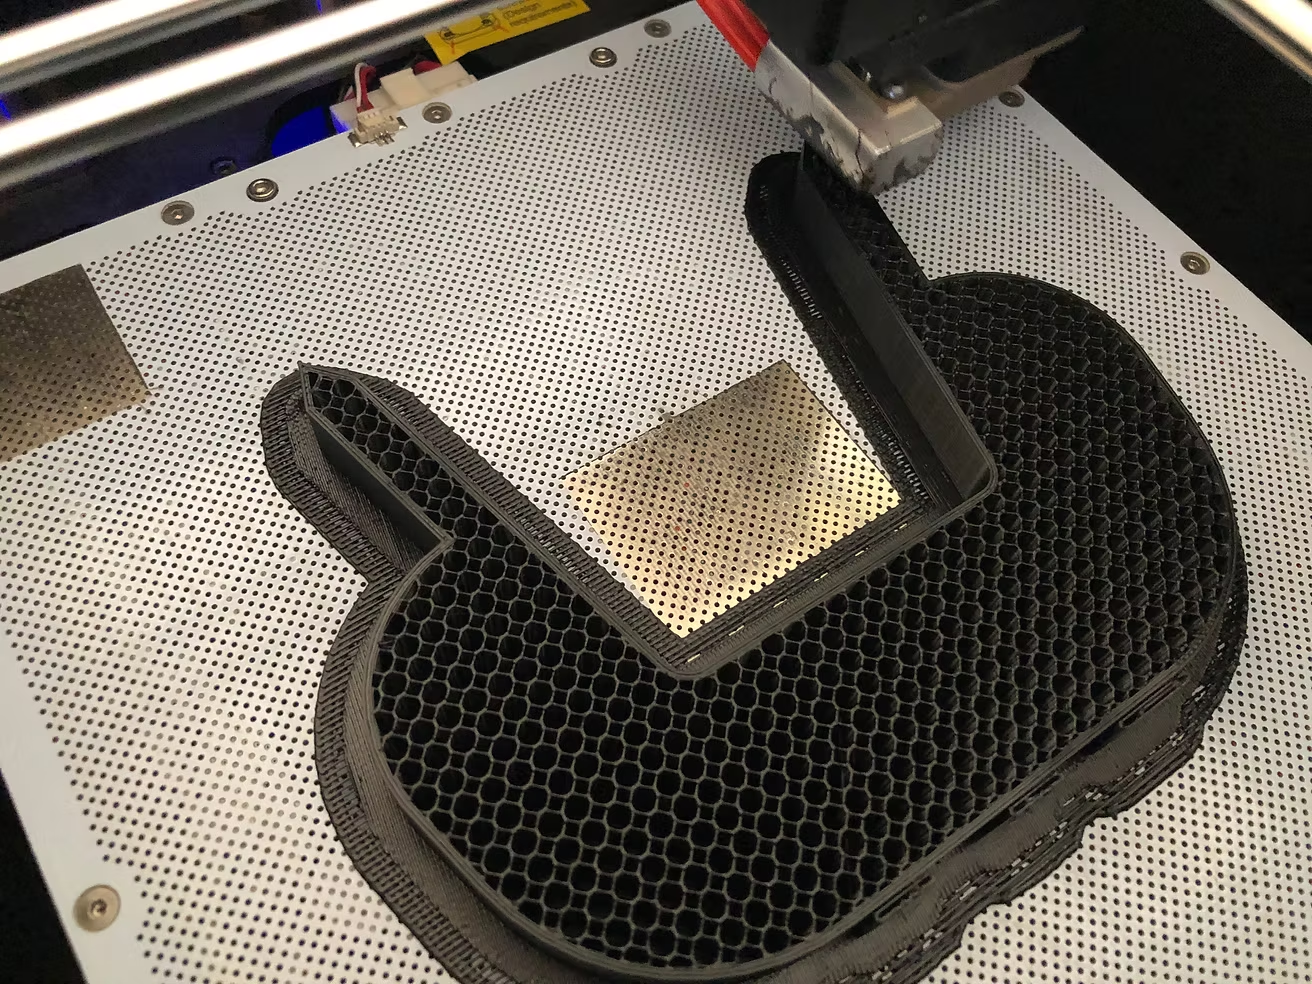
Rear cover during printing ...

Alessandro Chite

Soon the software on Arduino, raspberry and the final test.

I am also thinking to put the raspberry and display in the cover of the driver box.

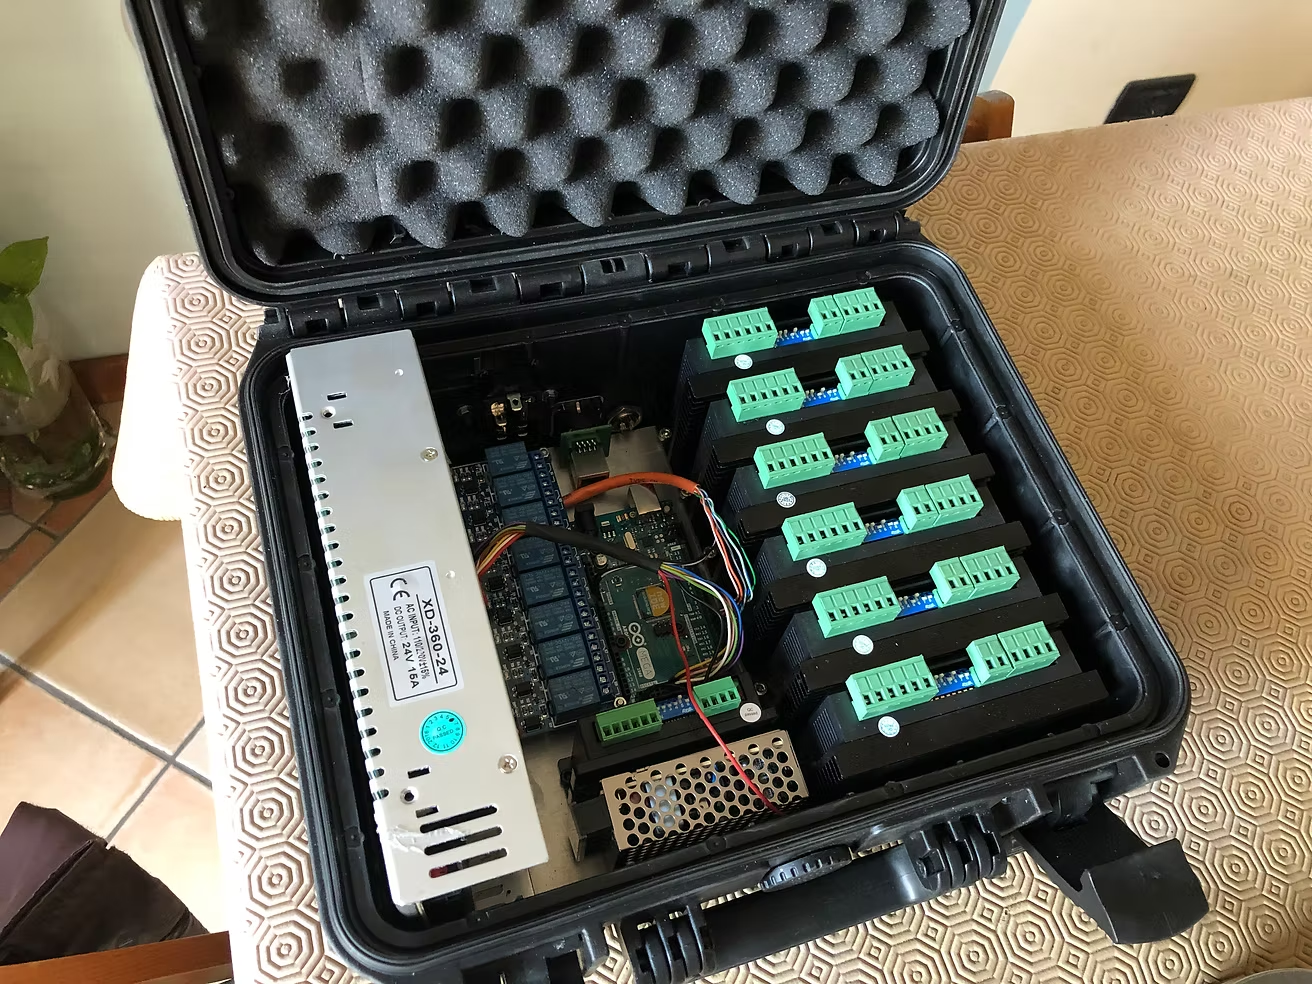
As you see, i used a IP67 explorer cases from italian SOCEPI.

This are very similar to PELI waterproof case but the cost is very lower and quality is very good.

It is possible i will also do a carrying case for the robot with this type of case.

Bye
Alessandro Chite

Alessandro Chite

Alessandro Chite

Alessandro Chite

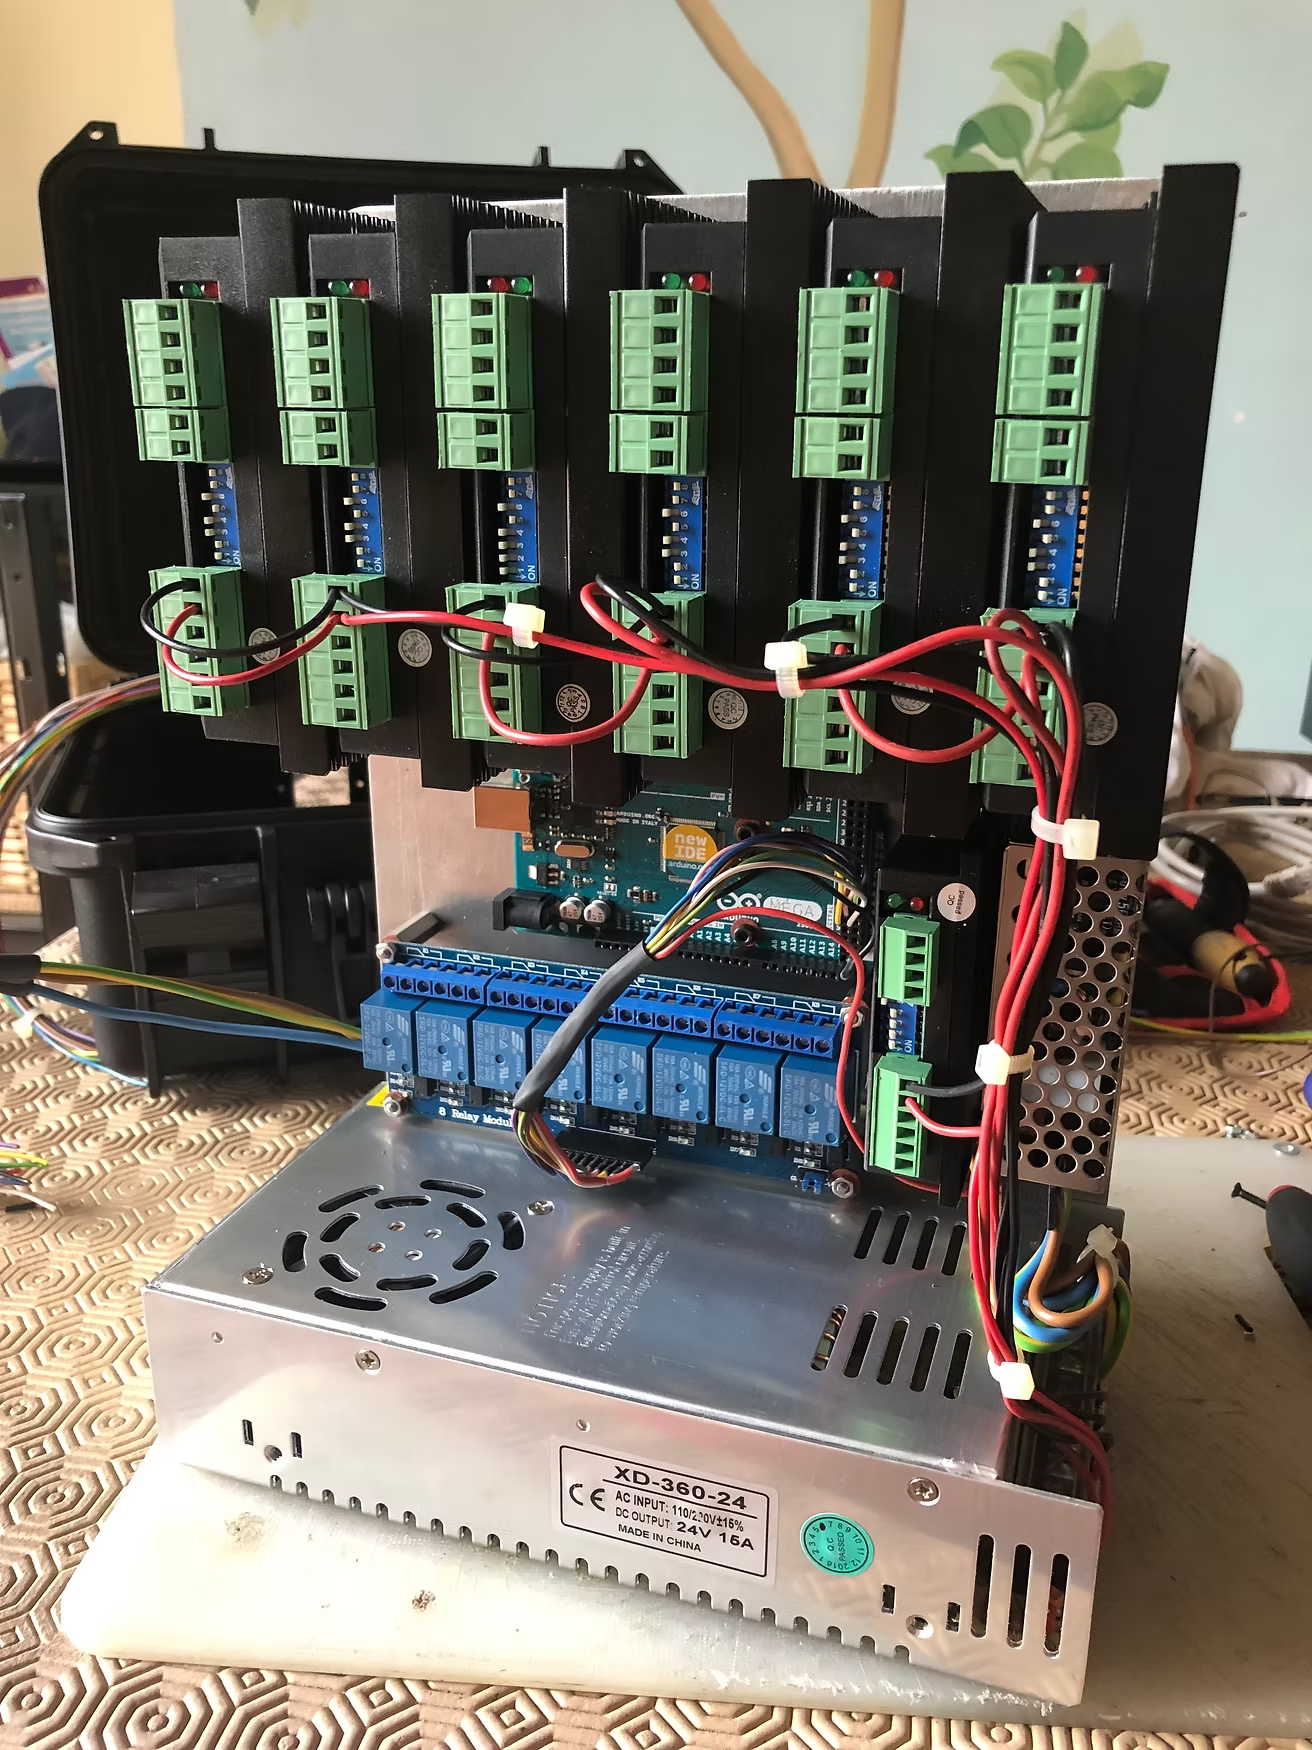
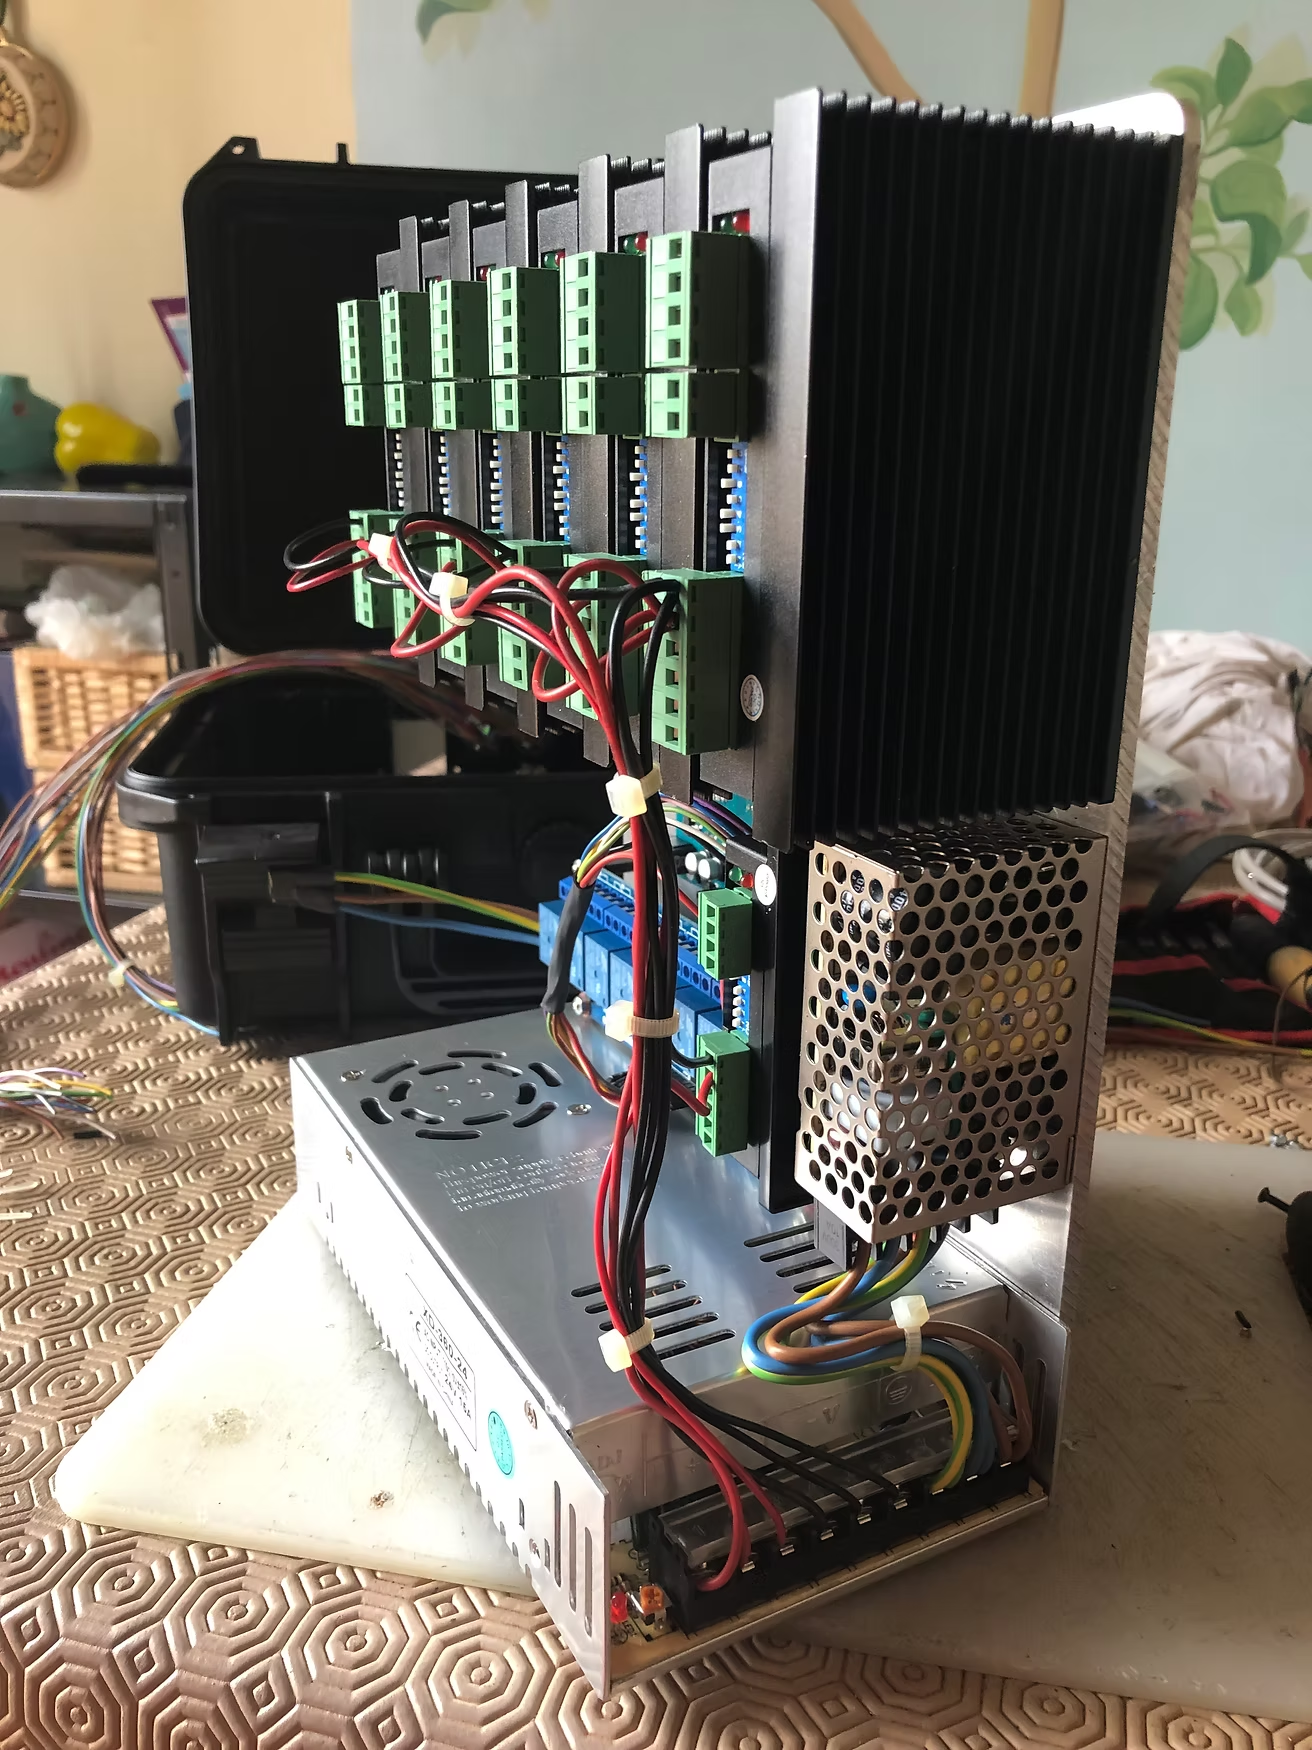
Also the driver box is to the final stage ...

Alessandro Chite

Alessandro Chite

Alessandro Chite

Alessandro Chite

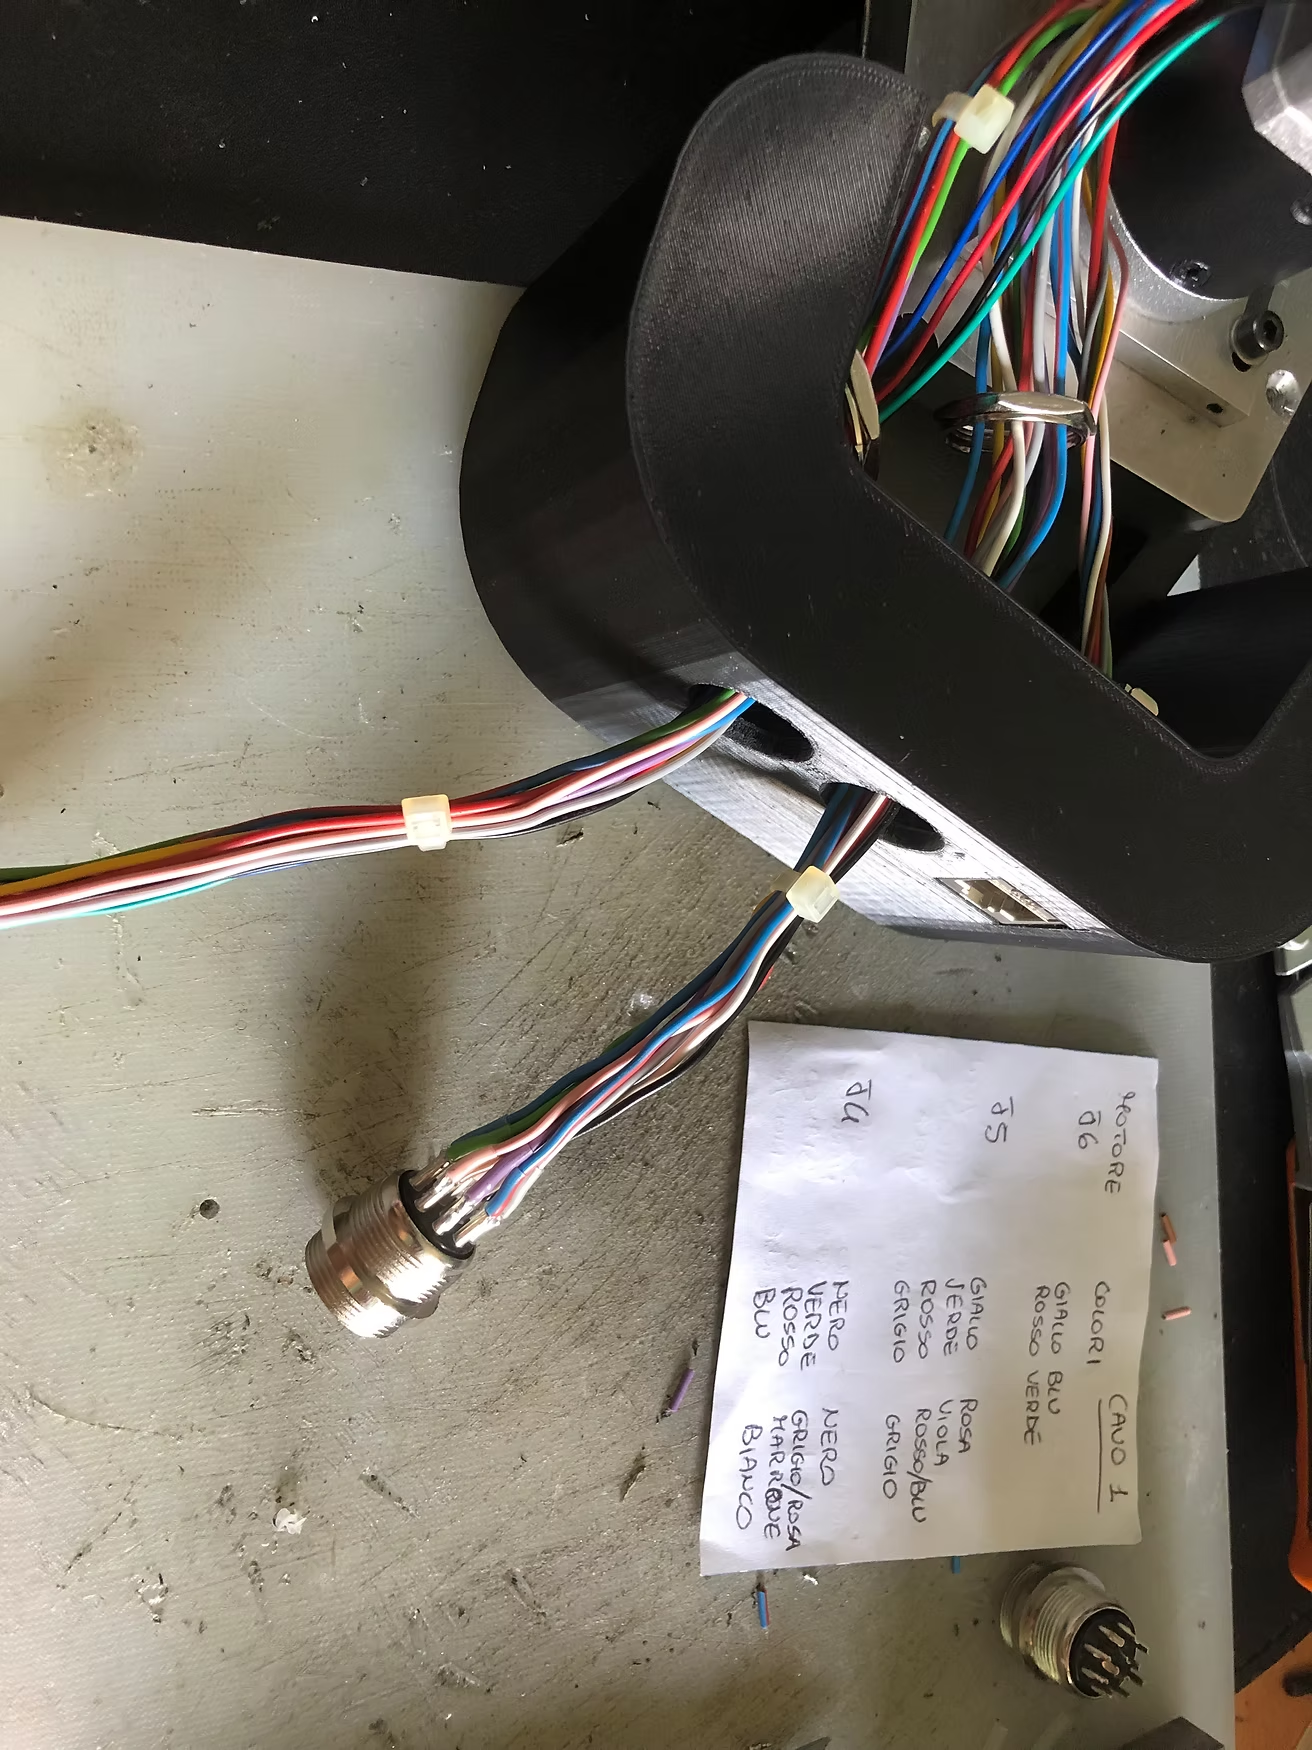
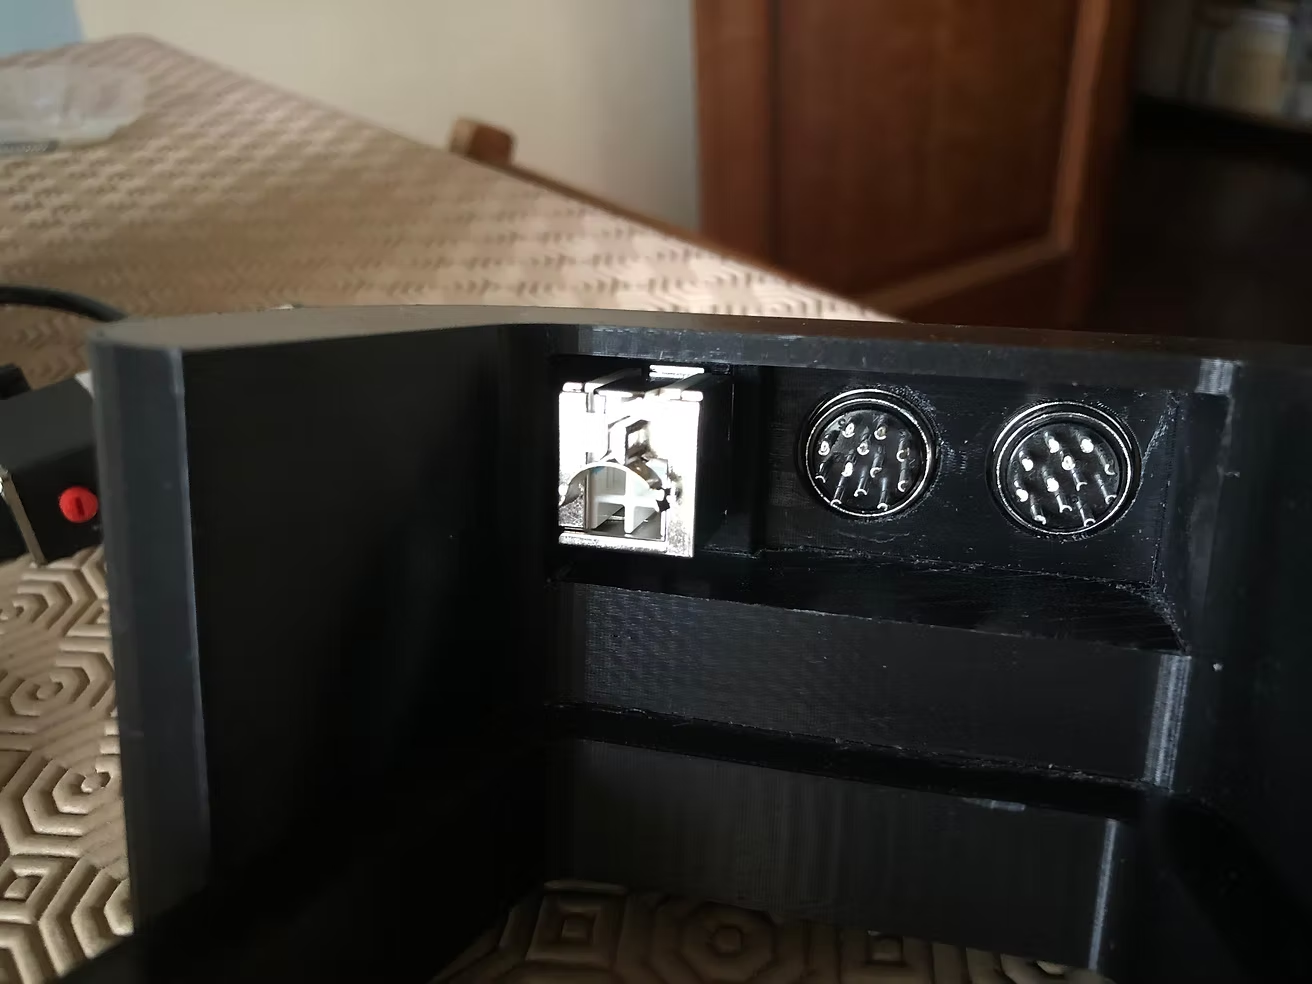
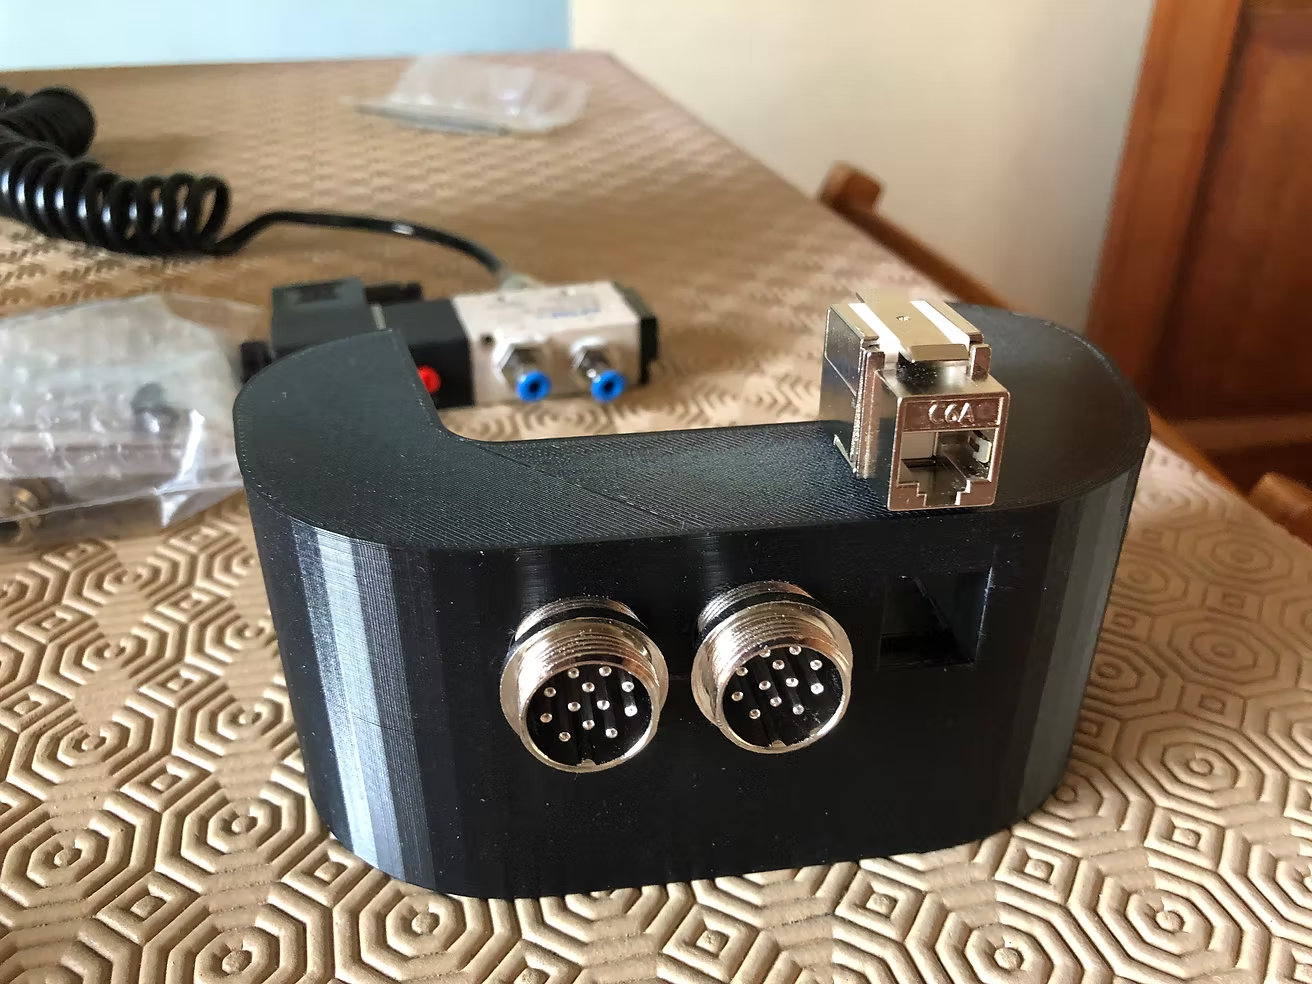
It use two aviation connector for steppers and one keystone cat6 jack for home switch

Alessandro Chite

Alessandro Chite

Alessandro Chite

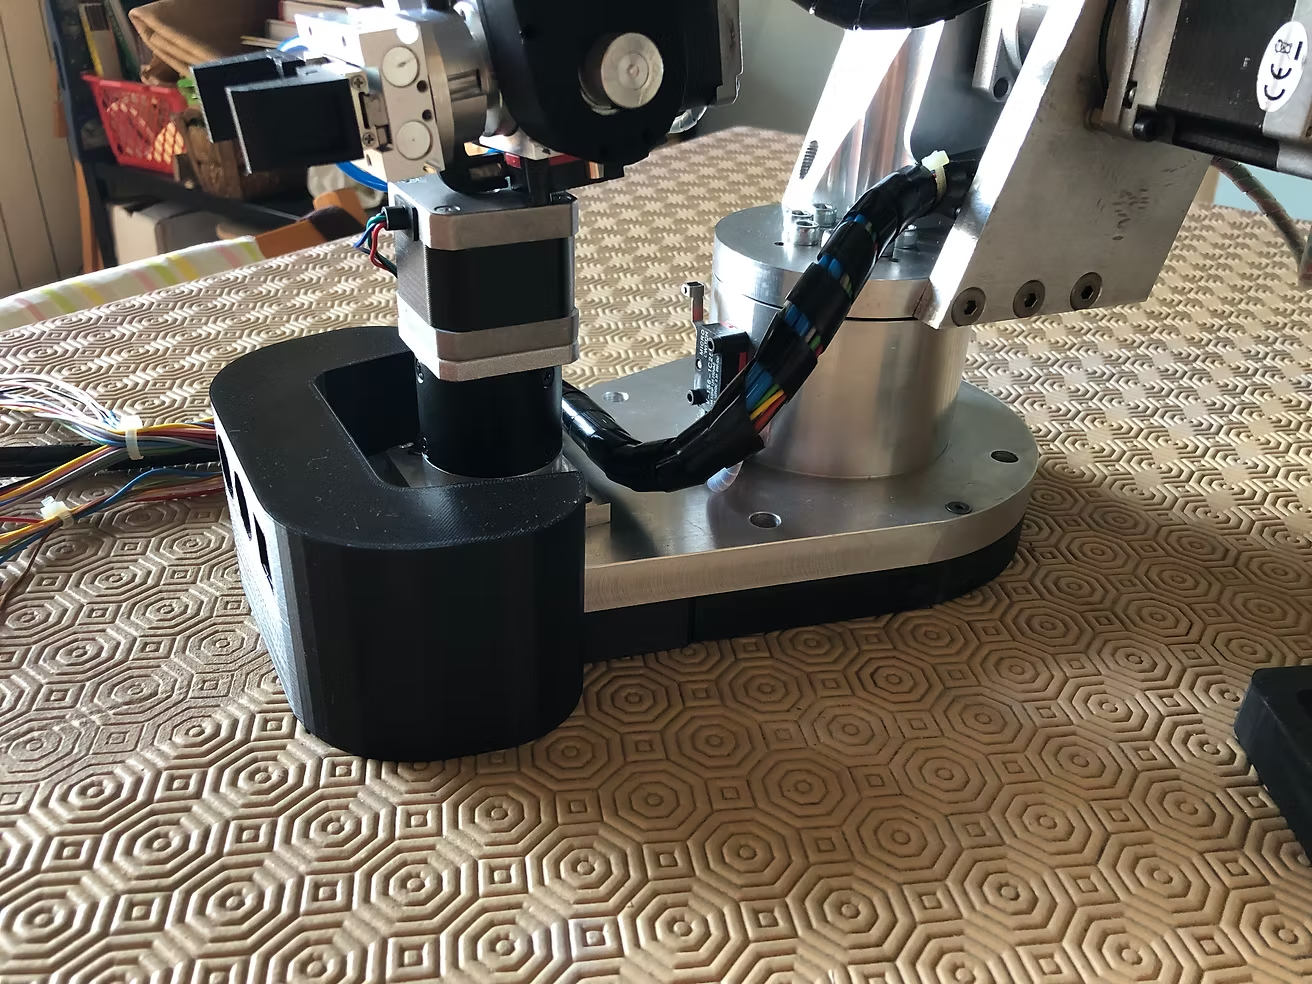
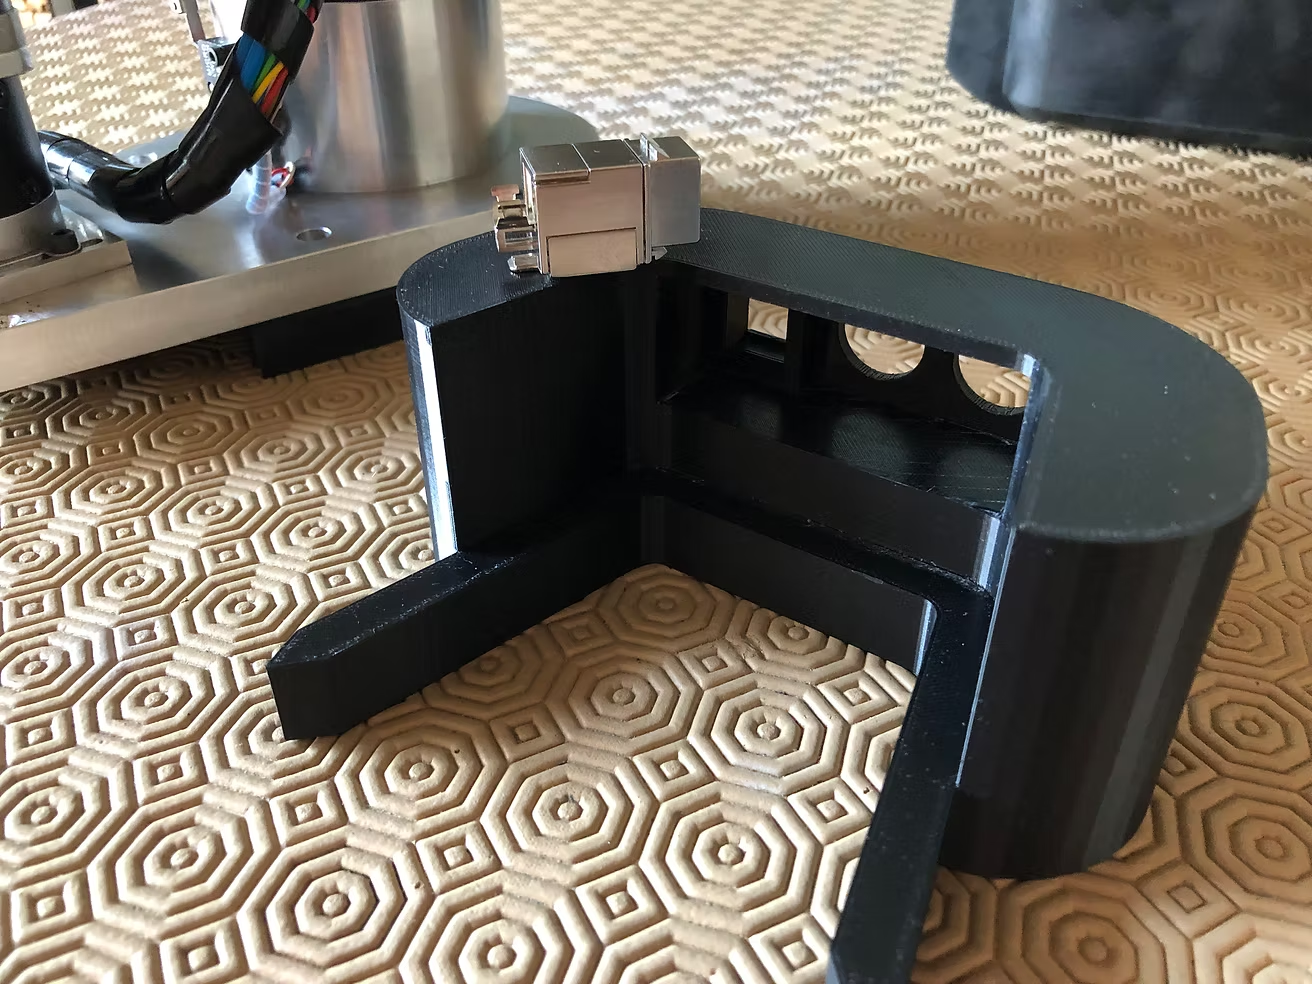
I decide to do a rear junction box by 3d printer.

Alessandro Chite

And this is the actual state ...

Alessandro Chite

Alessandro Chite

Alessandro Chite

New steps and photos

Alessandro Chite

Alessandro Chite

Alessandro Chite

Alessandro Chite

Luke Meier

how do I make a new post? I can only see how to make a new comment.

Chris Annin

looks good. thanks for sharing all the info.

Alessandro Chite

Just to clarify, this is only for sharing my experience.

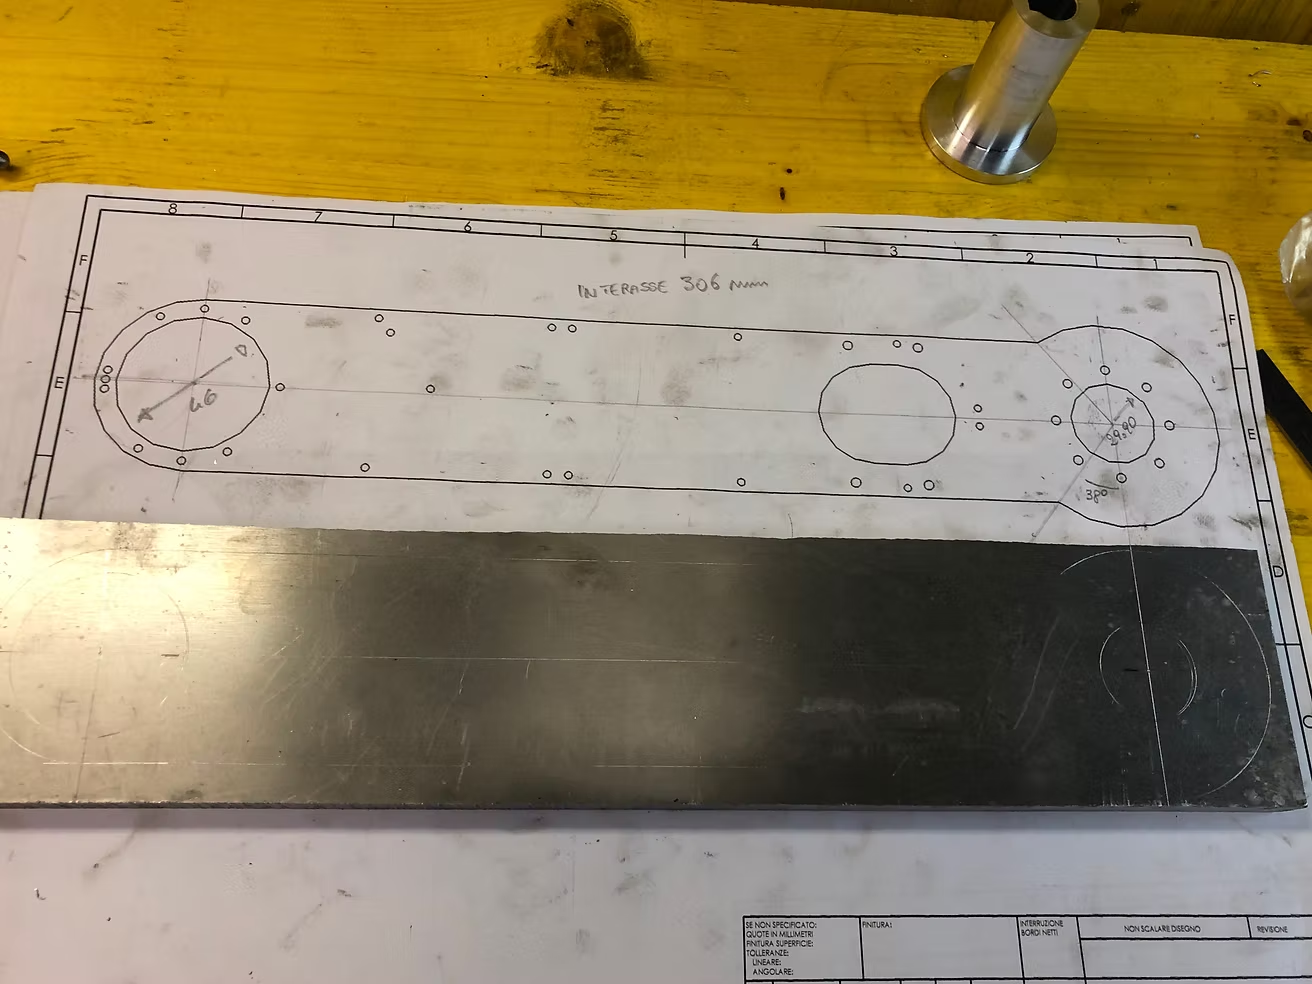
The cost of the mechanical kit is very good and i decide to do it by myself only to improve my knowledge into using my lab machines.

Alessandro Chite

Alessandro Chite

Alessandro Chite

Alessandro Chite

Alessandro Chite

Alessandro Chite

Alessandro Chite

Chris Annin

Awesome. thank you for the update.

Alessandro Chite

Alessandro Chite

Alessandro Chite

Alessandro Chite

Alessandro Chite

Alessandro Chite

Alessandro Chite

Alessandro Chite

Paul McLaughlin

Congratulazioni. Lavoro fantastico

Thank you for sharing. I particularly like the surface finish of your parts.

Would love to see more videos and photos if you have them.

Alessandro Chite

Alessandro Chite

Alessandro Chite

Alessandro Chite

Hi Mitch,

here is an example.

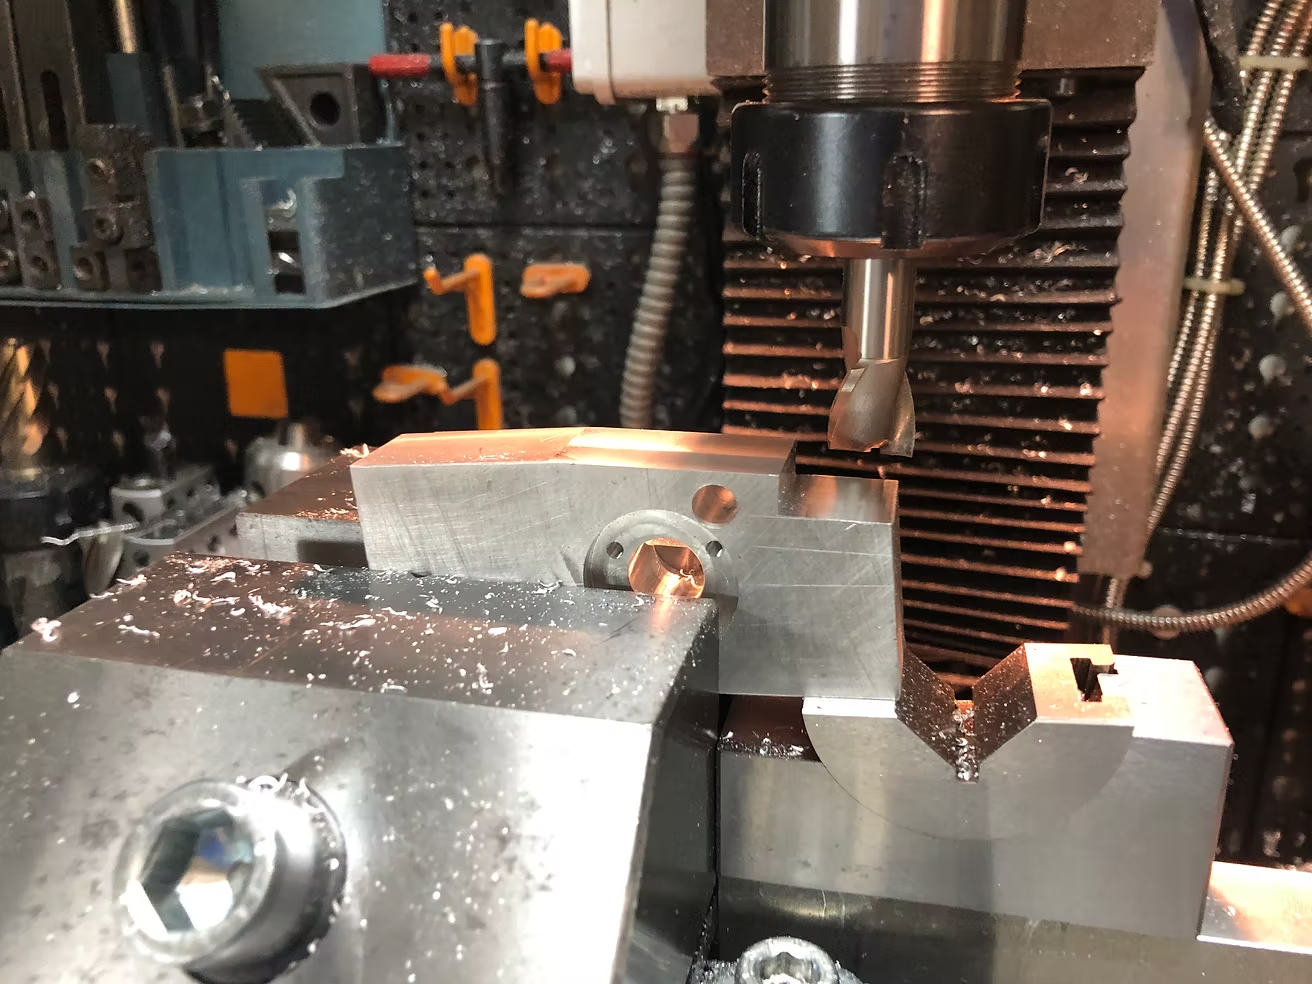
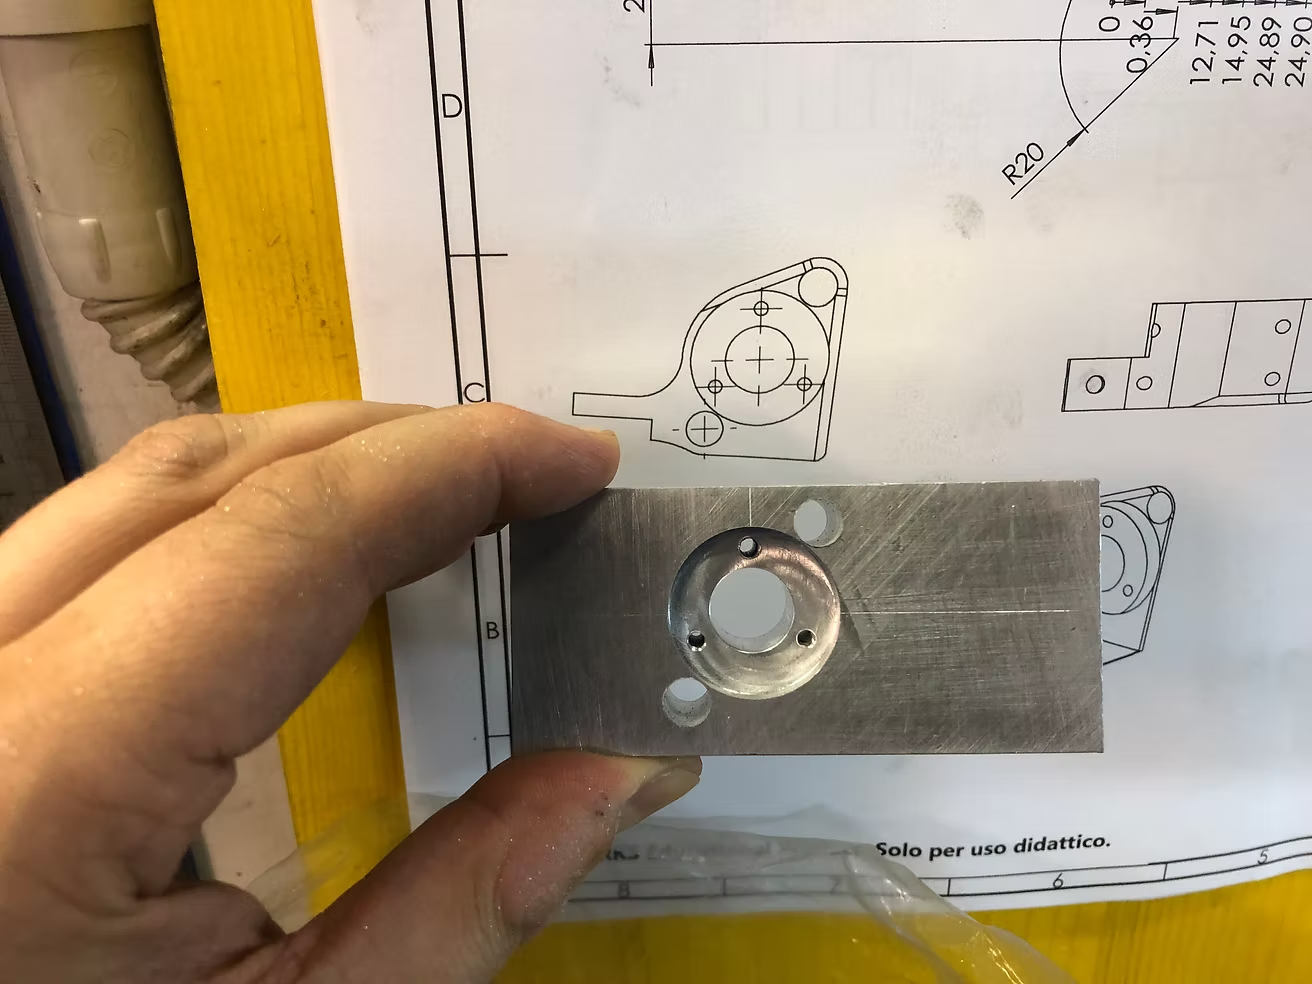
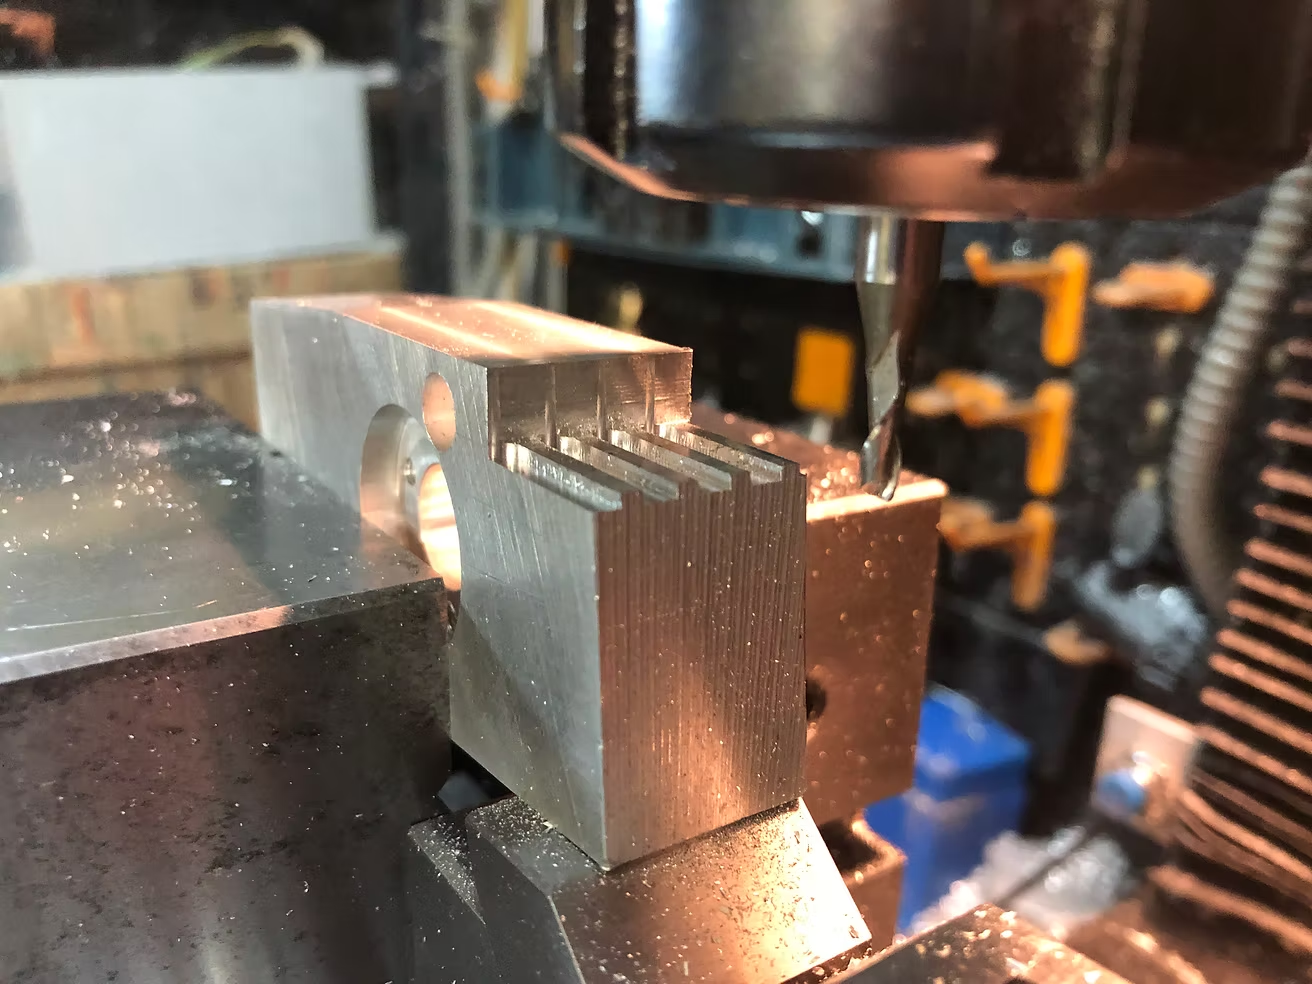
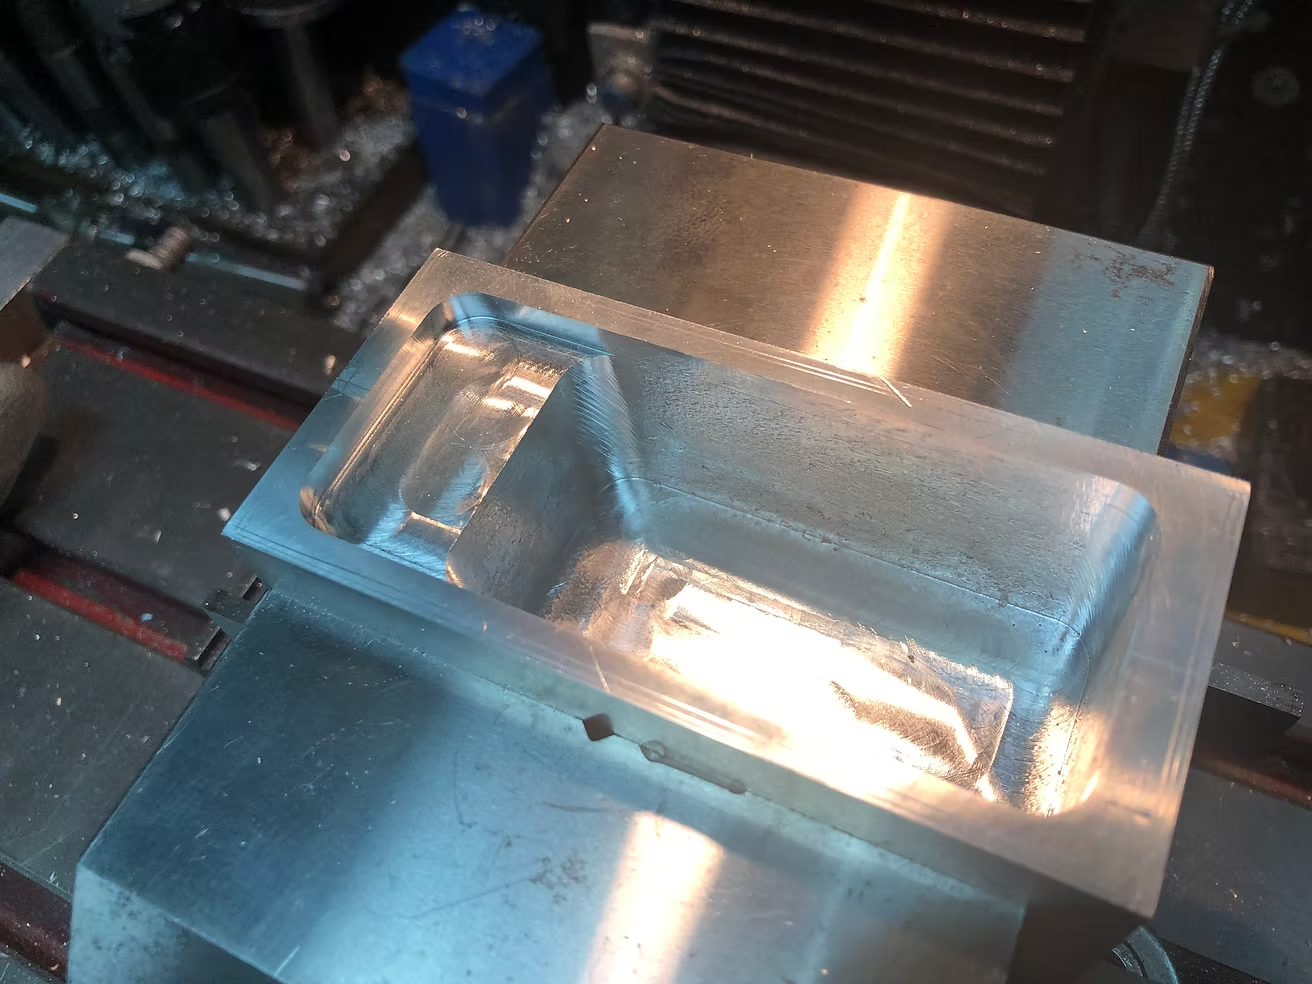
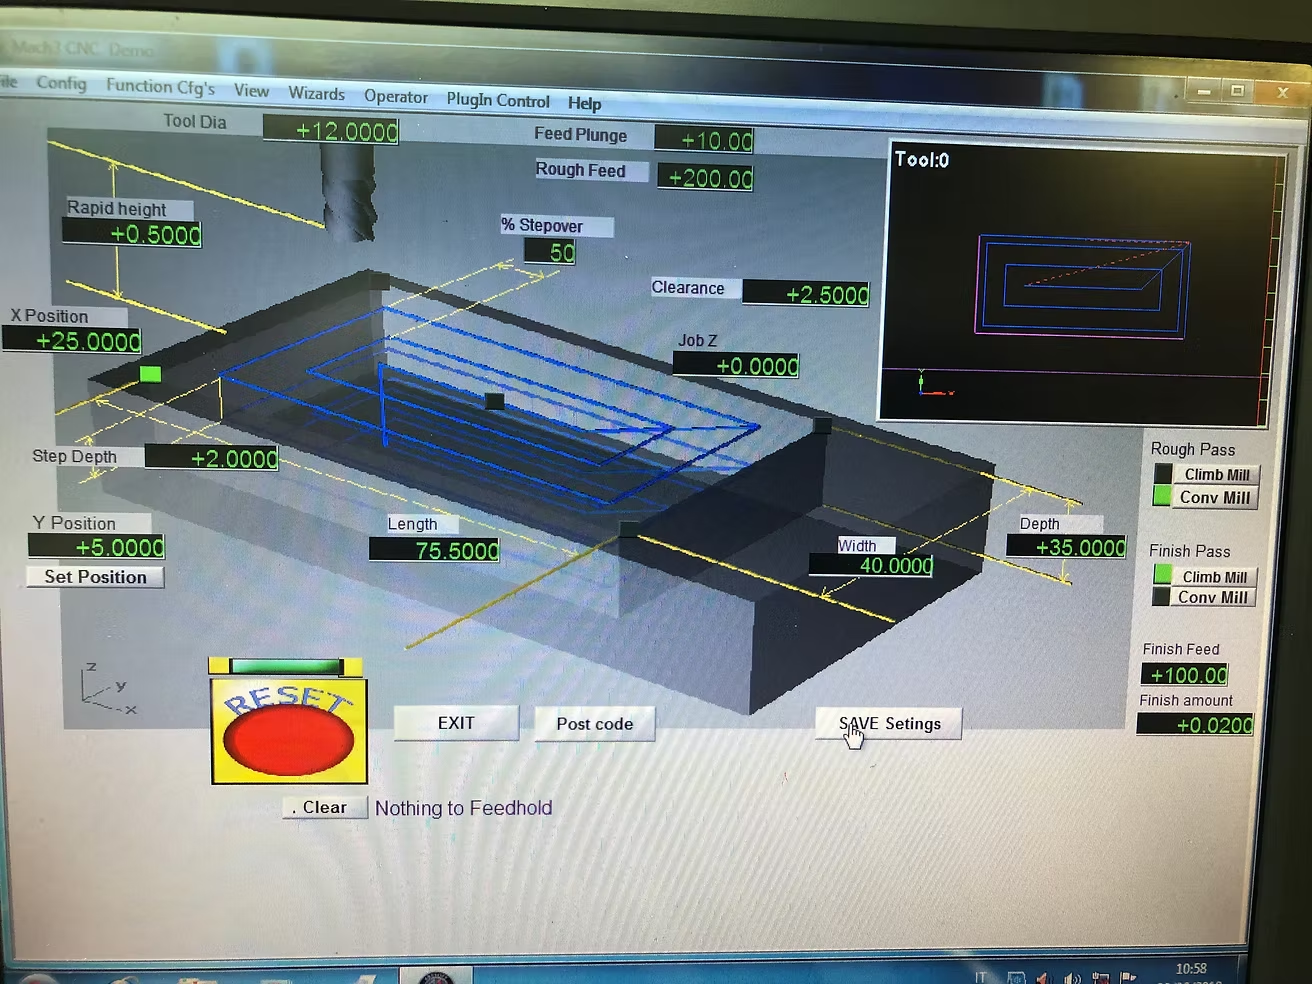
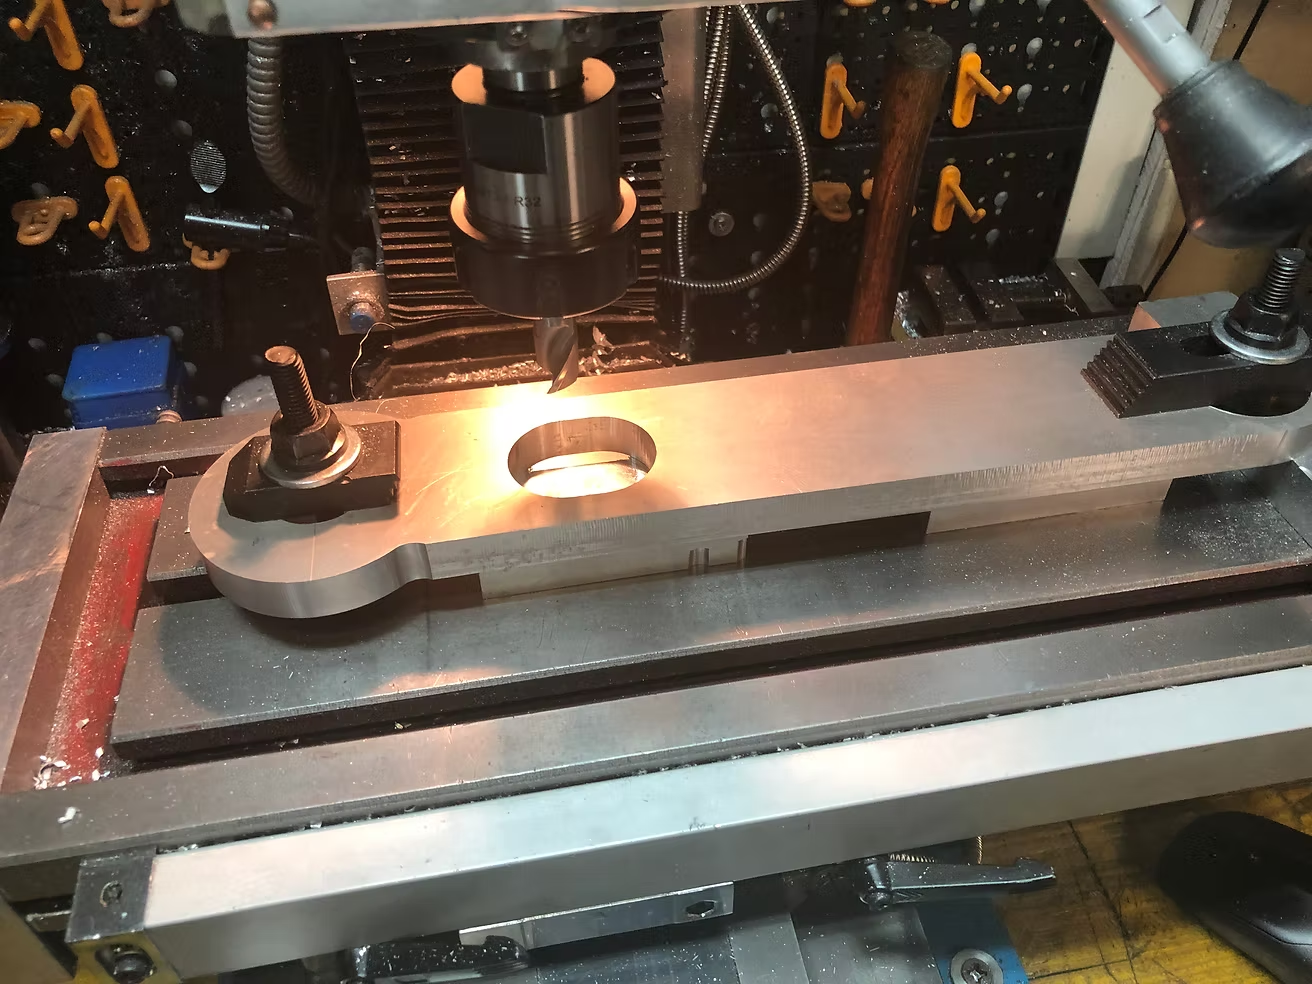
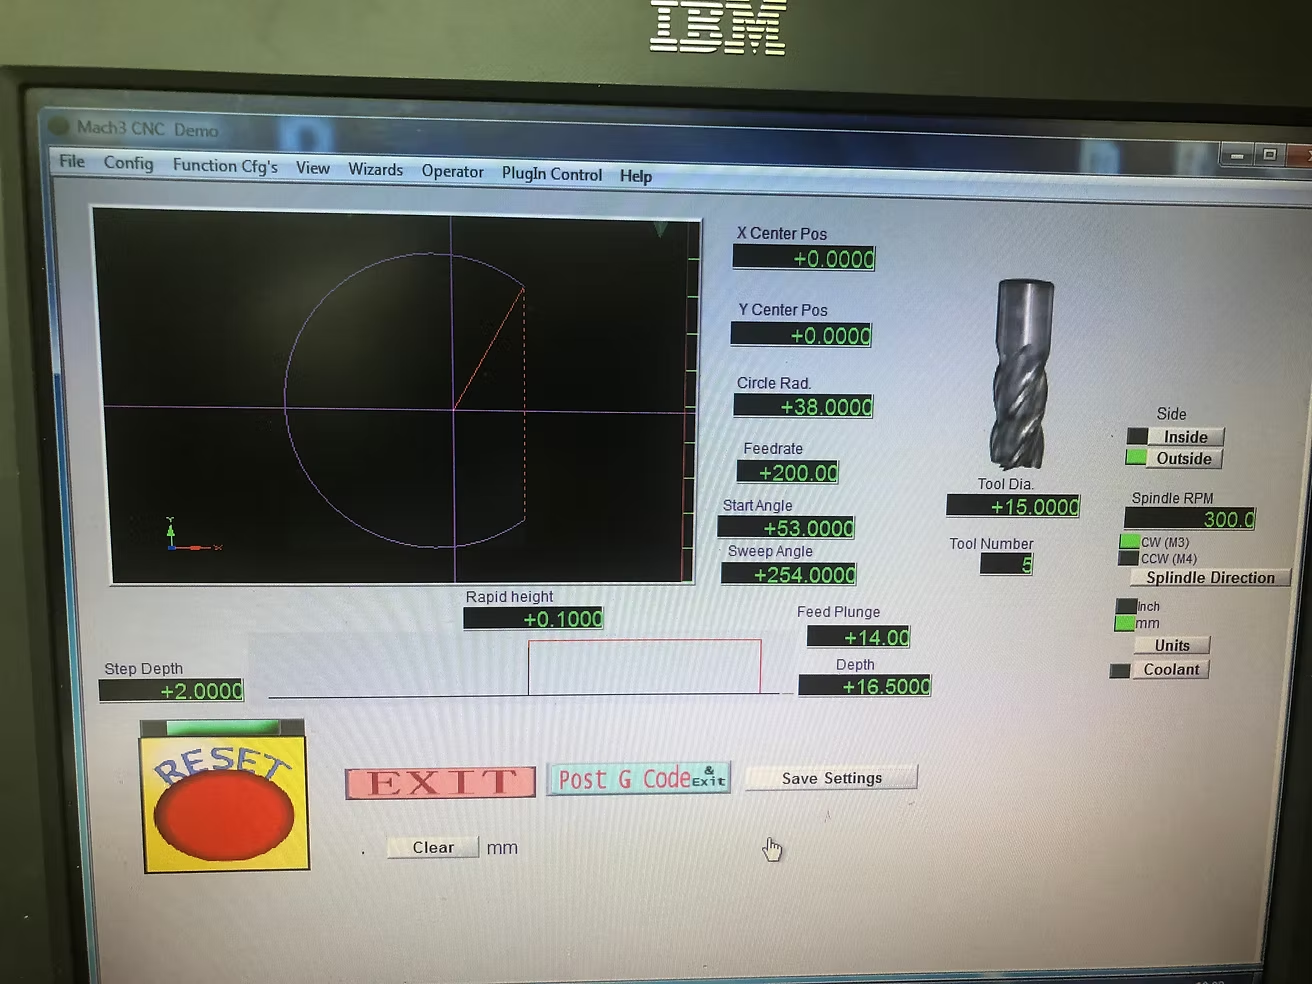
I make only one part for me, so I am using my cnc milling machine into “semi-automatic“ mode.

Mitchell Lichtenberg

Hi Alessandro,

Wow, you're going to make the parts yourself! Please post pictures of your setups; I looked into this and studied the type of fixturing I'd need to make these parts on a 3-axis CNC and realized it'd be difficult without a 5-axis machine.

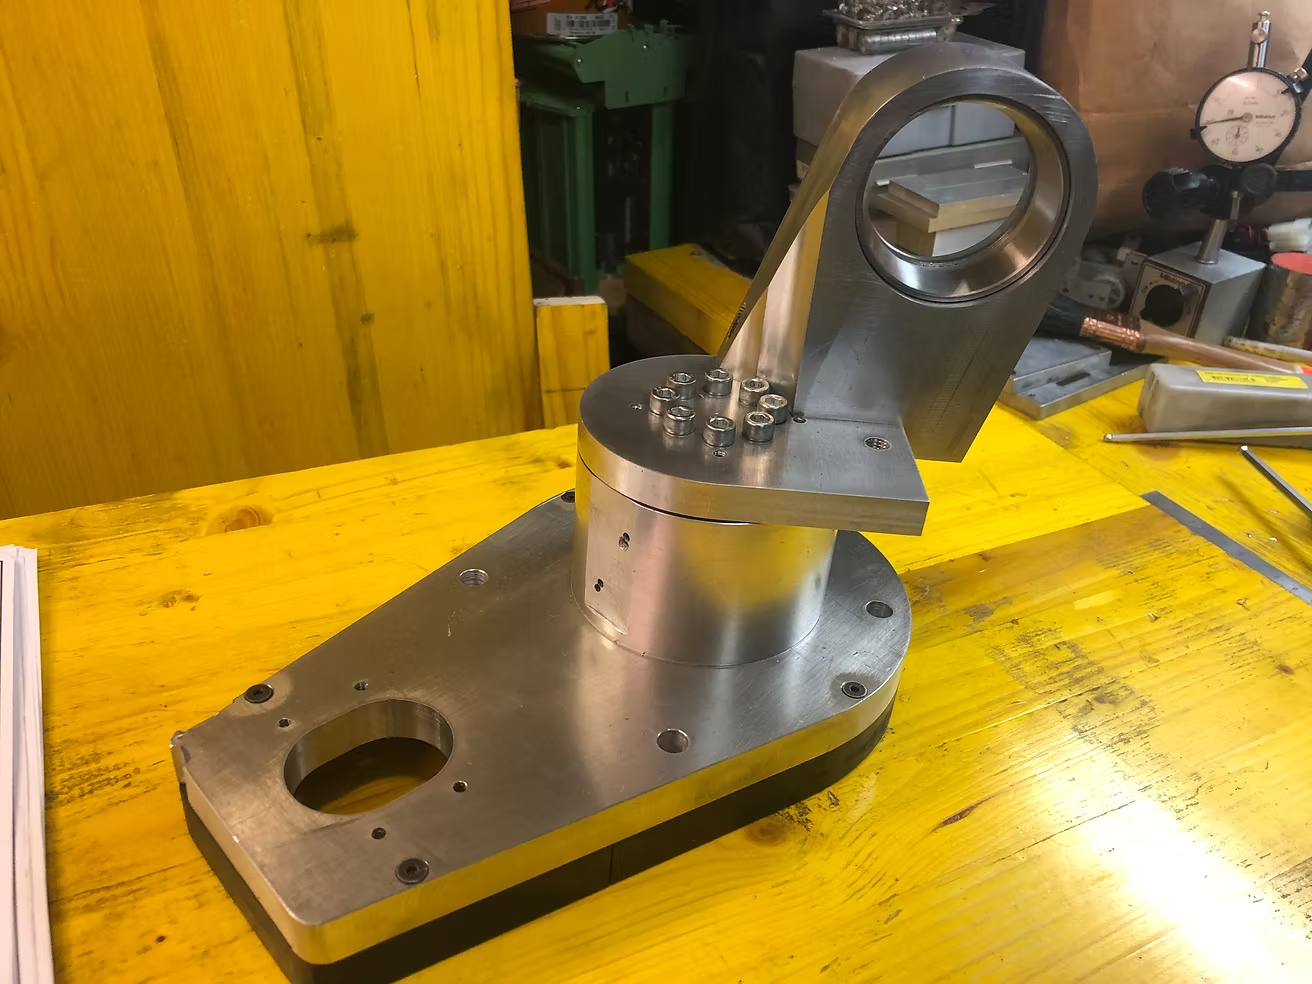
Still, your J2 housing looks awesome! Definitely would like to learn more about how you approach each part.

I did a quick study before I started my build about how I would cut these parts with a 3-axis CNC, manual mill, and lathe, I can post the spreadsheet somewhere if it would be interesting to you.

/Mitch.

Chris Annin

Awesome, thank you for sharing. keep the updates coming.

54 replies

Photos