

PaMiLoCELL #06 – Shaft, Key & Fastener Assembly
During the AR4-MK5 assembly and MK4 → MK5 upgrade, one of the most useful lessons came from something apparently simple: fitting a keyed shaft.
For those unfamiliar with robot mechanics, J1 and J2 are the first two robot joints. J1 rotates the robot around its base; J2 is the shoulder joint that raises and lowers the arm.
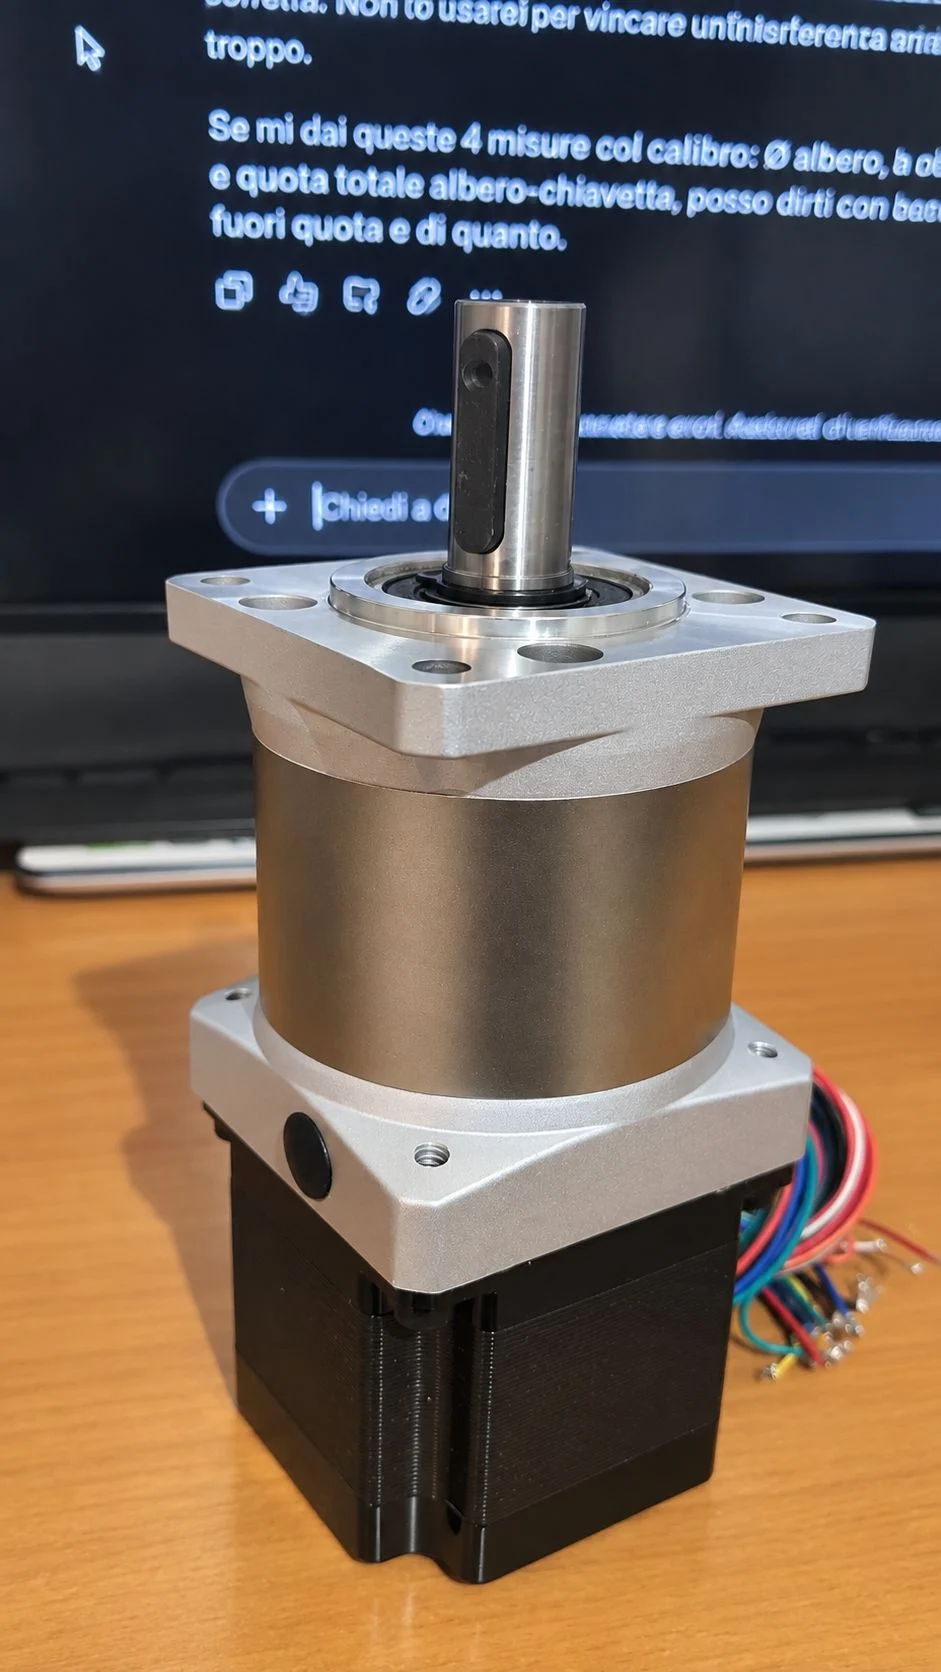
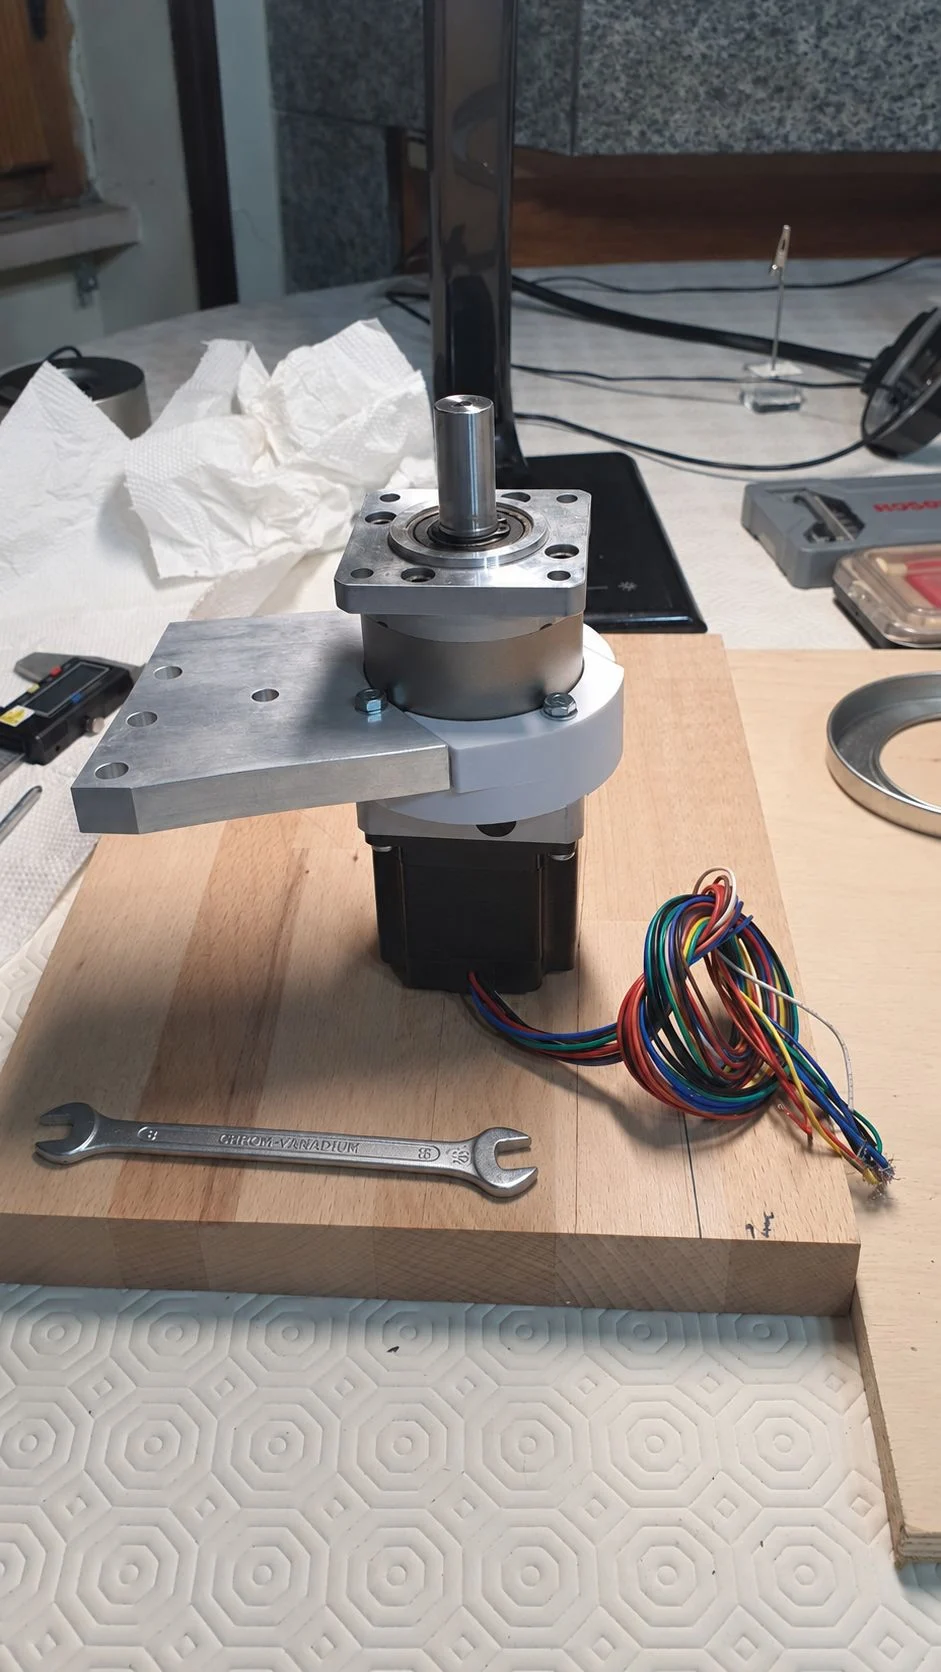
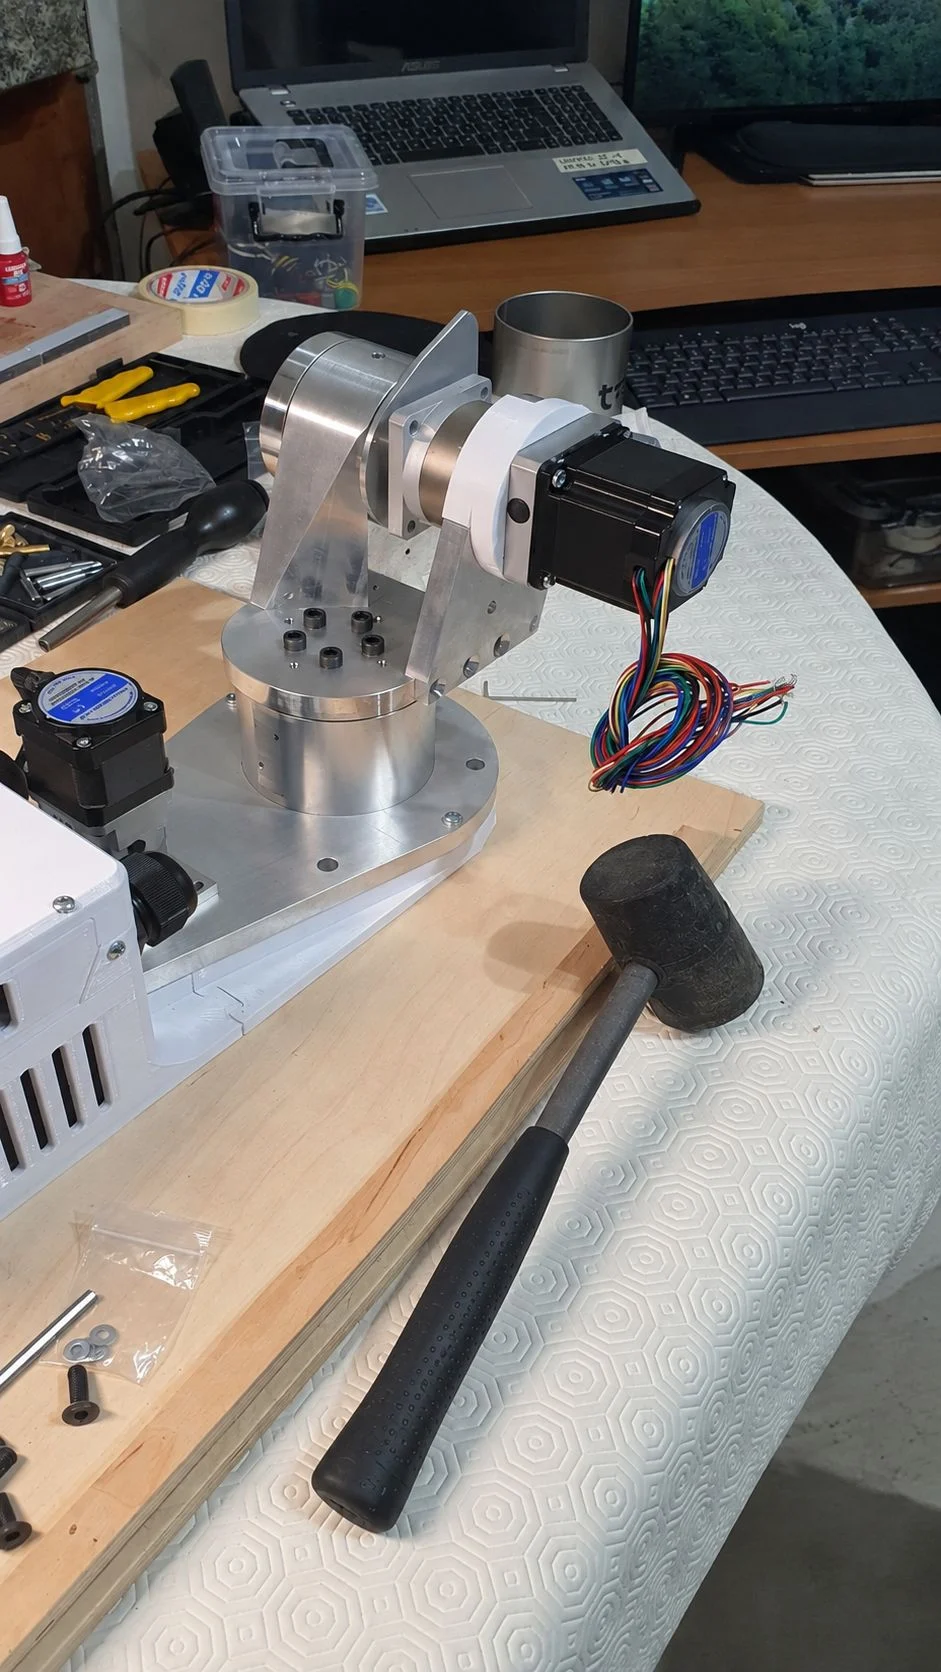
During J2 assembly, the 14 mm gearbox shaft with parallel key would not enter its mating hub correctly.
The first instinct could be to apply more force. Instead, the problem became a practical troubleshooting exercise:
Where is the interference actually coming from?
The checks included shaft diameter, key height, keyway alignment, possible burrs and the overall shaft-plus-key dimension measured with a caliper.
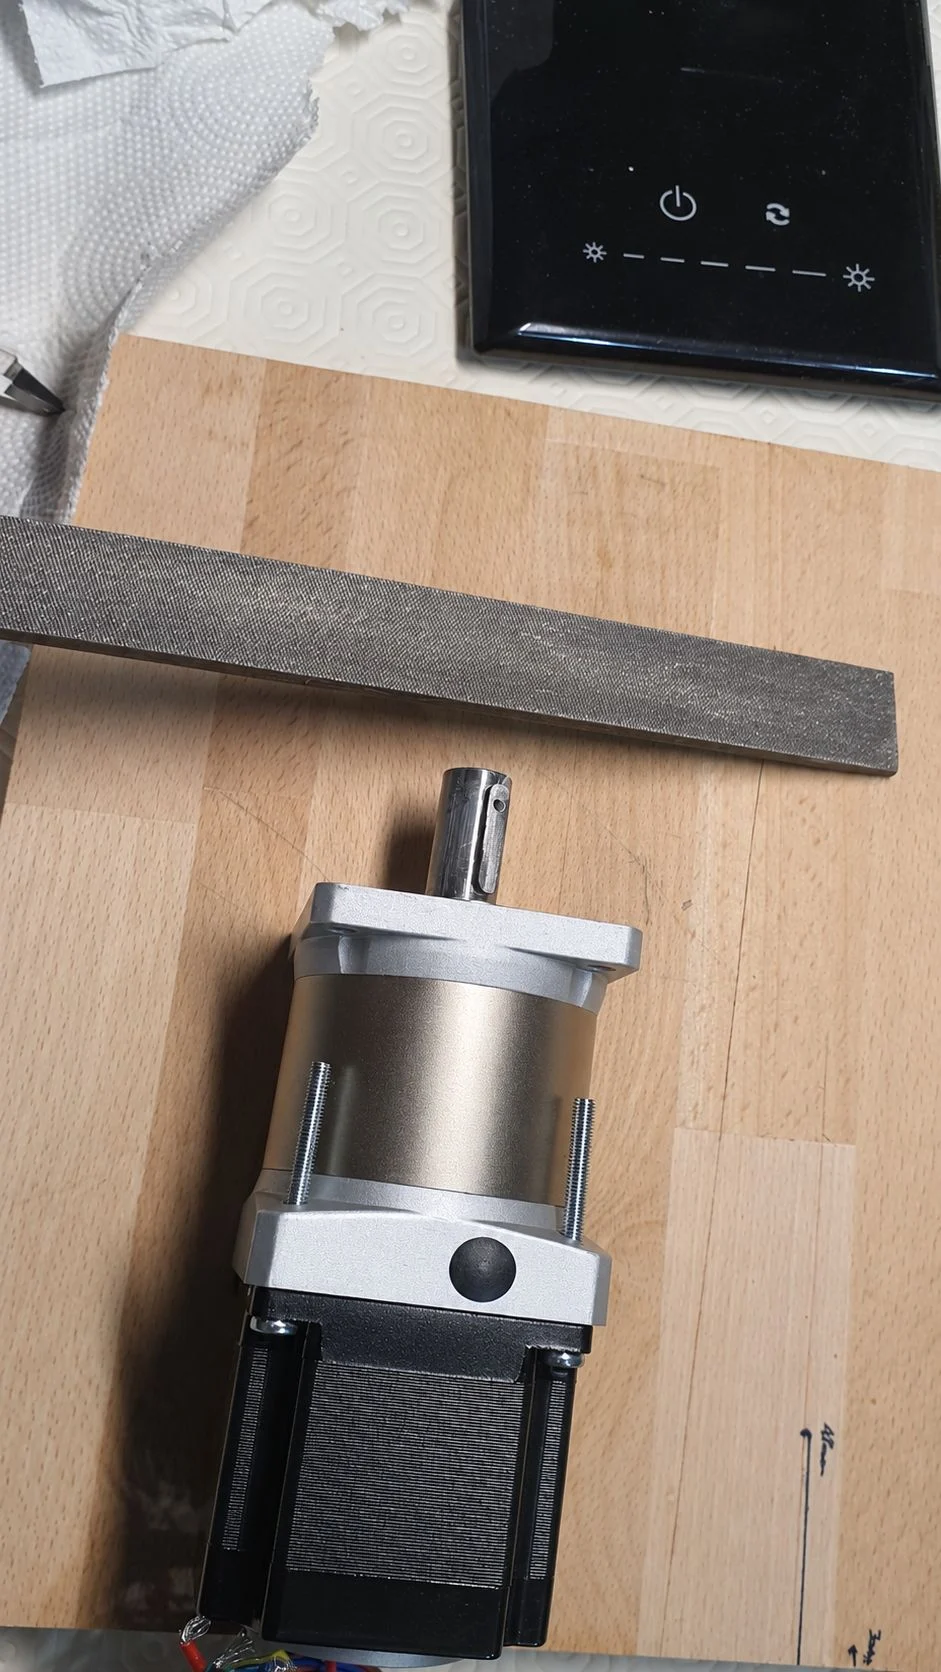
The key was first pressed fully into its seat using a bench vise with protective tape. When a small residual interference remained, the key was carefully filed in very small increments, repeatedly checking the fit.
Only in this kind of exceptional situation, once the geometry and alignment are verified, a soft rubber mallet can help progressively seat the gearbox assembly — never striking the shaft or key directly.
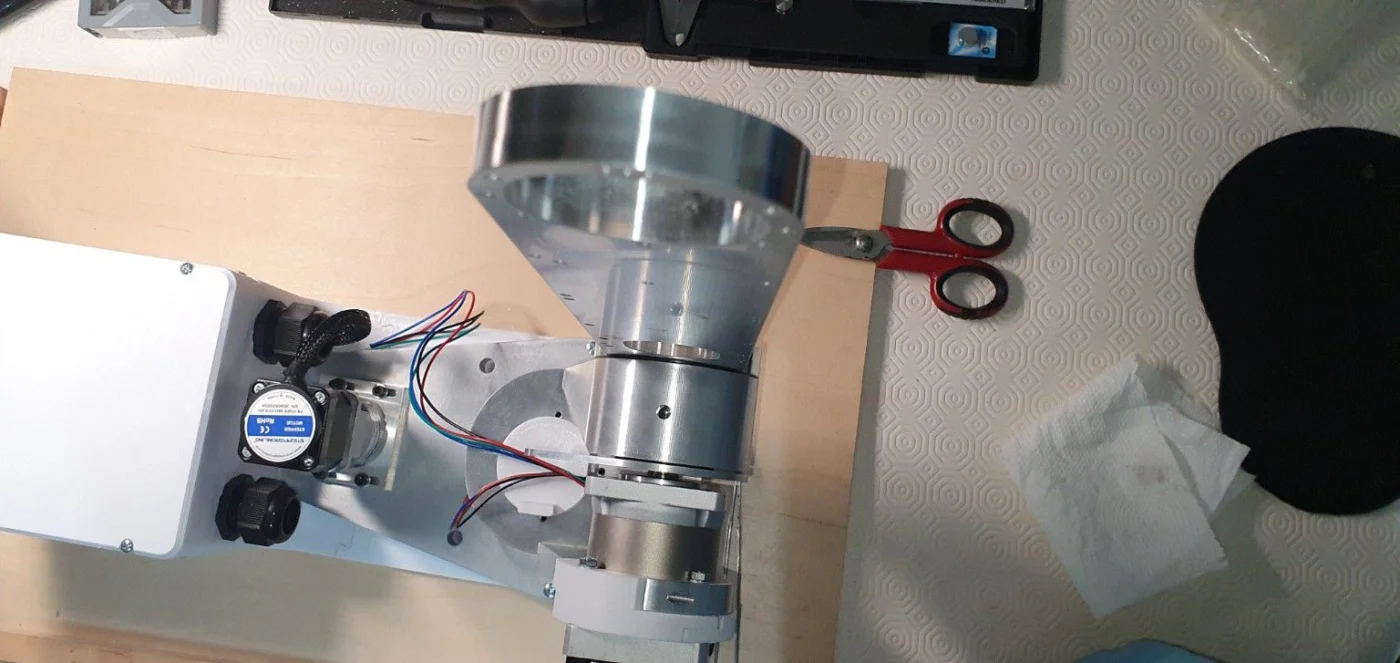
Another important lesson came from the AR4 instructions: fully inserted does not mean eliminating every visible gap. When J2 is correctly installed, about 2 mm remains between the gearbox shoulder and the J2 tension ring.
The same reasoning applies to bolts and nuts. Fasteners should clamp correctly aligned components, not pull misaligned parts into position. Threads should be started by hand and tightened progressively, using an alternating sequence when several bolts clamp the same flange.
The MK4 → MK5 upgrade also reinforced the importance of understanding all locking points, set screws and mounting fasteners before applying extraction or assembly force.
Where specified, threadlocker must also be selected correctly: the AR4 instructions recommend low-strength threadlocker for screws 4 mm and larger, but not for 3 mm and smaller screws.
A future PaMiLoCELL upgrade will introduce torque wrenches, allowing critical fasteners to be tightened with controlled and repeatable torque rather than relying only on manual feel.
The workflow I take from this experience is:
inspect → measure → understand → correct → align → seat → tighten
Precision assembly is not about applying more force. It is about understanding dimensions, alignment, contact surfaces, interference and clamping forces.
#PaMiLoCELL #PaMiLoLAB #Robotics #MechanicalEngineering #RobotAssembly #AR4MK5 #PrecisionAssembly #Fasteners #TorqueControl

Paolo Gagge can you confirm after seating the key in the motor shaft that your measurement was under 16mm as shown in the manual on page 120 given the step shown below?
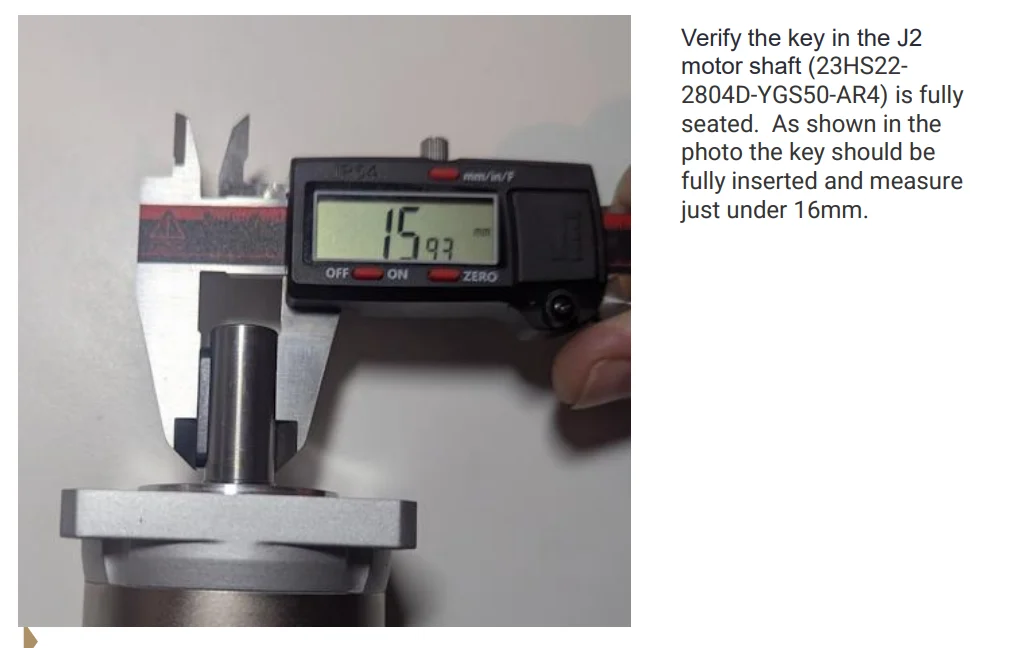

Chris Annin , I pressed the parallel key into the shaft several times using a bench vise, but the overall measurement was still above 16.50 mm, even when checking it at different points along the shaft.
I then carefully filed the top of the key little by little. Once the overall dimension was around 15.95–15.85 mm, the shaft could be inserted correctly without the circular retaining plate installed.
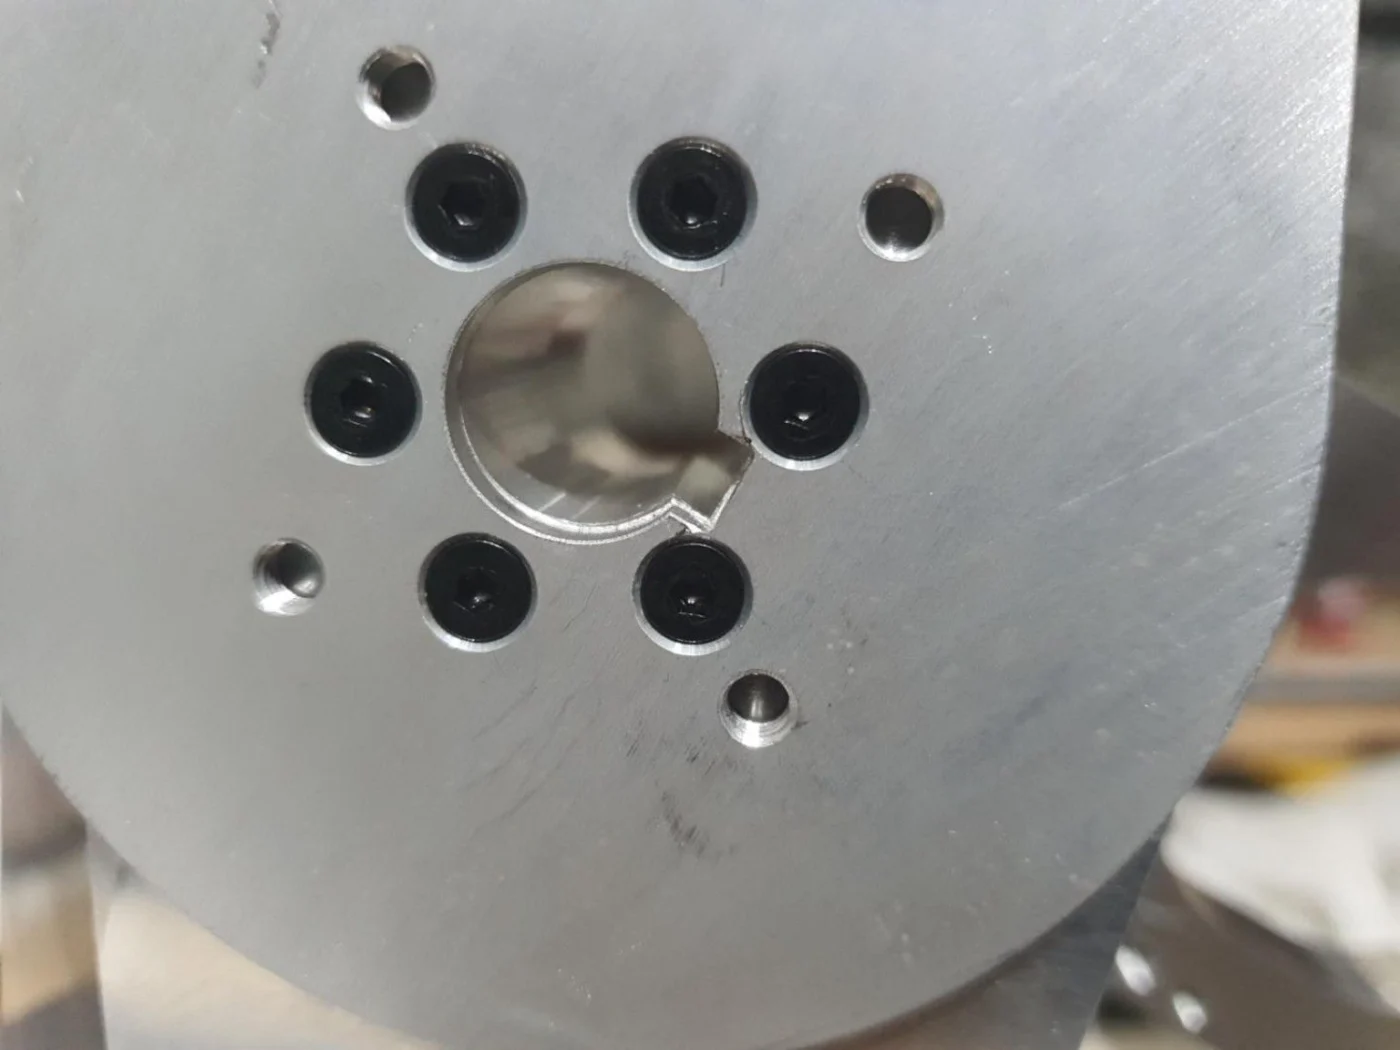
After fitting and tightening the circular plate, however, I noticed a small step at the opening where the key had to pass through, and the key was catching slightly on the sides.
I preferred not to file the sides of the key, because I wanted to keep a proper lateral fit and avoid creating unwanted clearance.
Instead, I lightly filed the sides of the opening in the circular plate, only where the key passes through.
After these two small adjustments, the shaft went into position correctly with only light taps using a soft rubber mallet.
OK thank you, I've contacted Stepperonline about having them fully seated by the factory. Using the proper press it "should" go below 16.5 but I will confirm that is still the case.