
Hi everyone,
I'd like to share my experiment with AR4 MK3 Robot.
This is a chess robot using AR4 MK3 full 3d printed part.
Actually I have problem related J1 movement, in cartesian, if robot move Y little bit about 30mm, J1 does not move so, robot move to wrong position. Maybe because of big backlash in gear or something.
My temporary solution is, before go to target, I move robot to a temporary position, so when go to target position, J1 can move more. the result is more accurate.

During the AR4-MK5 assembly and MK4 → MK5 upgrade, one of the most useful lessons came from something apparently simple: fitting a keyed shaft.
For those unfamiliar with robot mechanics, J1 and J2 are the first two robot joints. J1 rotates the robot around its base; J2 is the shoulder joint that raises and lowers the arm.
During J2 assembly, the 14 mm gearbox shaft with parallel key would not enter its mating hub correctly.
The first instinct could be to apply more force. Instead, the problem became a practical troubleshooting exercise:
Where is the interference actually coming from?
The checks included shaft diameter, key height, keyway alignment, possible burrs and the overall shaft-plus-key dimension measured with a caliper.
The key was first pressed fully into its seat using a bench vise with protective tape. When a small residual interference remained, the key was carefully filed in very small increments, repeatedly checking the fit.
Only in this kind of exceptional situation, once the geometry and alignment are verified, a soft rubber mallet can help progressively seat the gearbox assembly — never striking the shaft or key directly.
Another important lesson came from the AR4 instructions: fully inserted does not mean eliminating every visible gap. When J2 is correctly installed, about 2 mm remains between the gearbox shoulder and the J2 tension ring.
The same reasoning applies to bolts and nuts. Fasteners should clamp correctly aligned components, not pull misaligned parts into position. Threads should be started by hand and tightened progressively, using an alternating sequence when several bolts clamp the same flange.
The MK4 → MK5 upgrade also reinforced the importance of understanding all locking points, set screws and mounting fasteners before applying extraction or assembly force.
Where specified, threadlocker must also be selected correctly: the AR4 instructions recommend low-strength threadlocker for screws 4 mm and larger, but not for 3 mm and smaller screws.
A future PaMiLoCELL upgrade will introduce torque wrenches, allowing critical fasteners to be tightened with controlled and repeatable torque rather than relying only on manual feel.
The workflow I take from this experience is:
inspect → measure → understand → correct → align → seat → tighten
Precision assembly is not about applying more force. It is about understanding dimensions, alignment, contact surfaces, interference and clamping forces.
#PaMiLoCELL #PaMiLoLAB #Robotics #MechanicalEngineering #RobotAssembly #AR4MK5 #PrecisionAssembly #Fasteners #TorqueControl
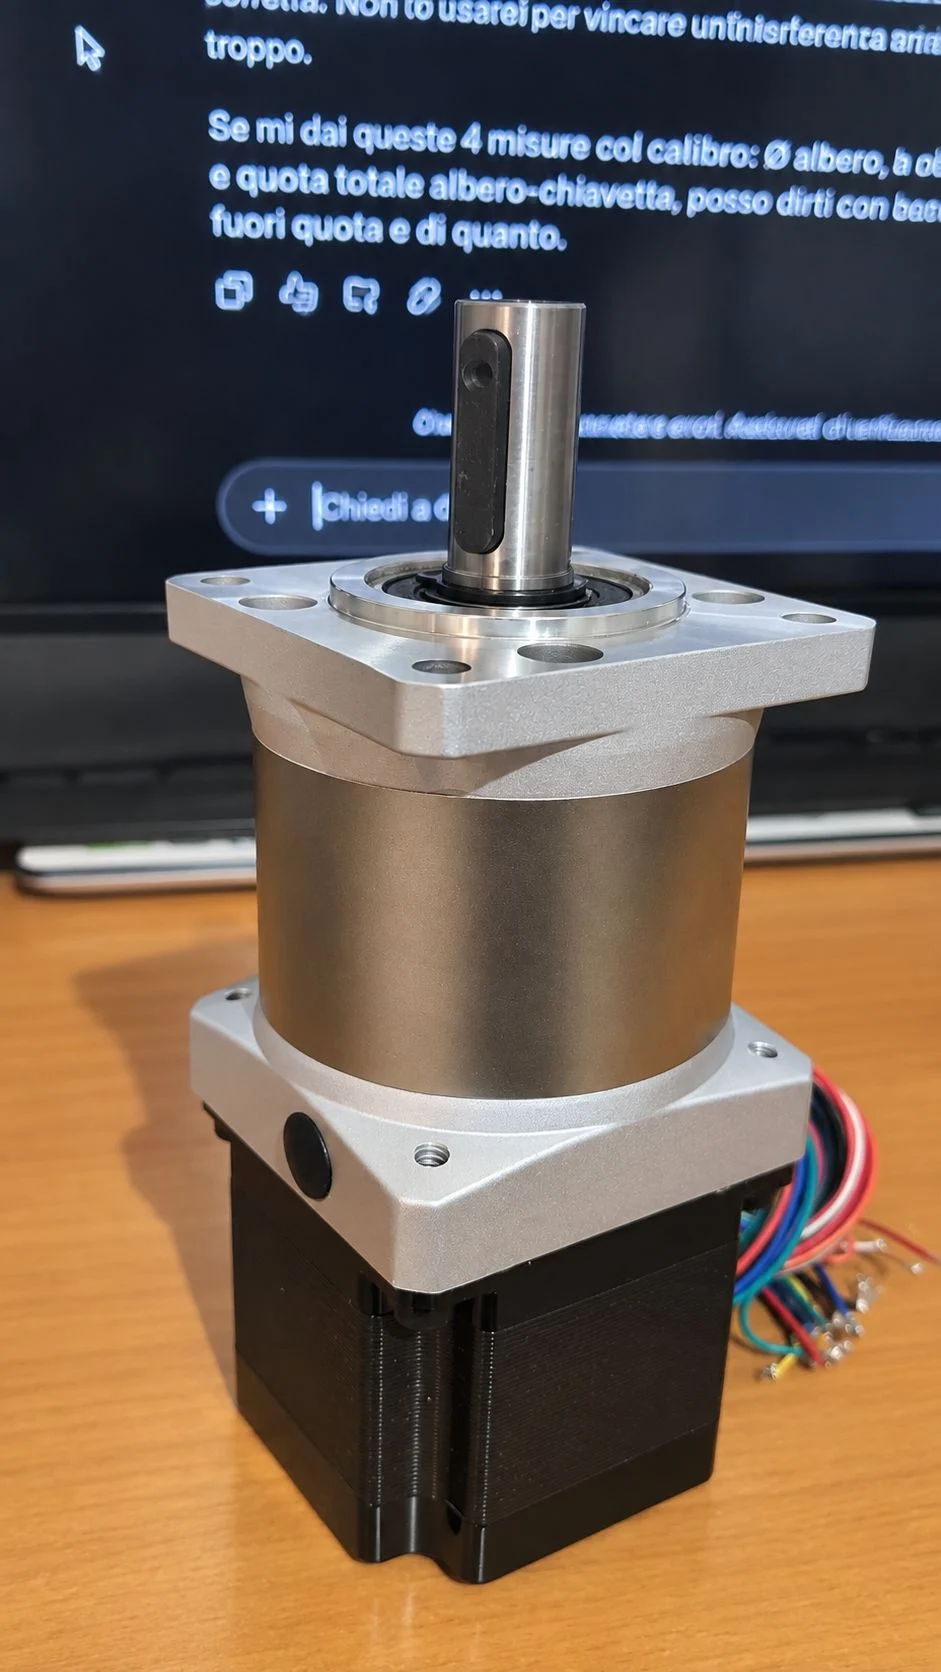
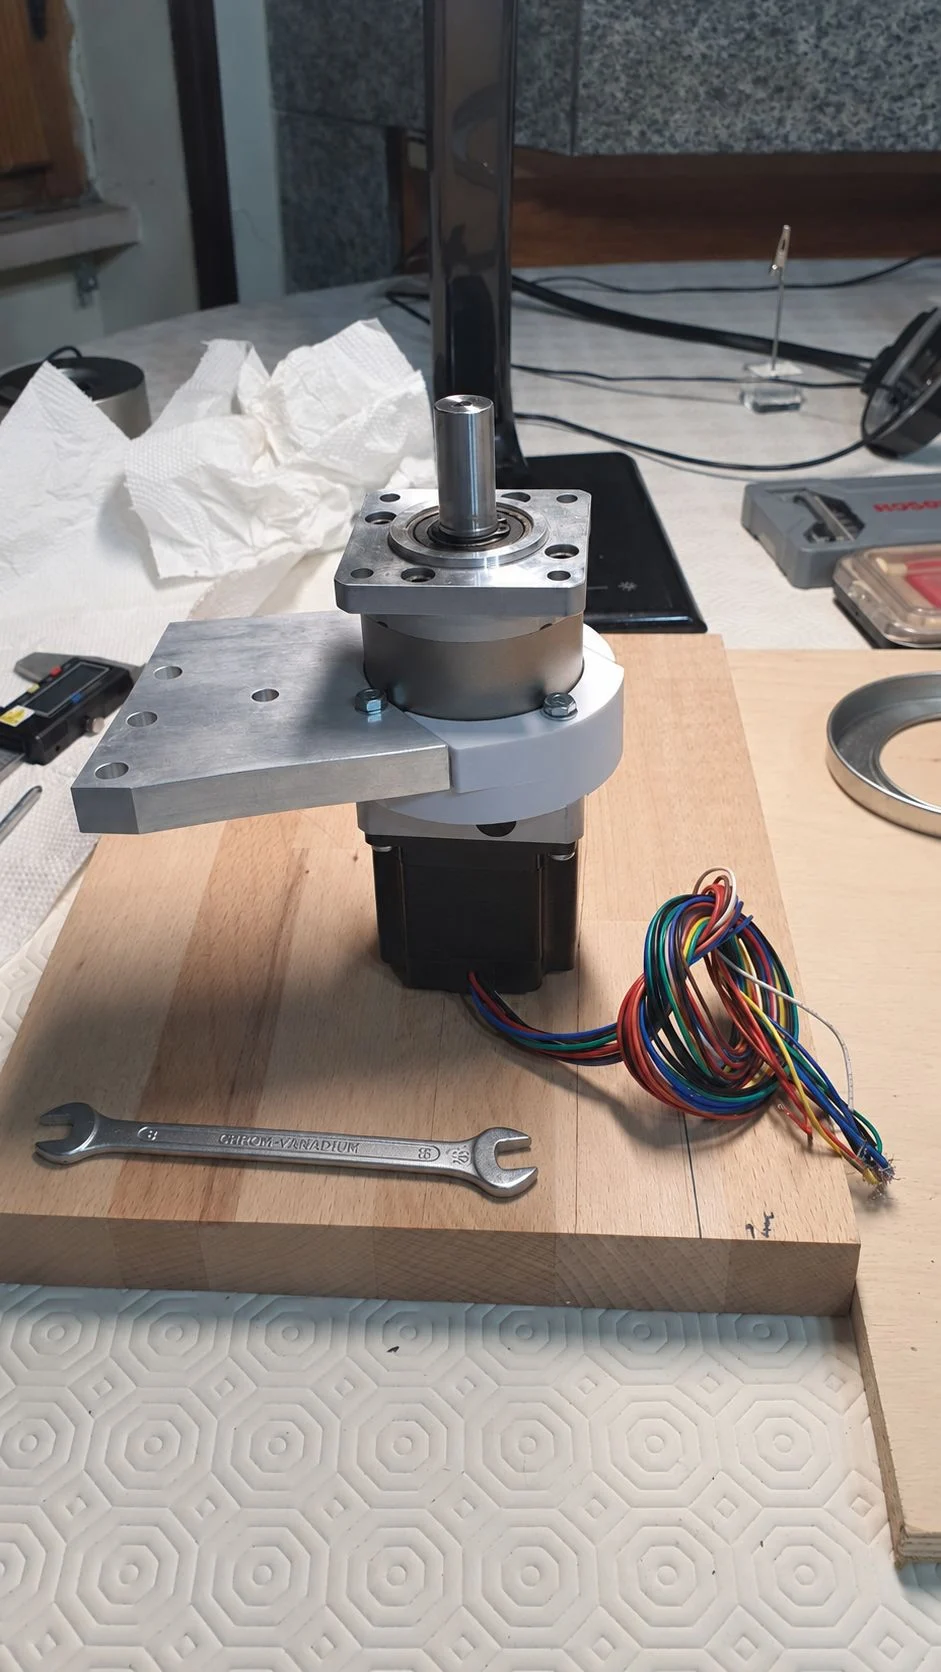
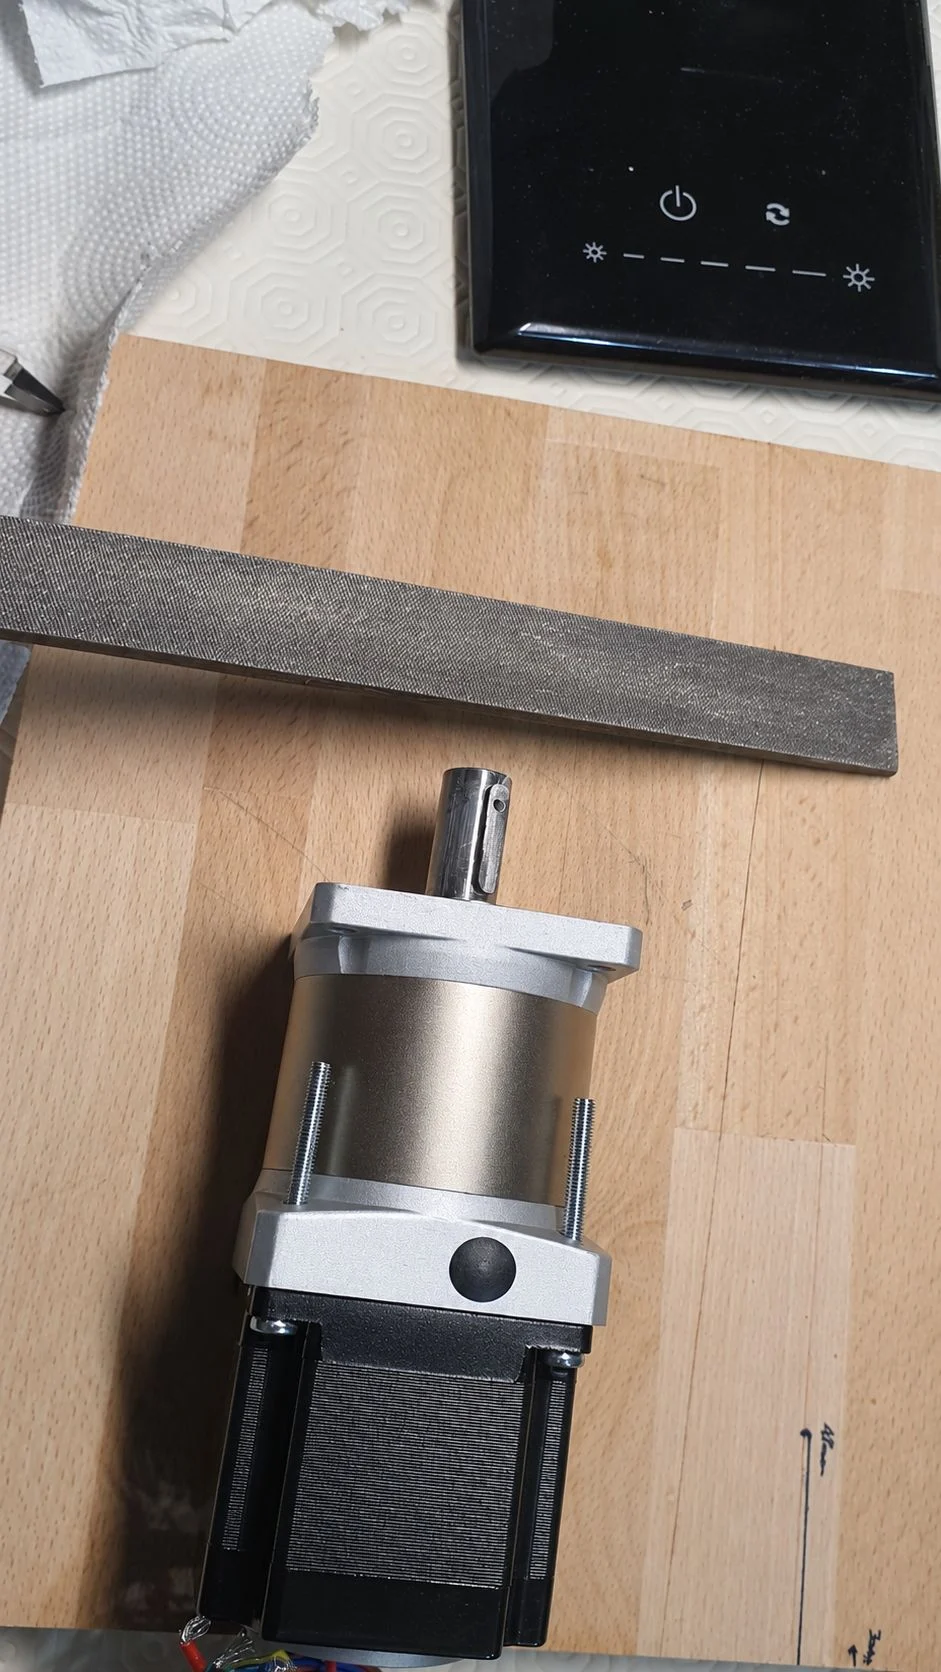
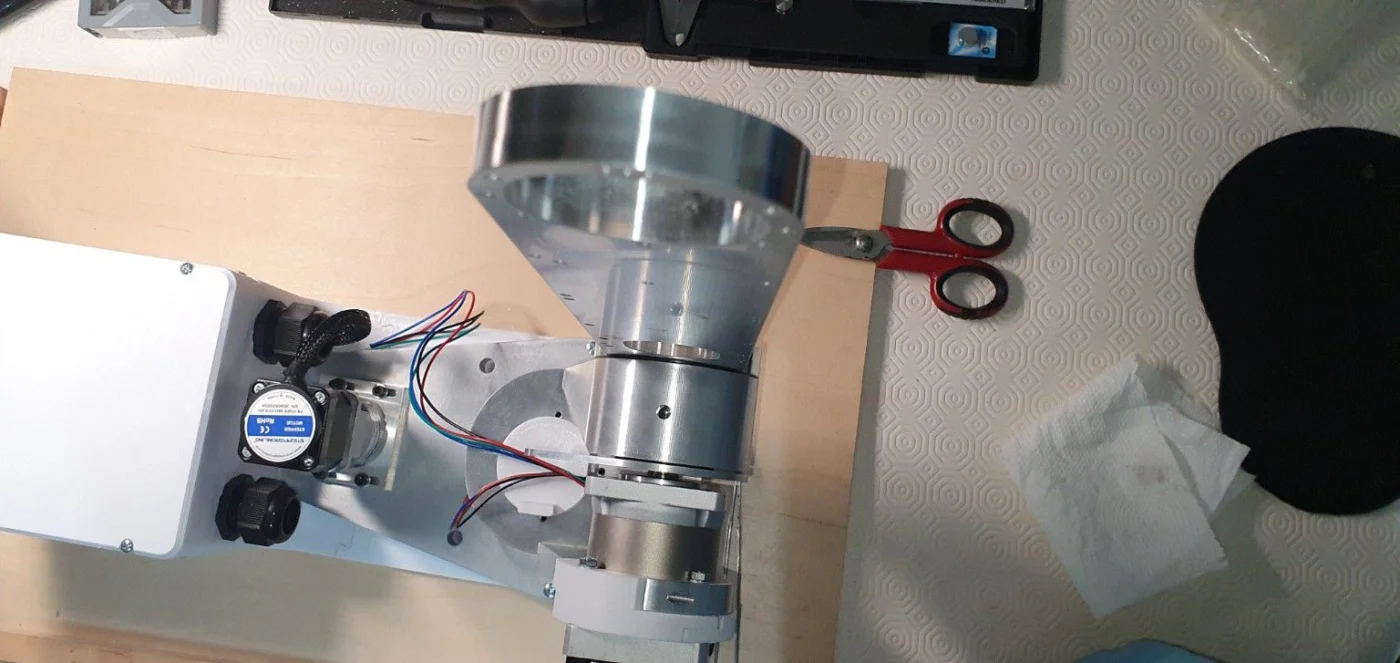
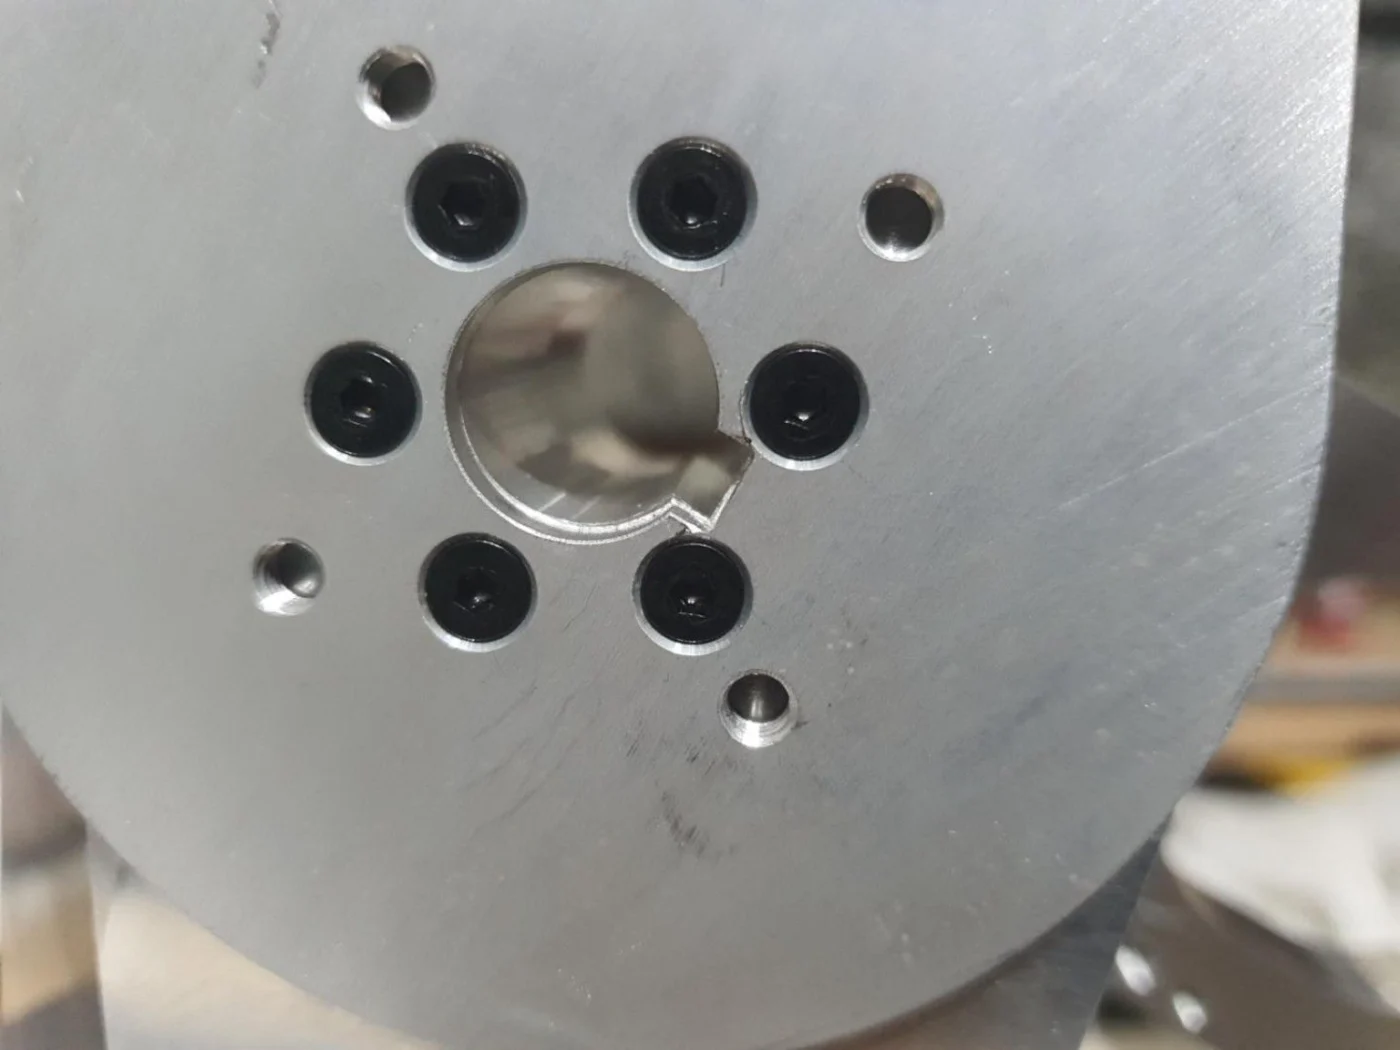
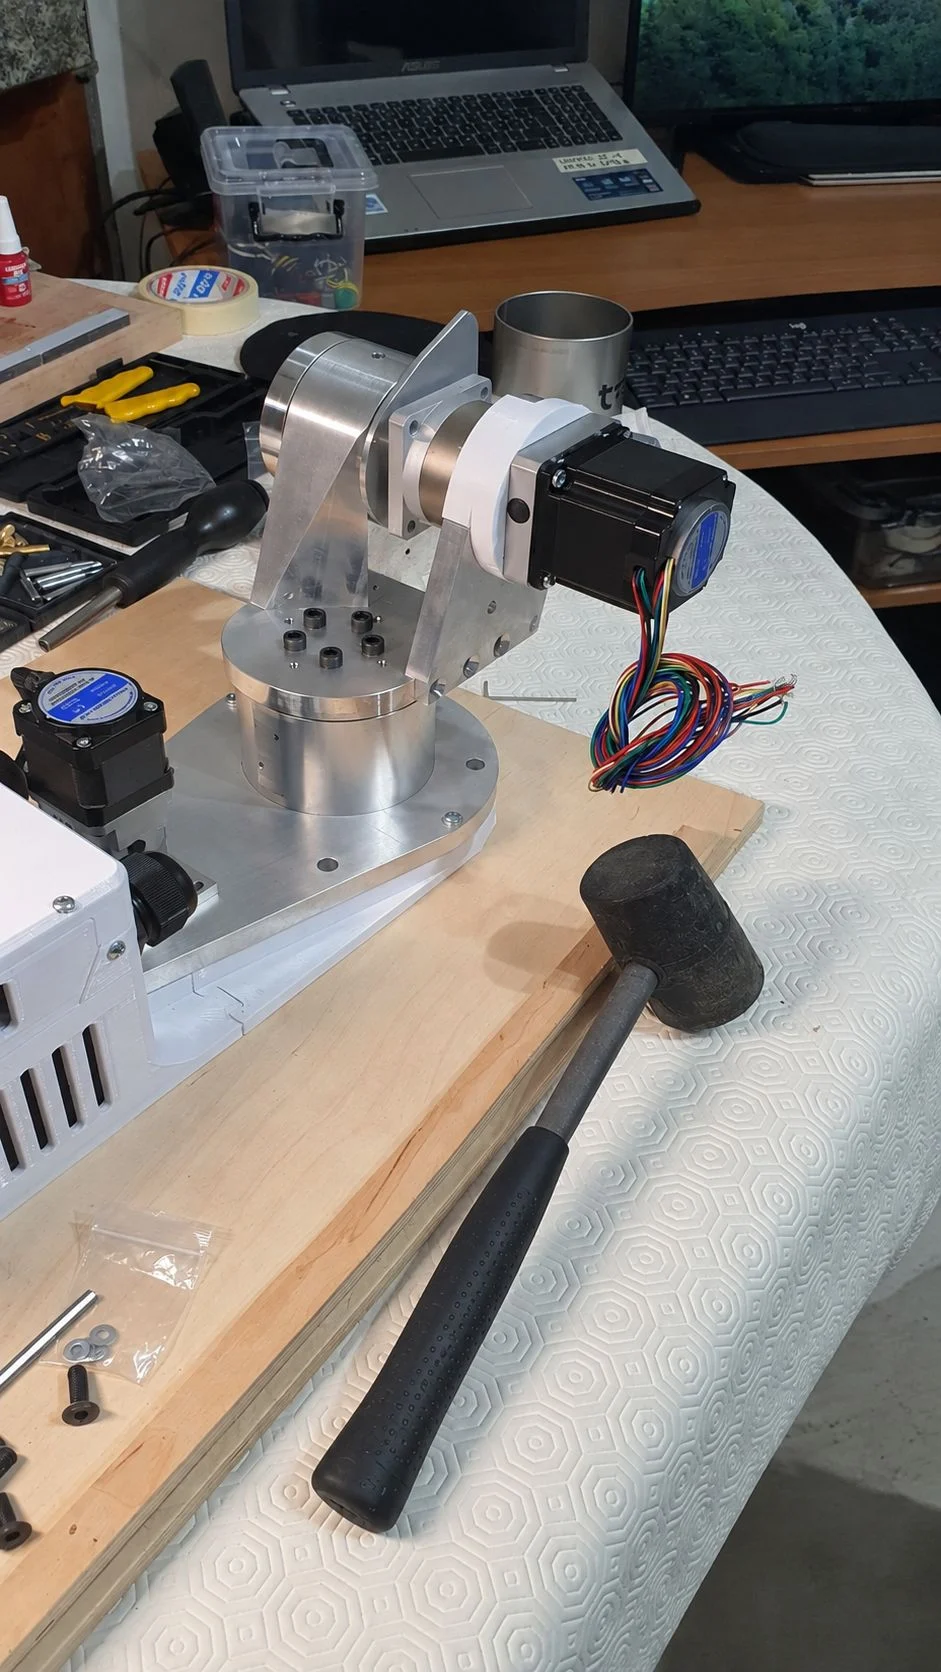
The AR4-MK5 mechanical assembly is progressing through the main transmission elements: motor, bearings, timing pulleys/gears and belts.
I approached this phase from a Quality Engineering perspective, treating each assembly step as a small Quality Gate.
Motor – Check fastening, shaft/pulley interface and cable routing. Any misalignment introduced here can later affect belt tracking and bearing loads.
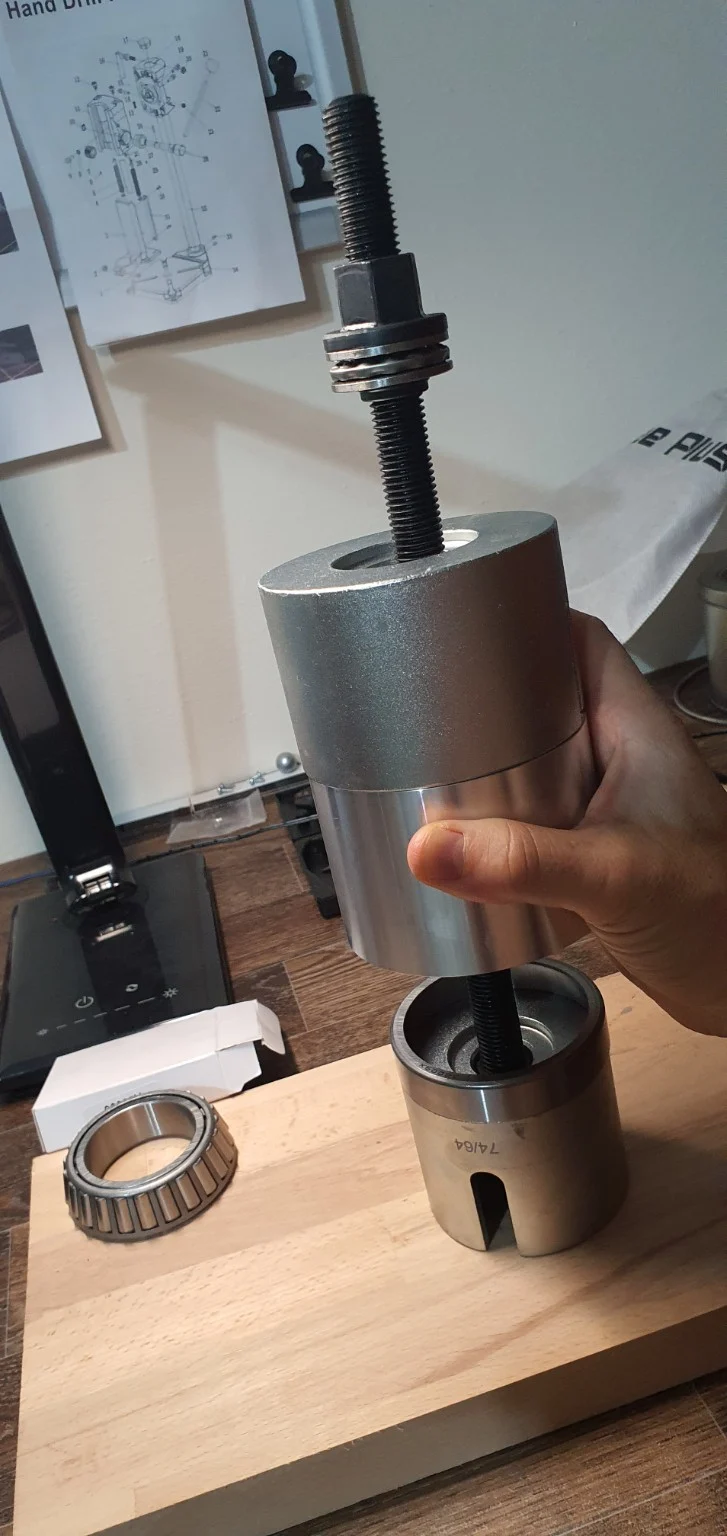
Bearings – Tapered roller bearings require different installation methods:
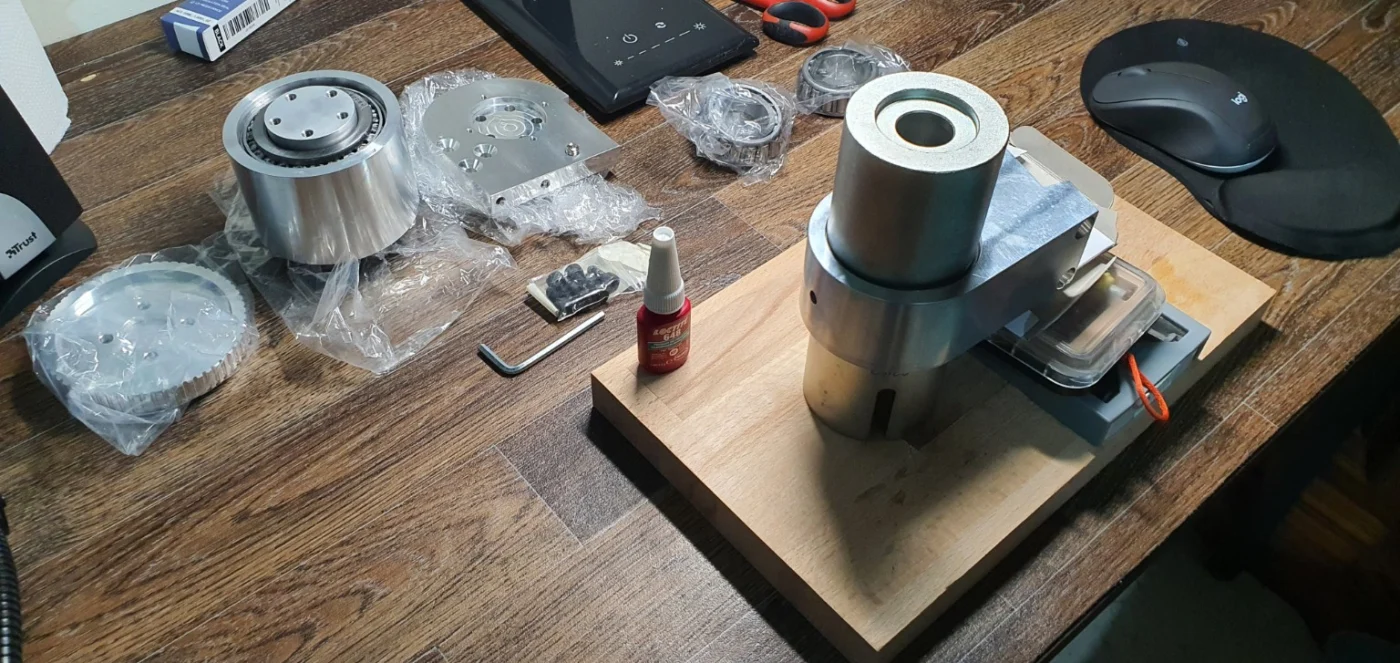
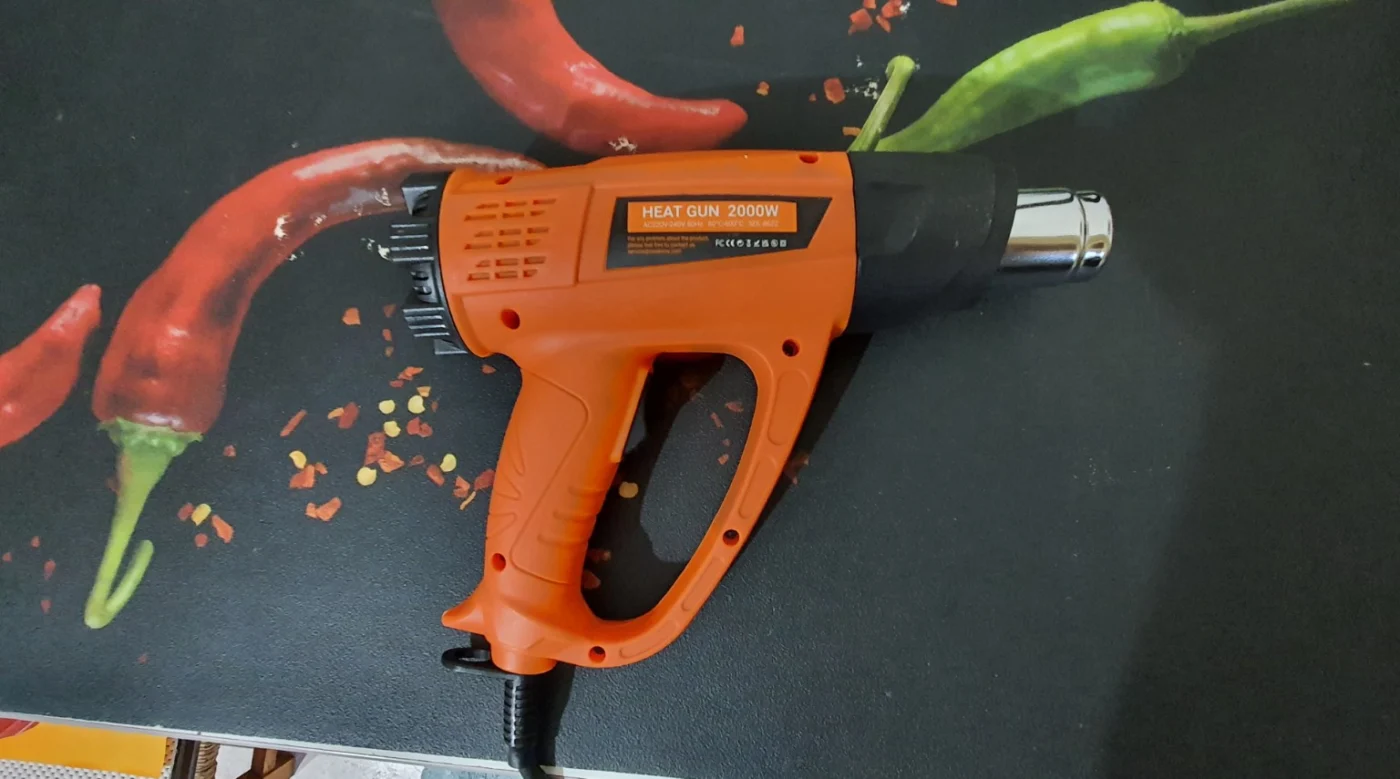
- Outer race → aluminium housing: heat the housing uniformly to slightly expand the seat, then press the race squarely into position. Never hammer it.
- Inner bearing cone → shaft: warm the bearing/cone assembly to slightly expand the inner ring before fitting it onto the shaft. If force is required, apply it only to the inner ring, never through the rollers.
After pressing the outer race, verify seating depth at 0° / 90° / 180° / 270° with a digital caliper. This is a practical QC check of uniform seating and parallelism, while also considering measurement repeatability.
Thread locking / retaining compound
- LOCTITE 222: low-strength threadlocker for removable threaded fasteners, used on M4 and larger screws as specified by the AR4 manual.
- LOCTITE 648: retaining compound for cylindrical fits; use only if an outer race is slightly loose in its housing, not as a general installation aid and not normally between inner ring and shaft.
Gear / pulley – Check seating, axial position and pulley alignment. Small offsets can cause belt tracking issues and additional bearing loads.
Belt – Tension must prevent backlash and tooth skipping without overloading shafts, bearings or structures.
Final QC – Before closing the covers, manually check:
smooth rotation, correct belt tracking, no abnormal friction, controlled preload, no excessive play and no interference.
The key lesson is that:
Motor → Bearing → Gear/Pulley → Belt
should also be a sequence of Quality Gates.
Detecting an incorrect bearing seat, pulley misalignment or excessive belt tension immediately is far easier than troubleshooting the defect after the robot is fully assembled.
#PaMiLoCELL #PaMiLoLAB #AR4MK5 #Robotics #QualityEngineering #RobotAssembly #Bearings #TimingBelt #LessonsLearned
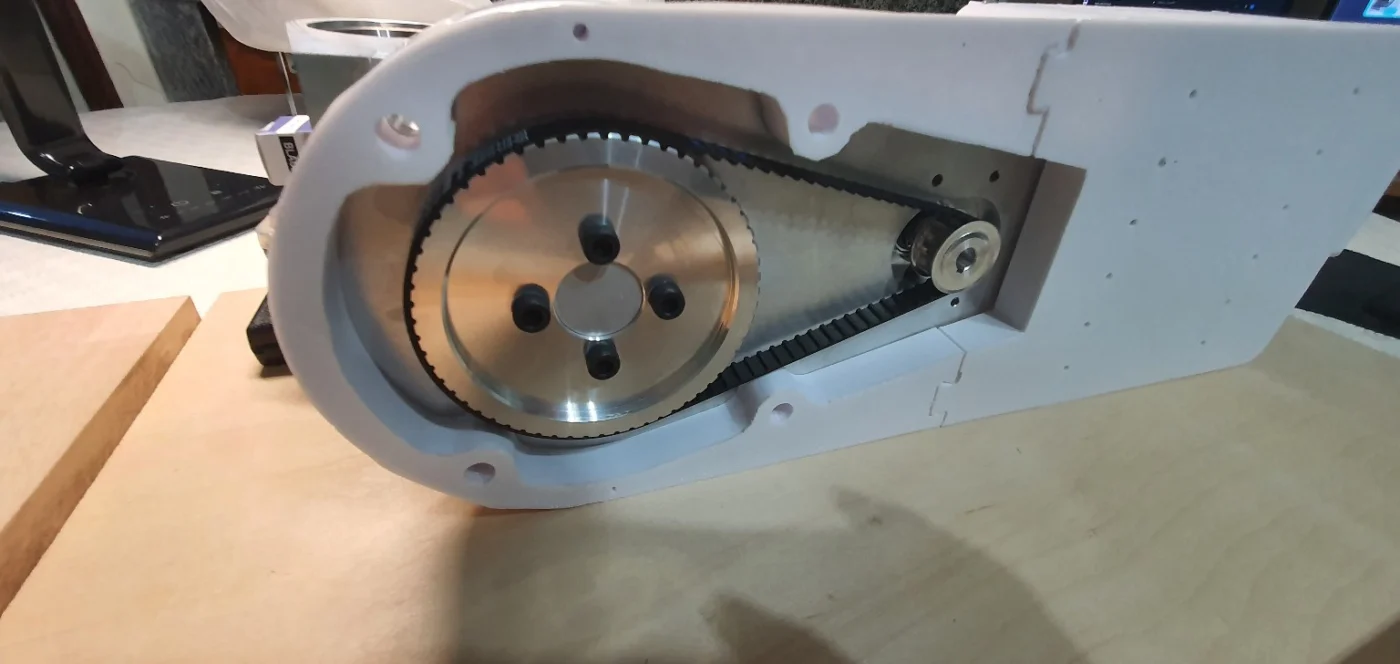
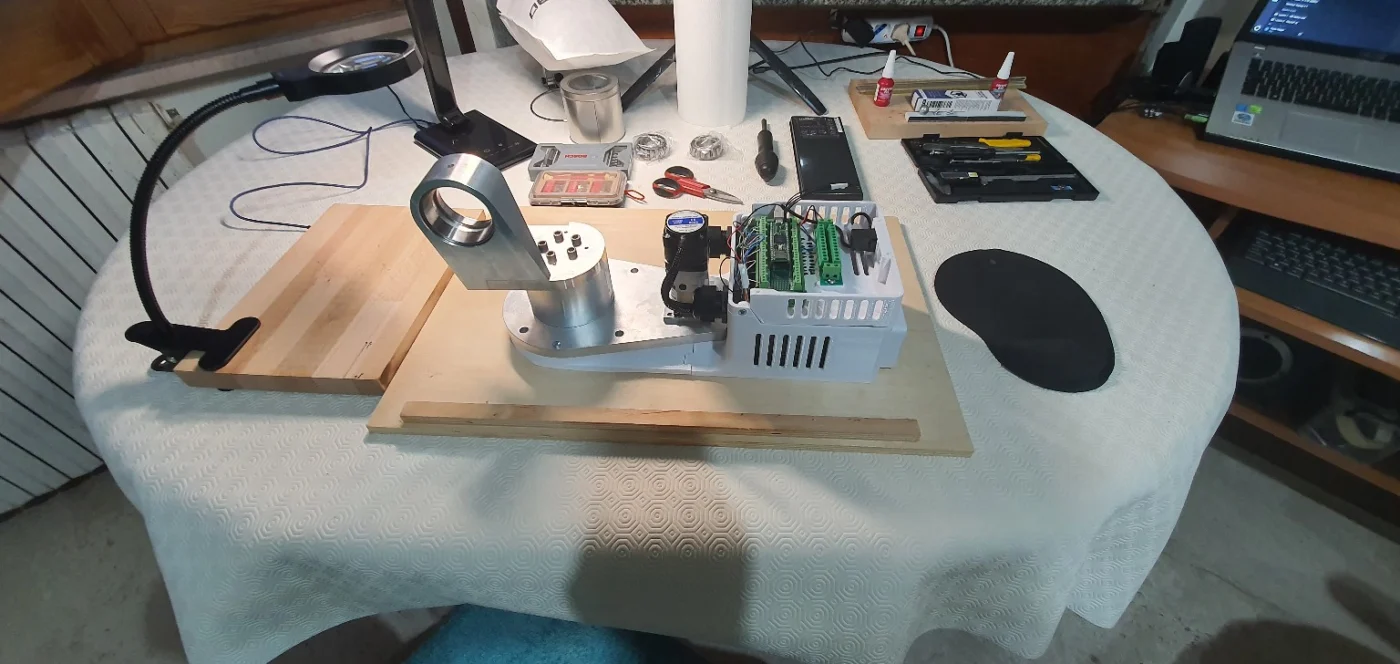
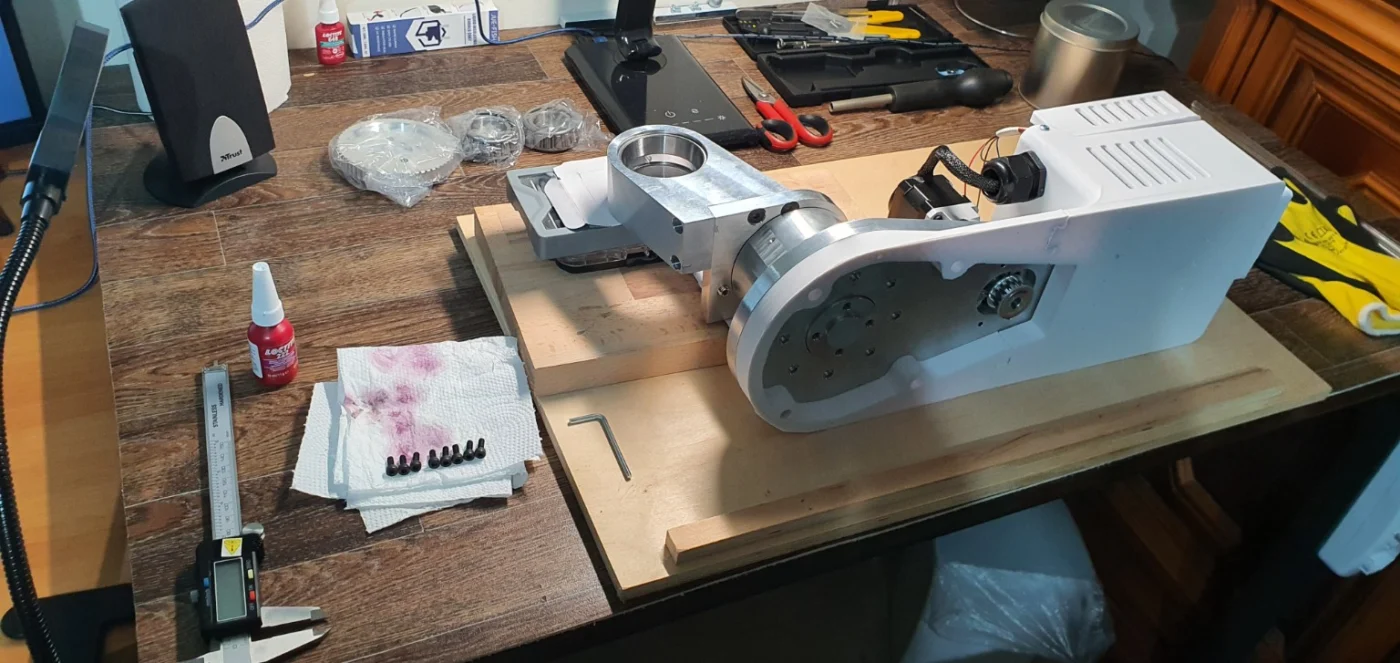
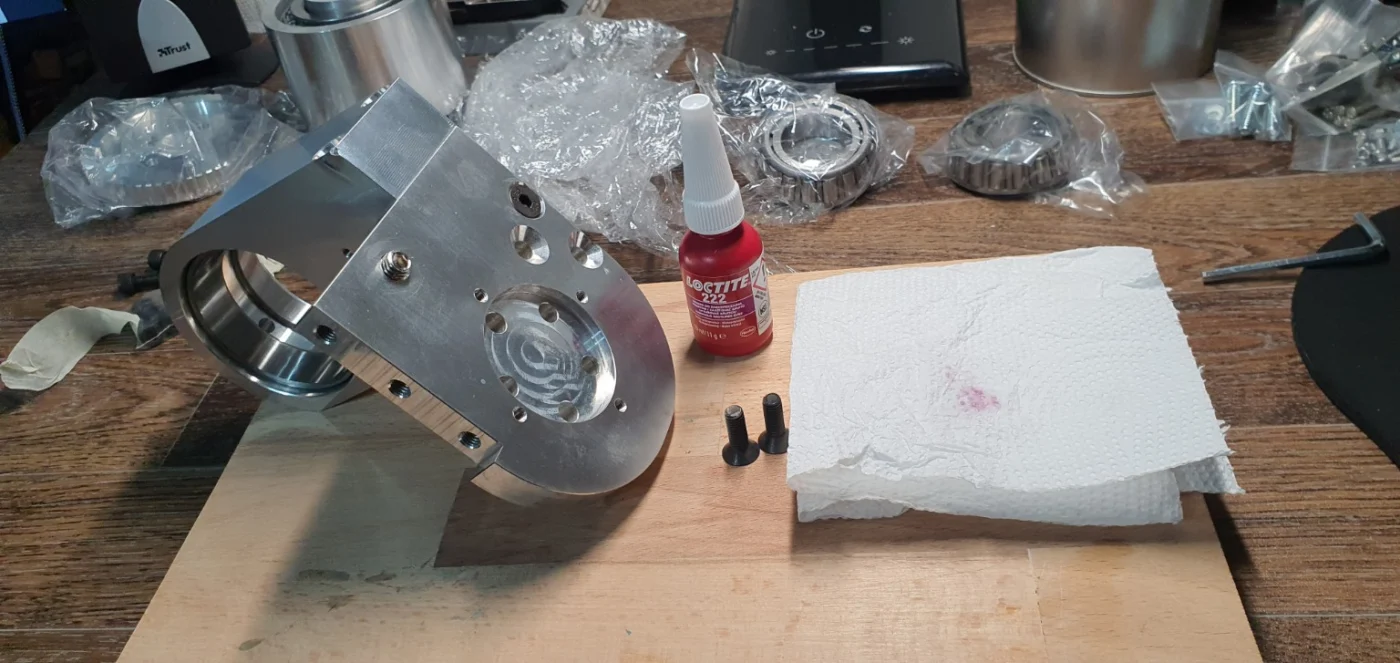
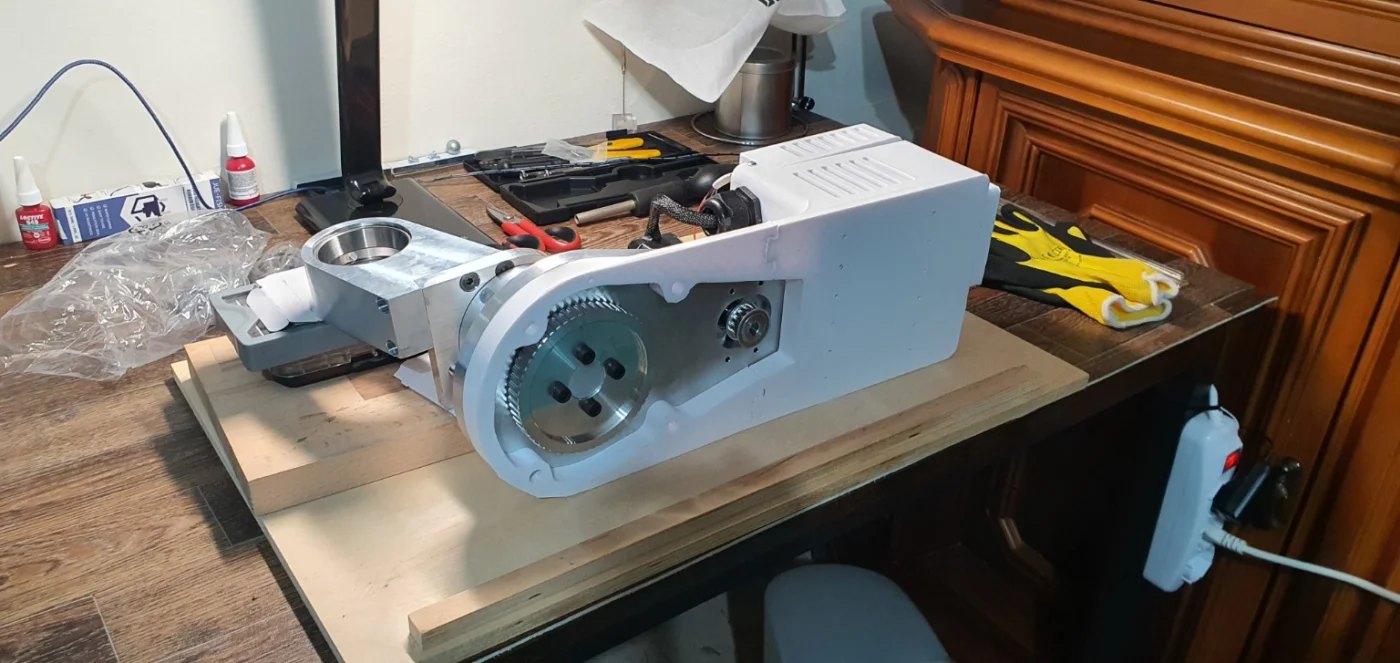
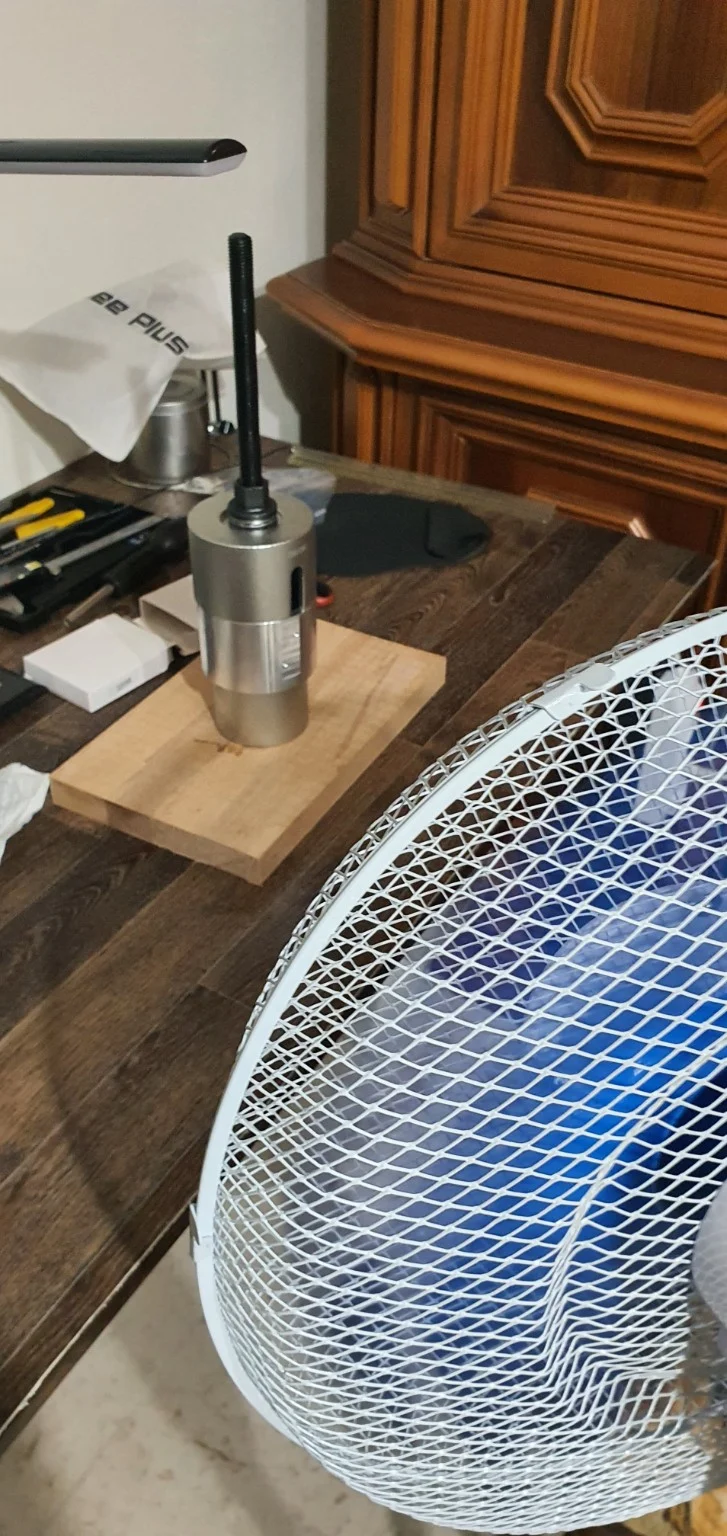
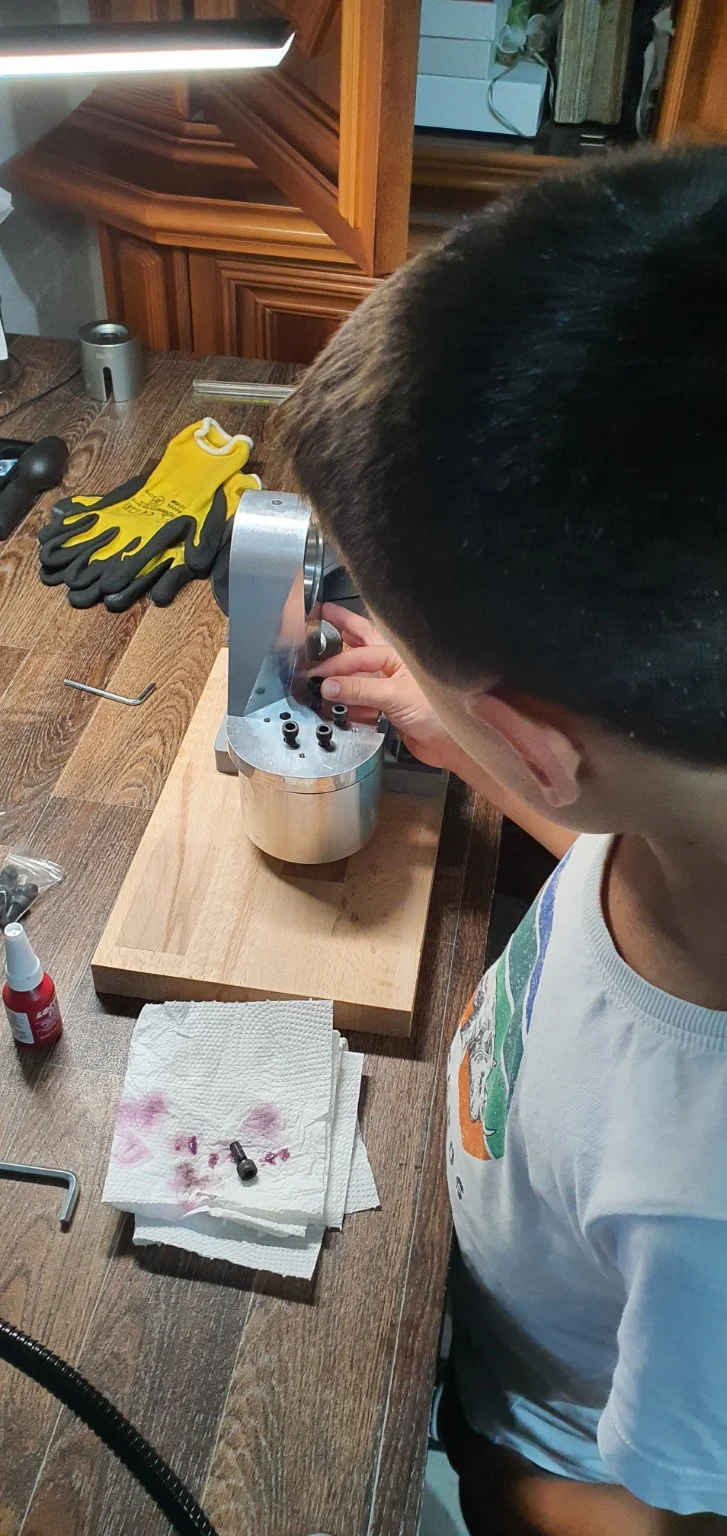
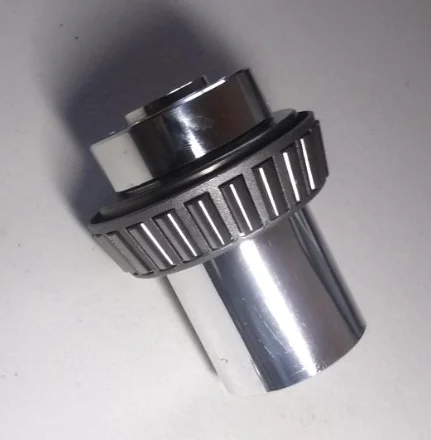
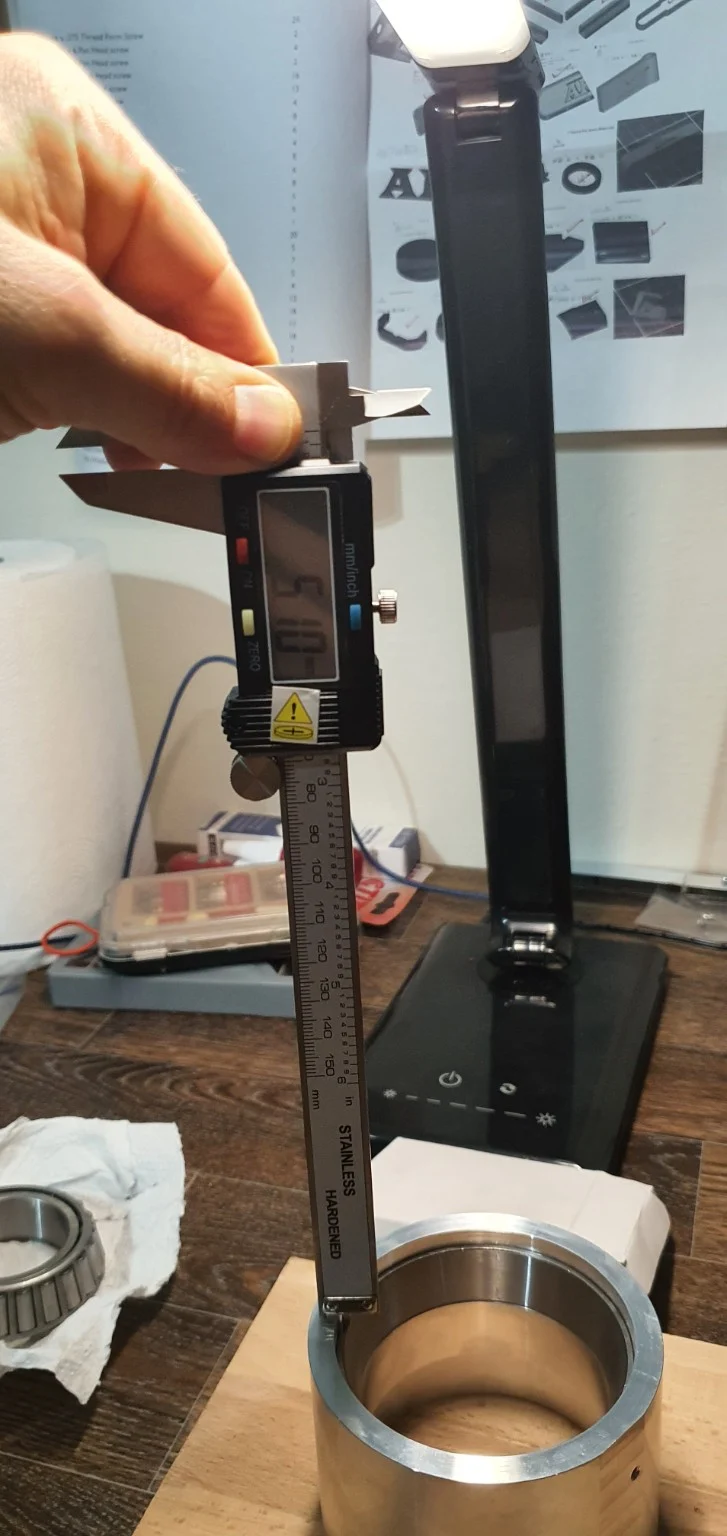
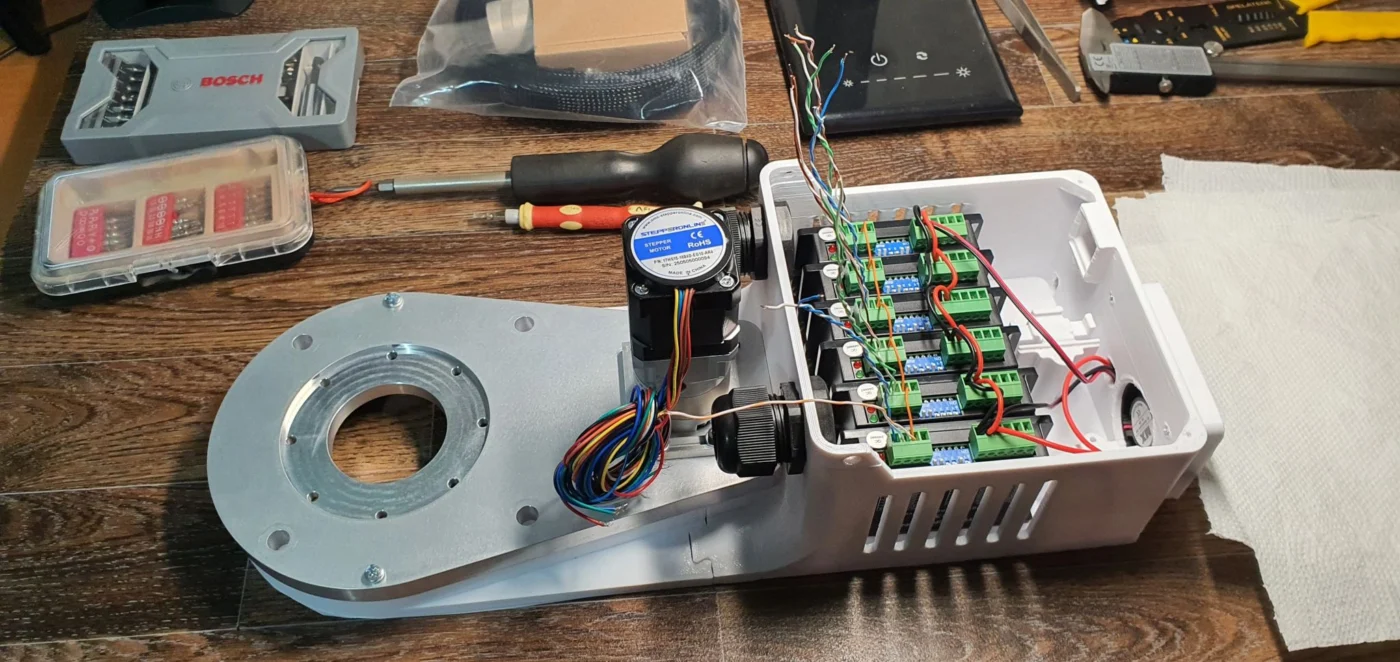
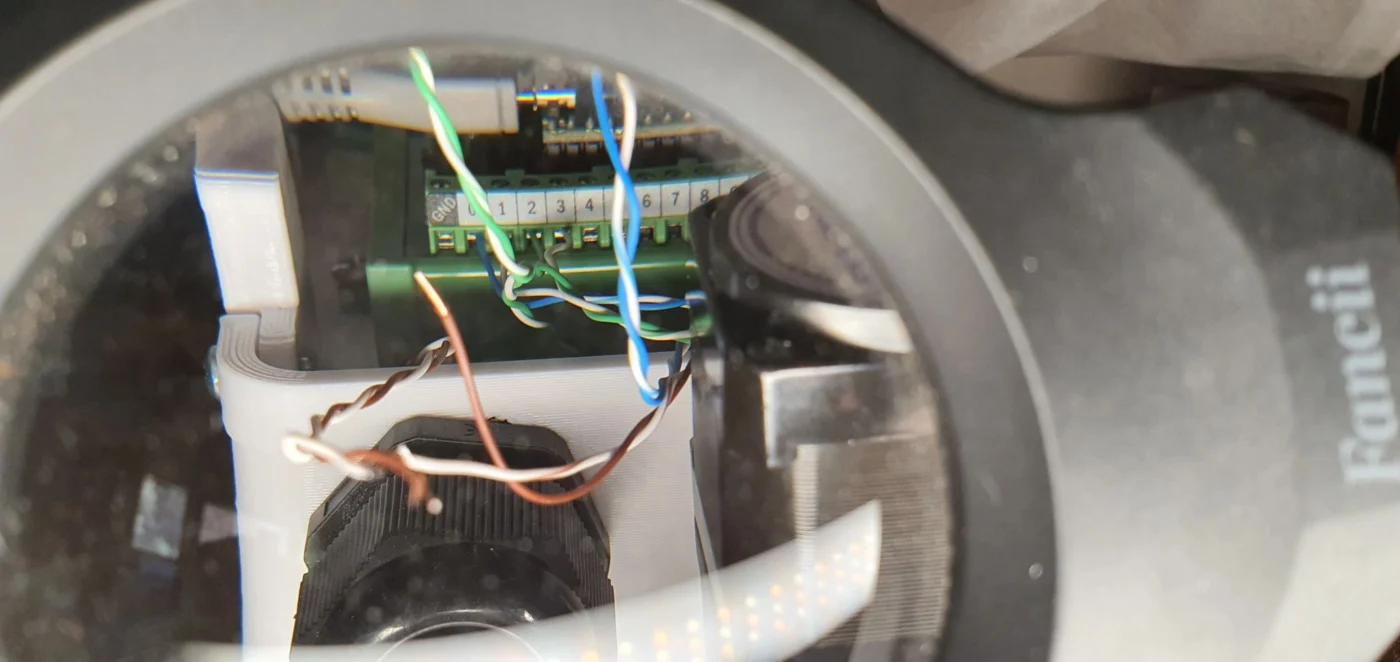
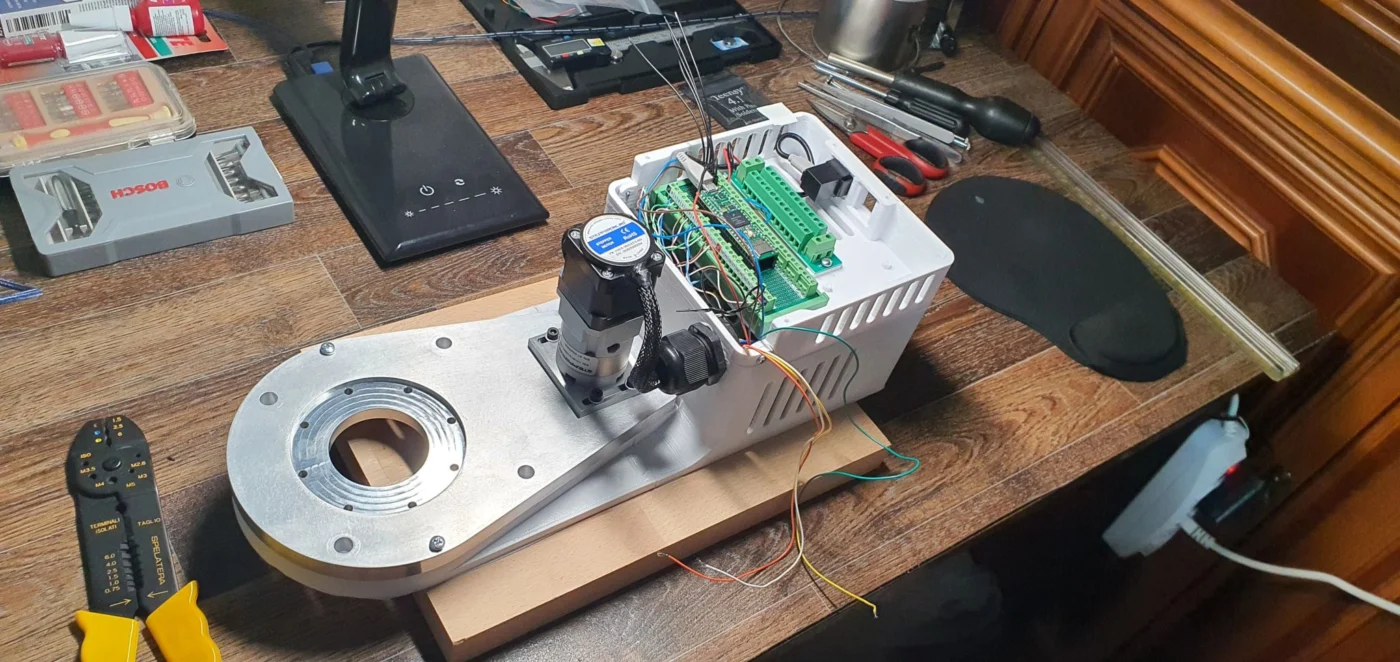
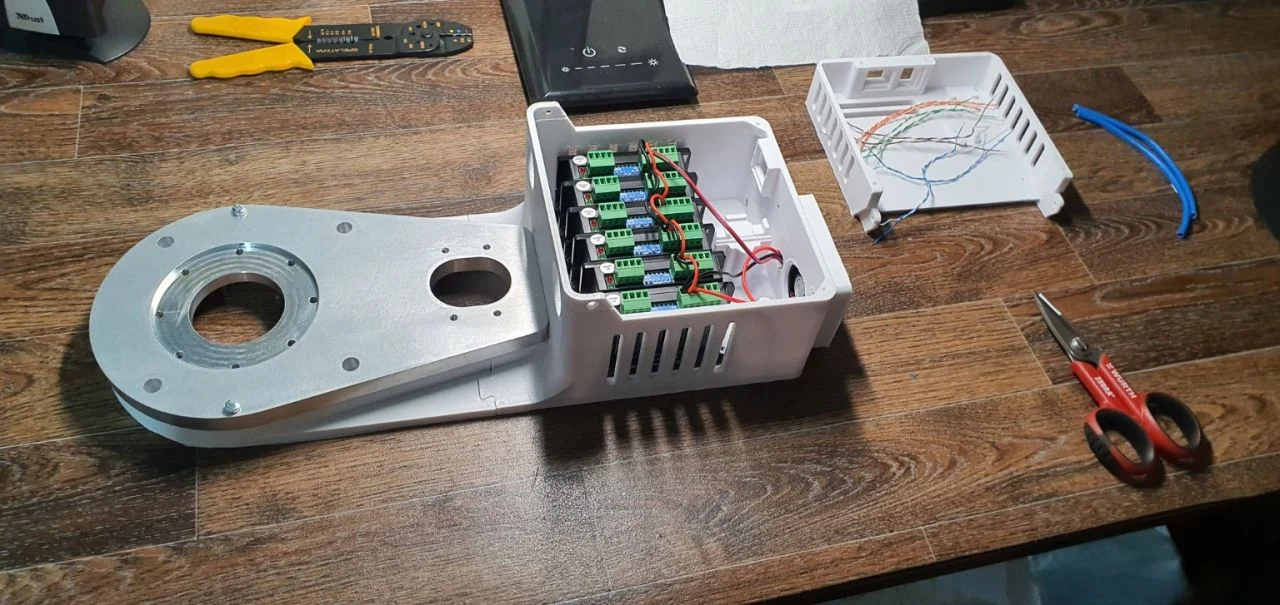
The AR4-MK5 wiring phase is progressing, with particular attention to the J1 stepper motor, digital drivers and control architecture inside the robot’s compact electrical cabinet.
The ground floor of the micro-cabinet is dedicated to the digital stepper drivers. Each driver effectively interfaces two different domains:
Power side: supplies the controlled phase currents to the stepper motor windings. Correct identification and connection of the motor phases — A+, A−, B+, B− — is essential for proper torque generation and rotation.
Command side: receives low-power control signals such as PULSE, DIRECTION and ENABLE from the controller. These signals define when the motor moves, in which direction and whether the driver output stage is enabled.
This separation between power wiring and control wiring is an important concept in the robot architecture: the driver acts as the interface between low-power digital commands and the considerably higher motor phase currents.
The first floor, immediately above the drivers, is dedicated to the Teensy 4.1 control board. The Teensy is connected to the digital drivers for motion commands, to selected motor feedback/sensor wiring, and will provide the interface toward the external PLC through Modbus RS-485.
The resulting control chain can therefore be summarized as:
PLC → Modbus RS-485 → Teensy 4.1 → STEP/DIR signals → Digital Drivers → Stepper Motors
During assembly, some practical wiring lessons also became clear. Small details can have a significant impact on reliability:
When stripping thin conductors, even a small nick in the copper can create a fatigue initiation point, especially where the cable is repeatedly flexed.
Moving sections should use stranded / continuous-flex conductors whenever possible, rather than rigid solid-core wires.
With screw terminals, the conductor must actually enter between the clamping plates. A wire can appear correctly positioned while remaining outside the clamp.
A simple pull test after tightening each terminal is an effective verification step.
Ferrules can improve termination quality for very small stranded wires, provided that the correct size is selected.
Some encoder conductors available on the J1 motor are not required by the standard AR4 configuration, showing the importance of understanding each signal before cutting or terminating the cable.
This phase is not only about completing the wiring. It is also about understanding how power electronics, motion control and communication layers interact inside a compact robotic system.
Next step: complete the internal wiring and progressively validate the control chain from Teensy to the motor drivers.
#PaMiLoCELL #PaMiLoLAB #AR4MK5 #Robotics #StepperMotor #MotionControl #Teensy41 #Modbus #RS485 #IndustrialAutomation #ElectricalEngineering #RobotControl
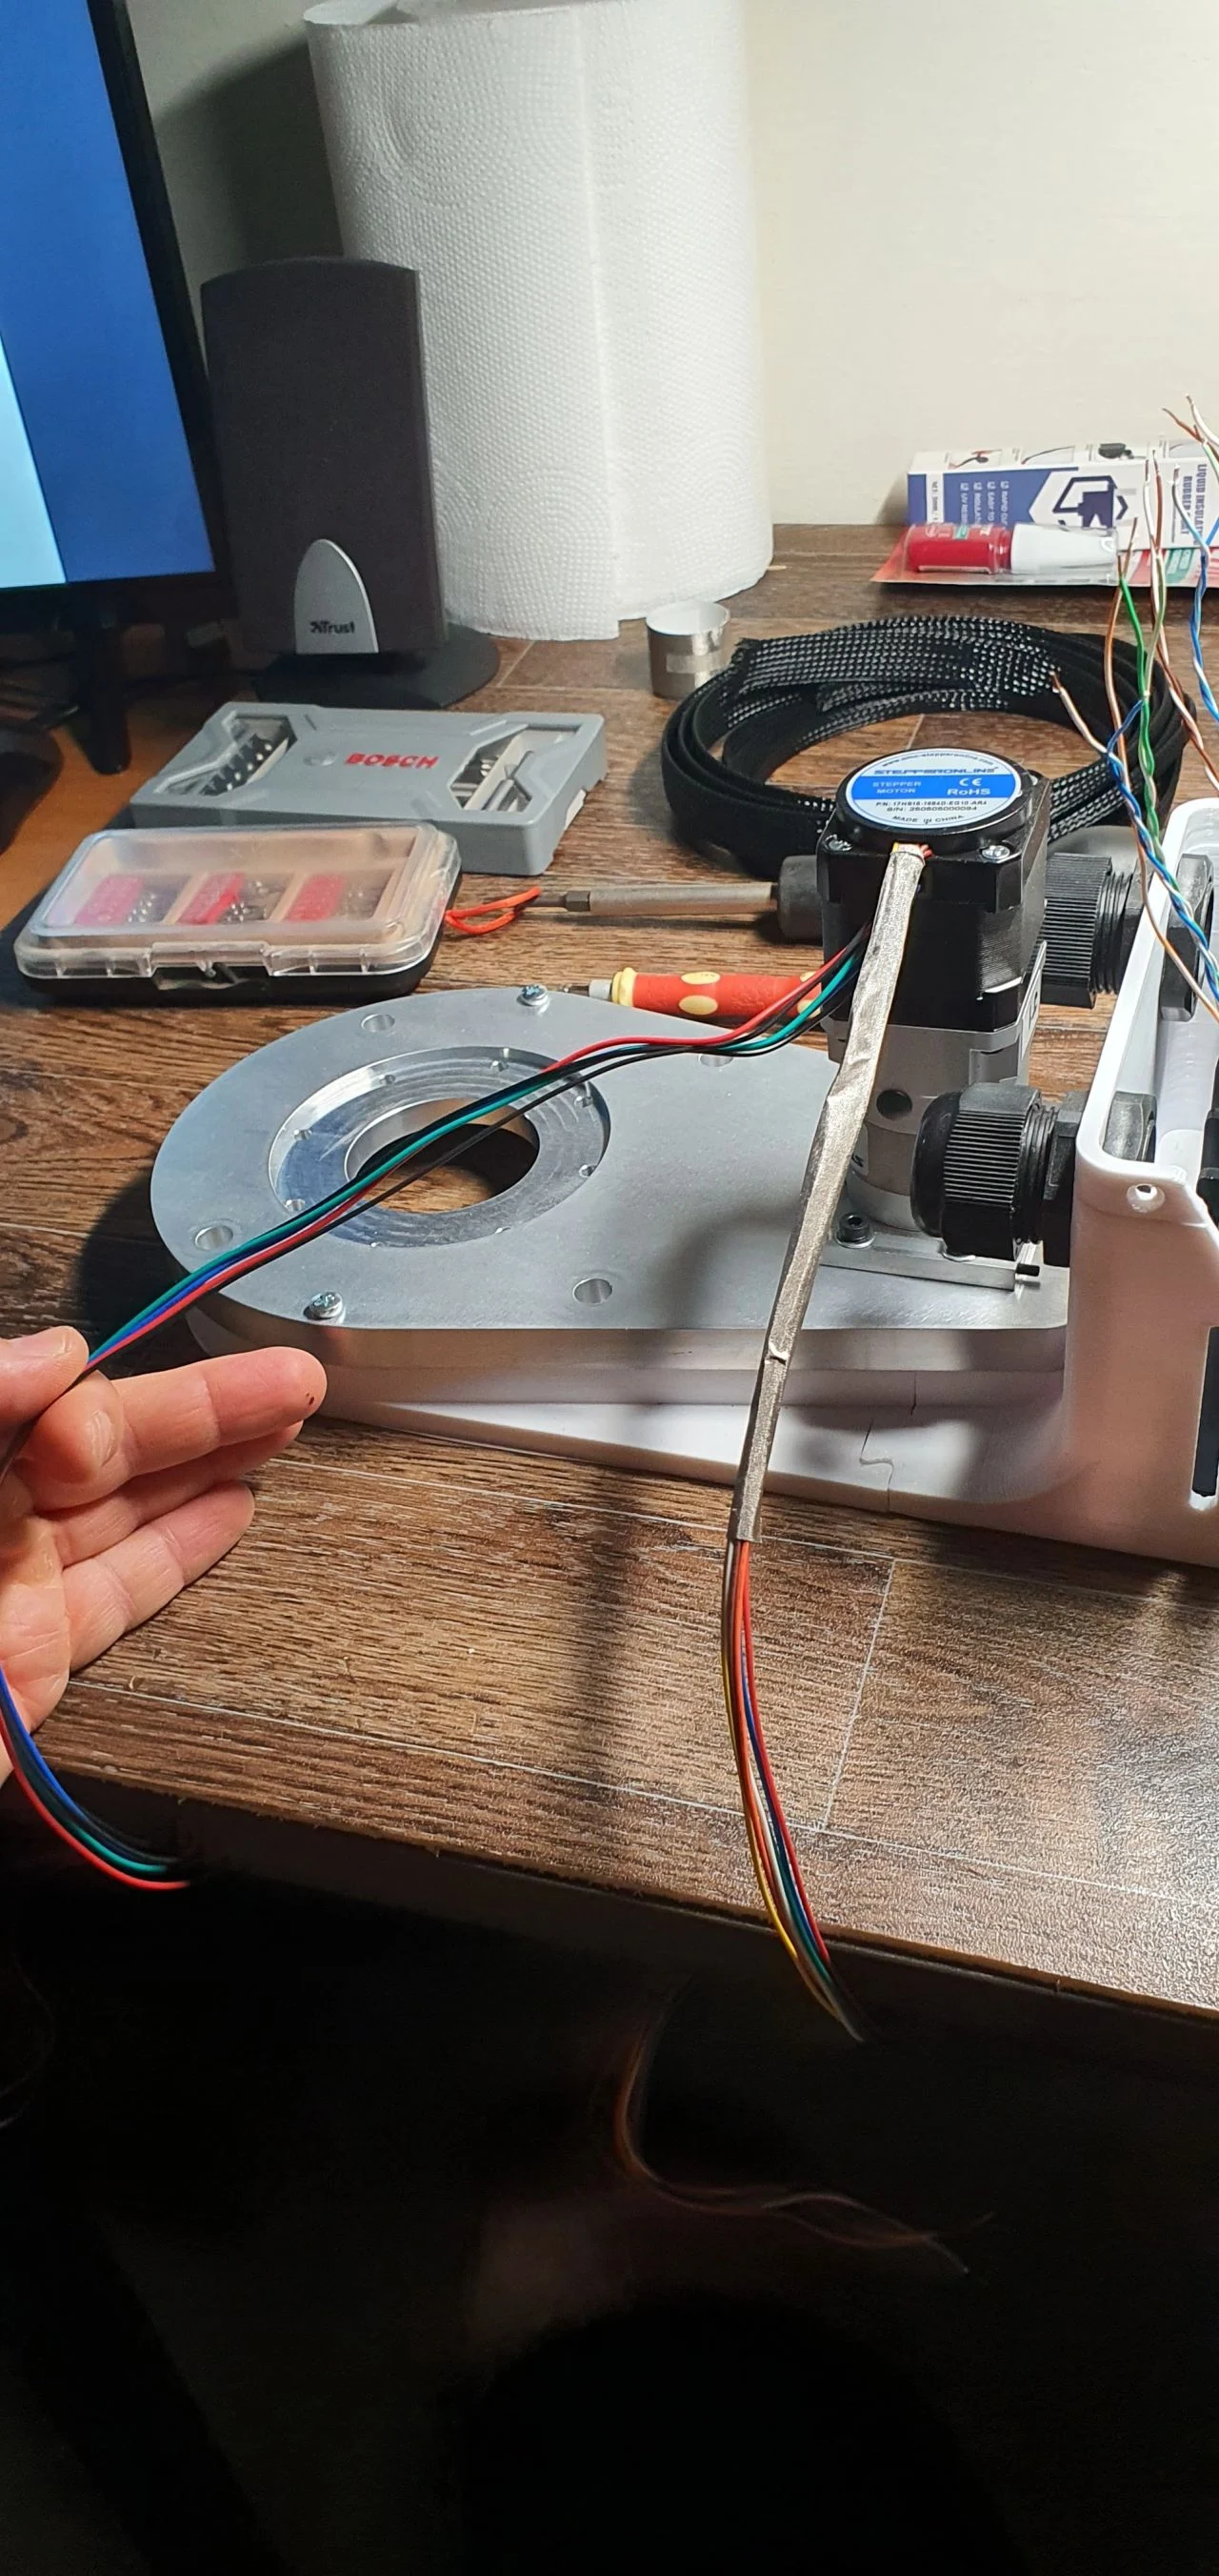
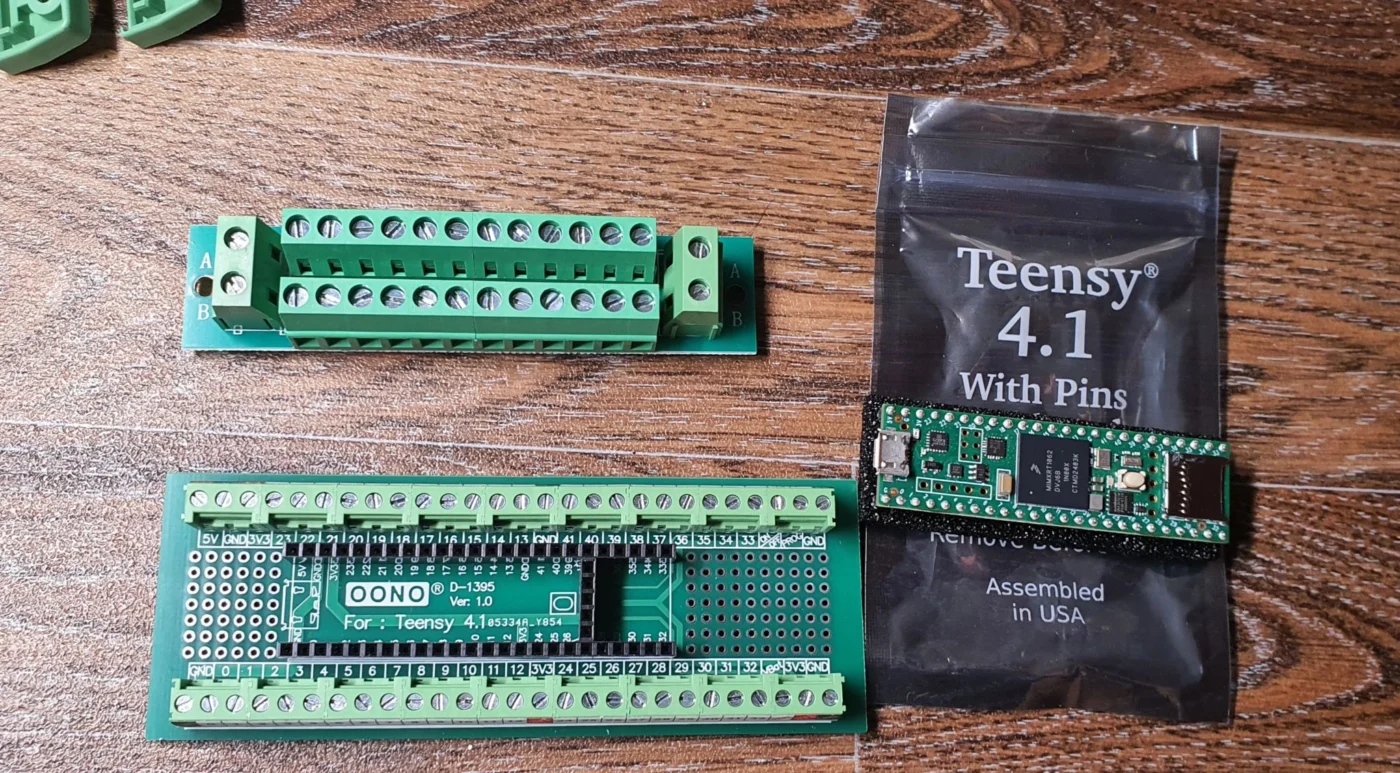
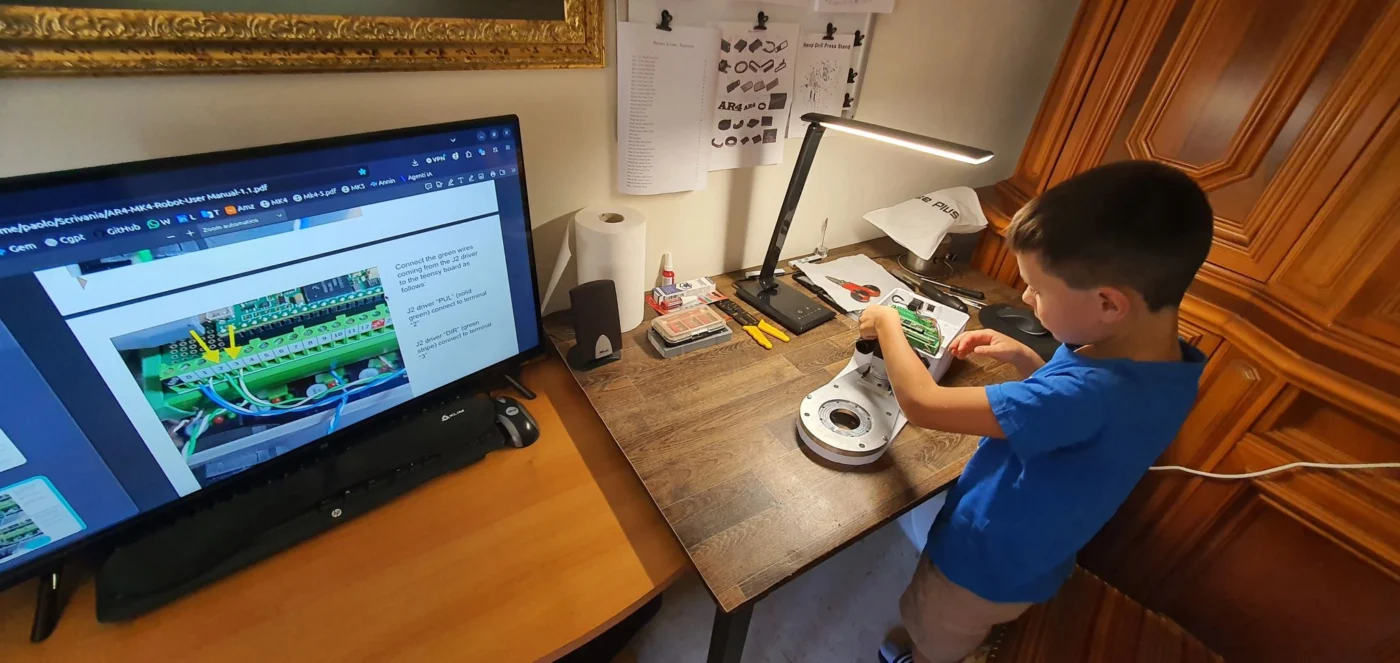
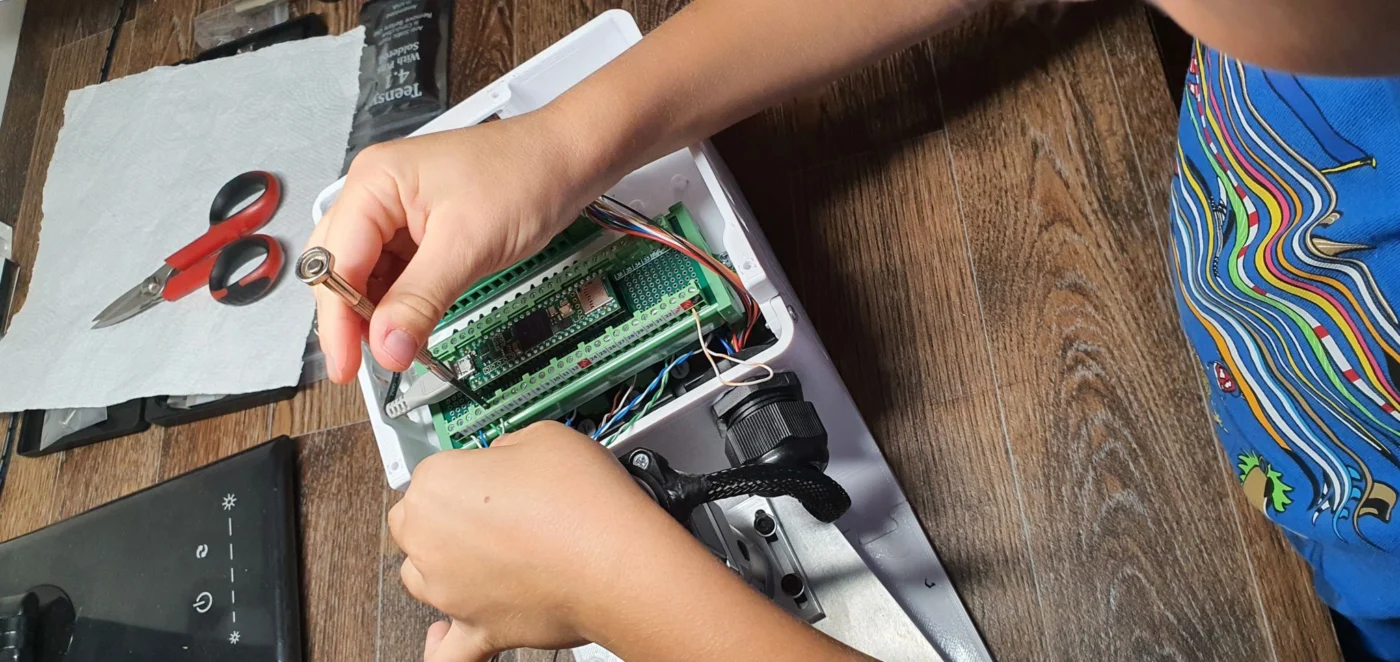
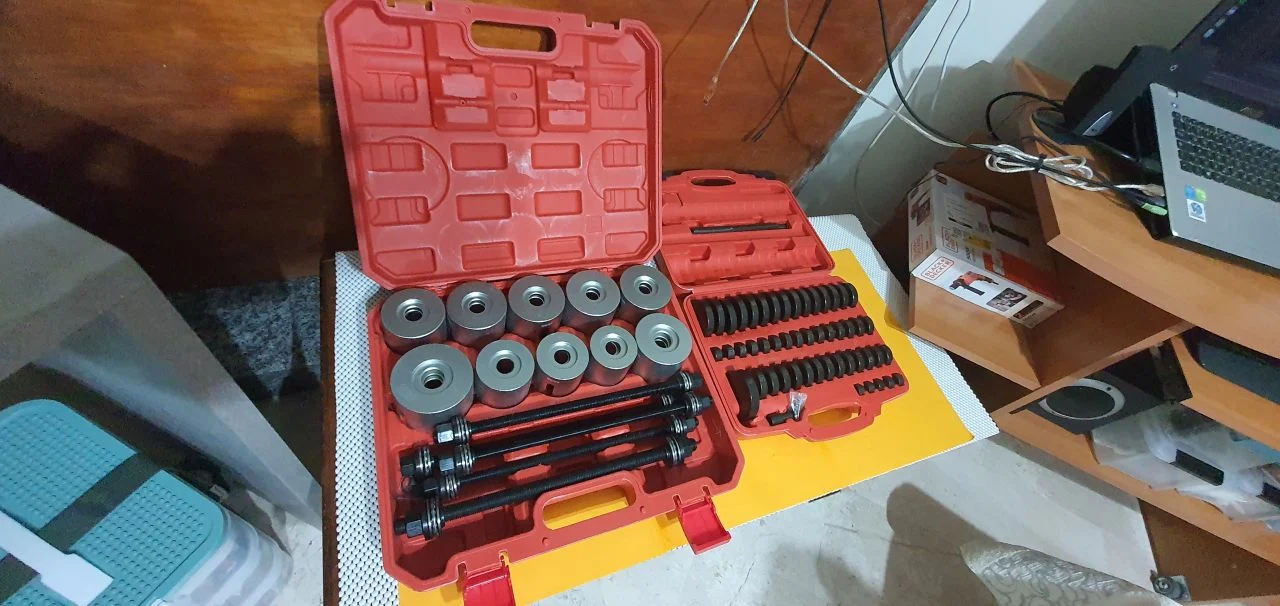
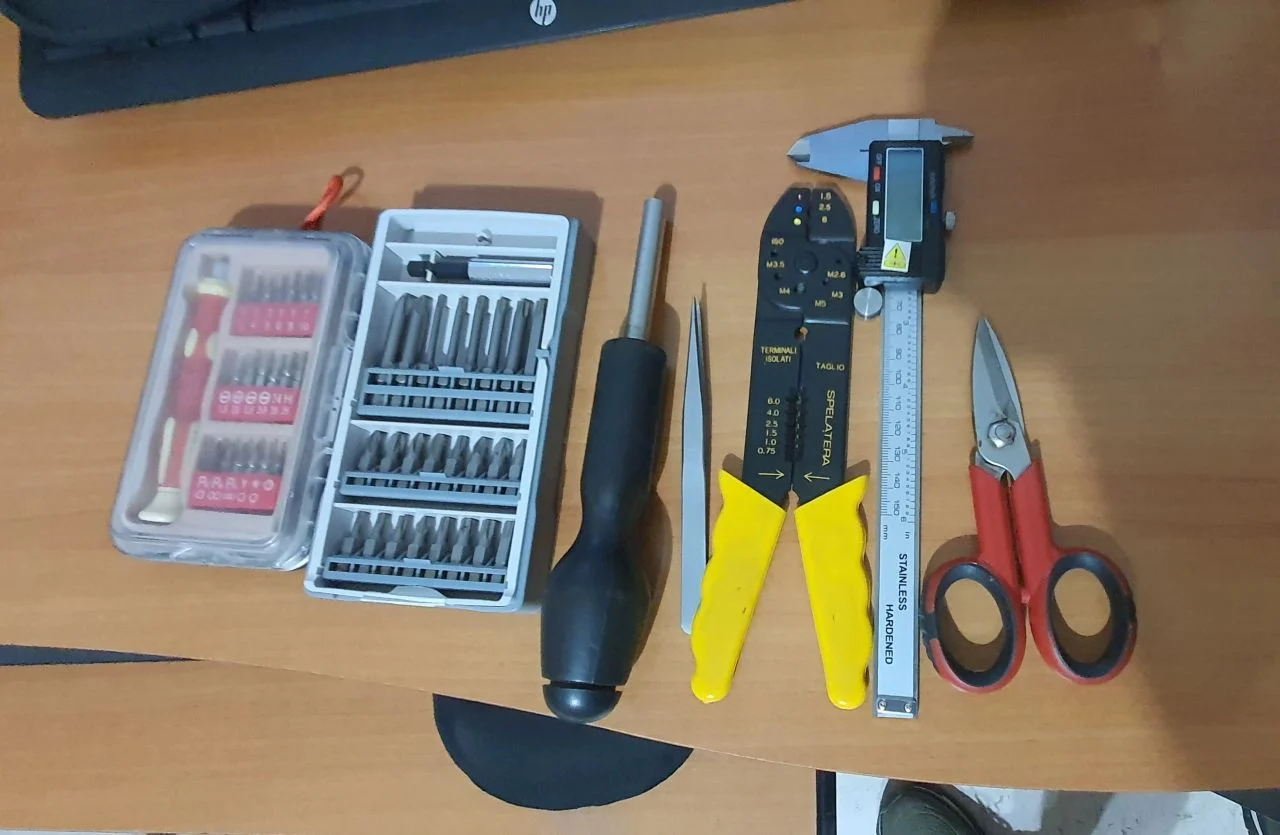
A good assembly also depends on using the right tools for each operation.
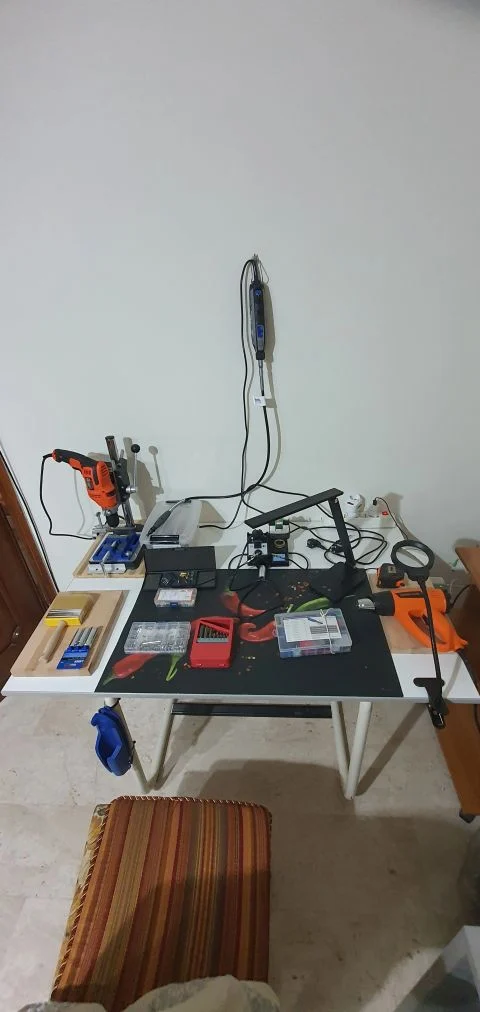
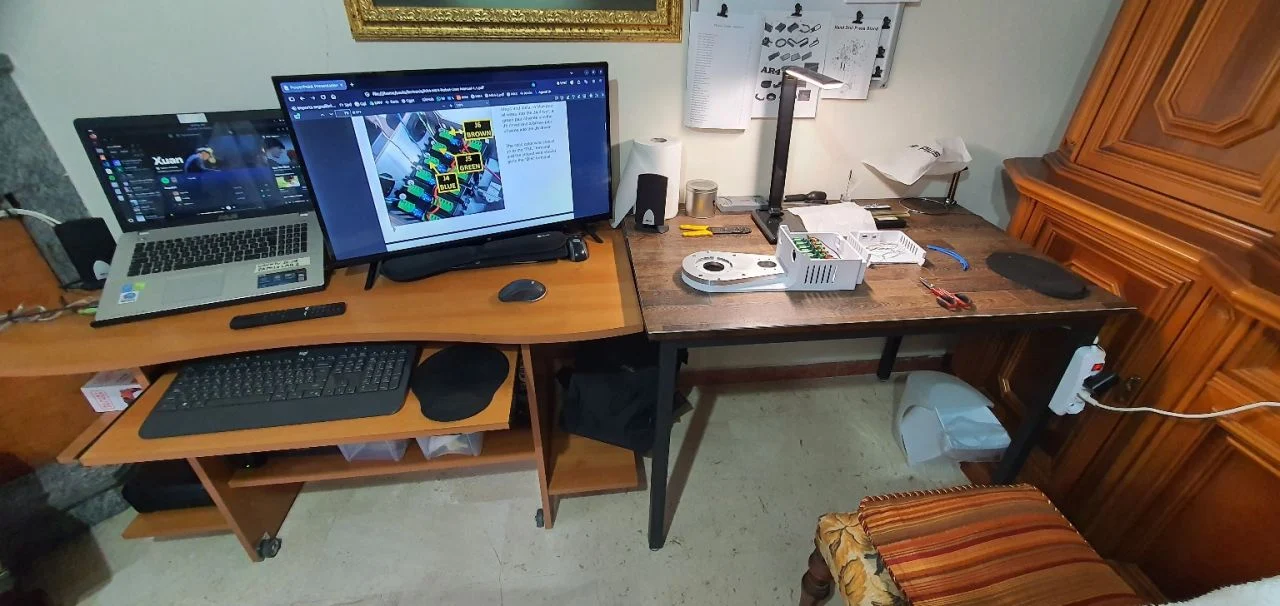
Some of the equipment being prepared for PaMiLoCELL and AR4-MK5 assembly:
• Drill press and rotary/power tools
• Soldering and electrical work tools
• Precision screwdriver and bit sets
• Wire stripper / crimping tool
• Digital caliper for dimensional checks
• Tweezers and cutting tools
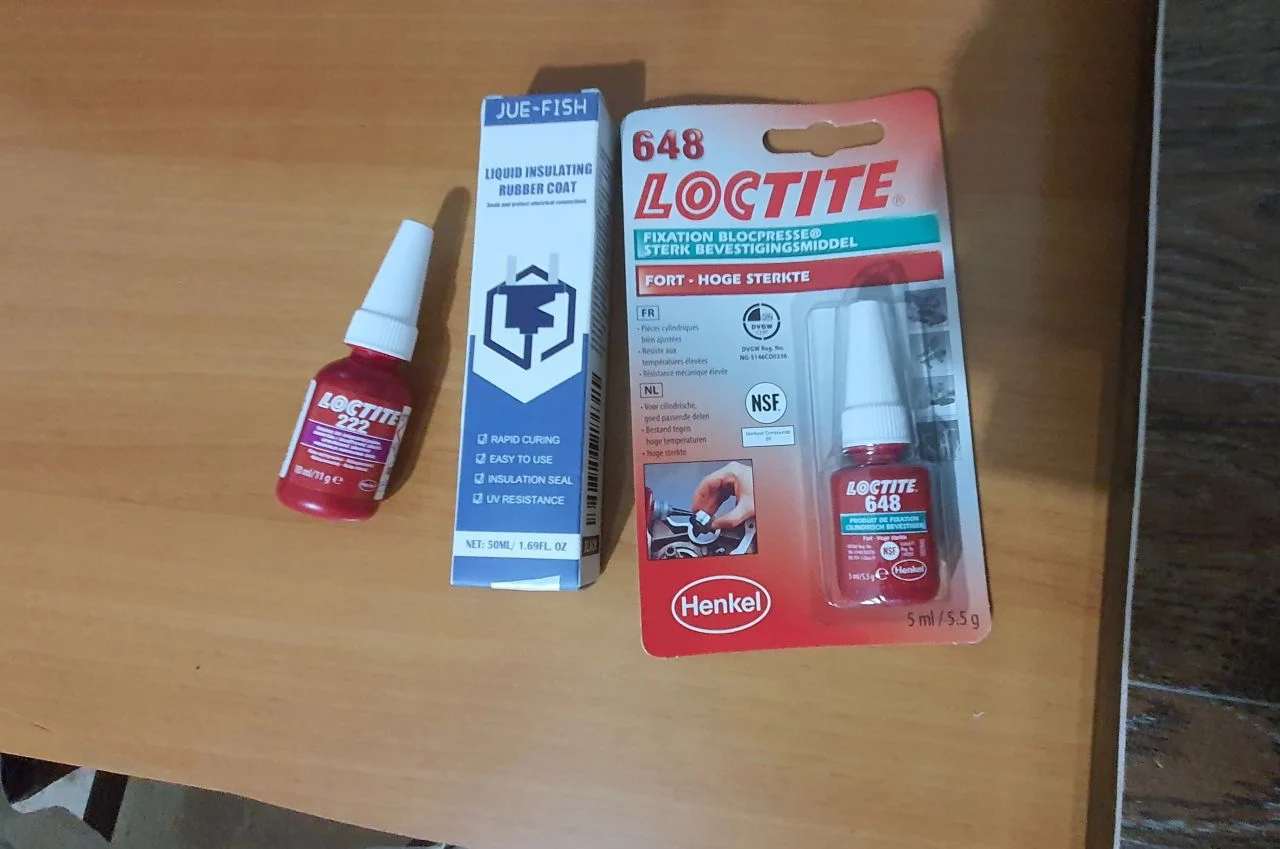
• Loctite 222 – low-strength threadlocker
• Loctite 648 – retaining compound for cylindrical parts
• Liquid electrical insulation coating
• Bearing / bushing / seal installation kit
The objective is simple: assemble correctly, measure, verify and avoid damaging components.
Right tool → Better assembly → Better reliability
PaMiLoLAB
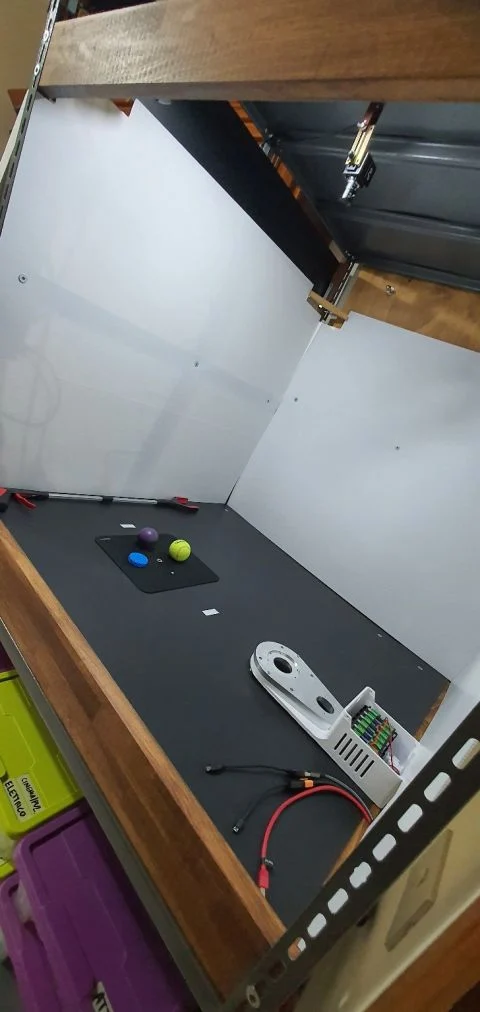
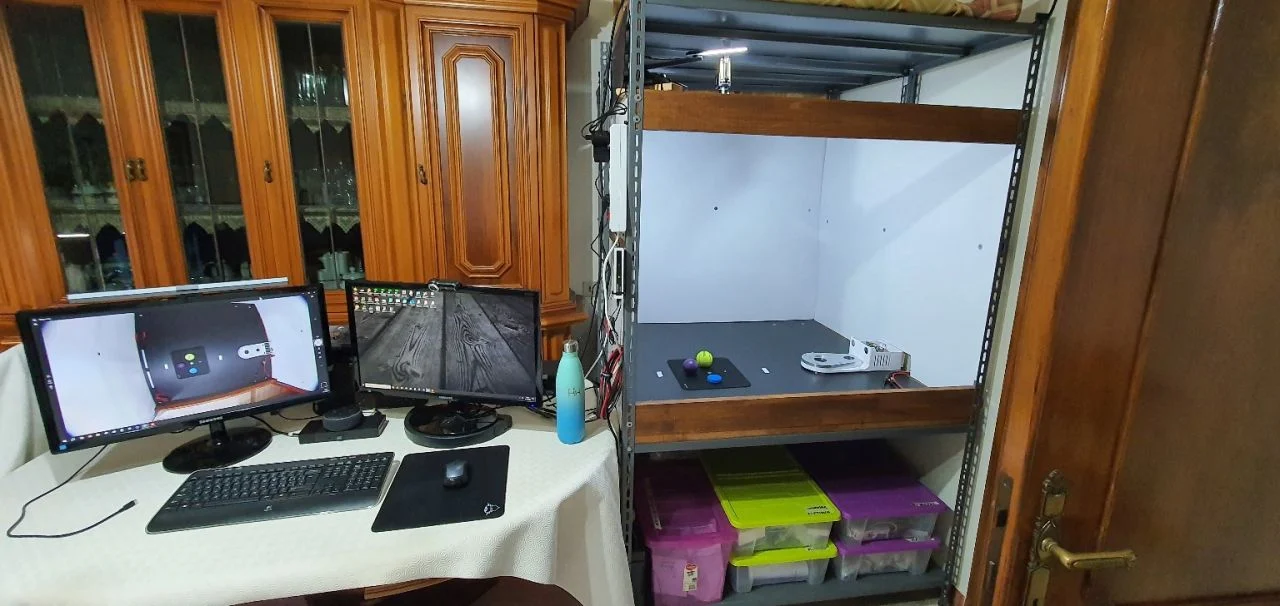
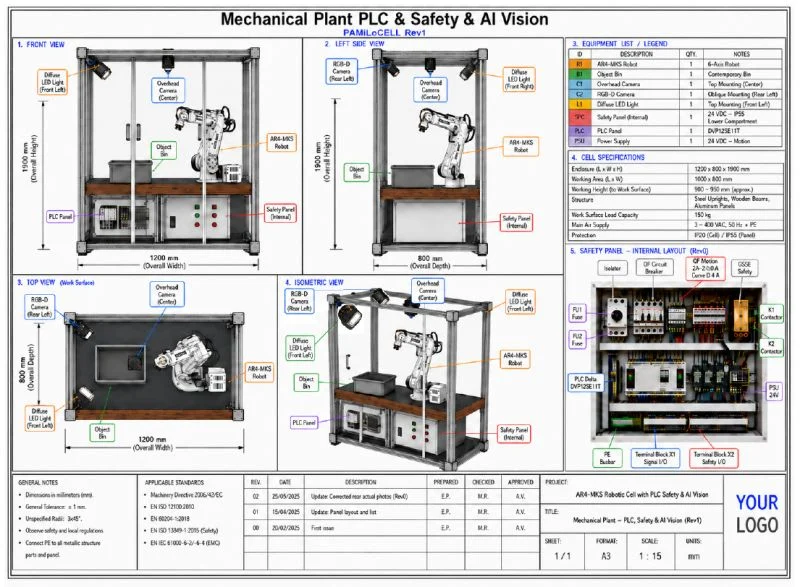
Following the initial kitting phase, the next step of PaMiLoCELL has been to prepare the physical environment that will progressively host the complete robotic system.
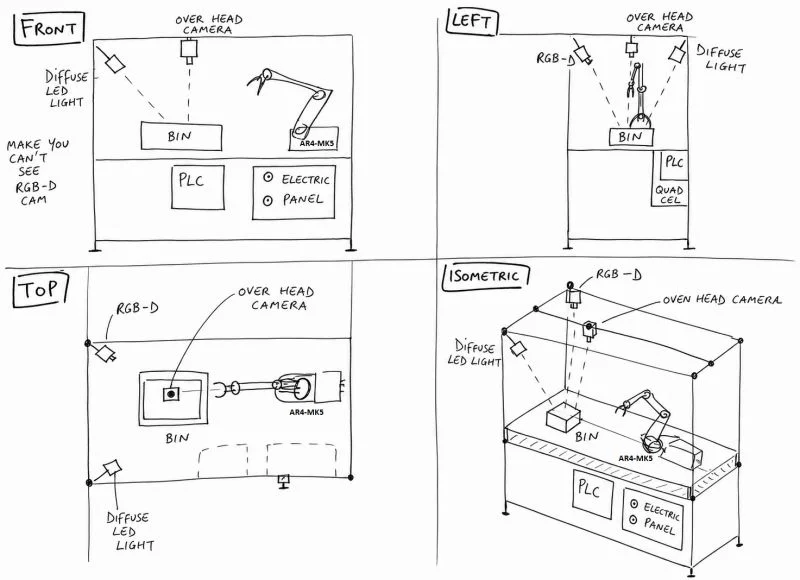
The development started from a hand sketch, followed by several iterations and technical discussions supported by ChatGPT, to define a preliminary cell layout integrating:
• AR4-MK5 robotic arm
• PLC and industrial automation system
• Electrical and Safety Panel
• Overhead camera
• RGB-D camera
• Diffuse LED lighting
• AI Vision hardware and software
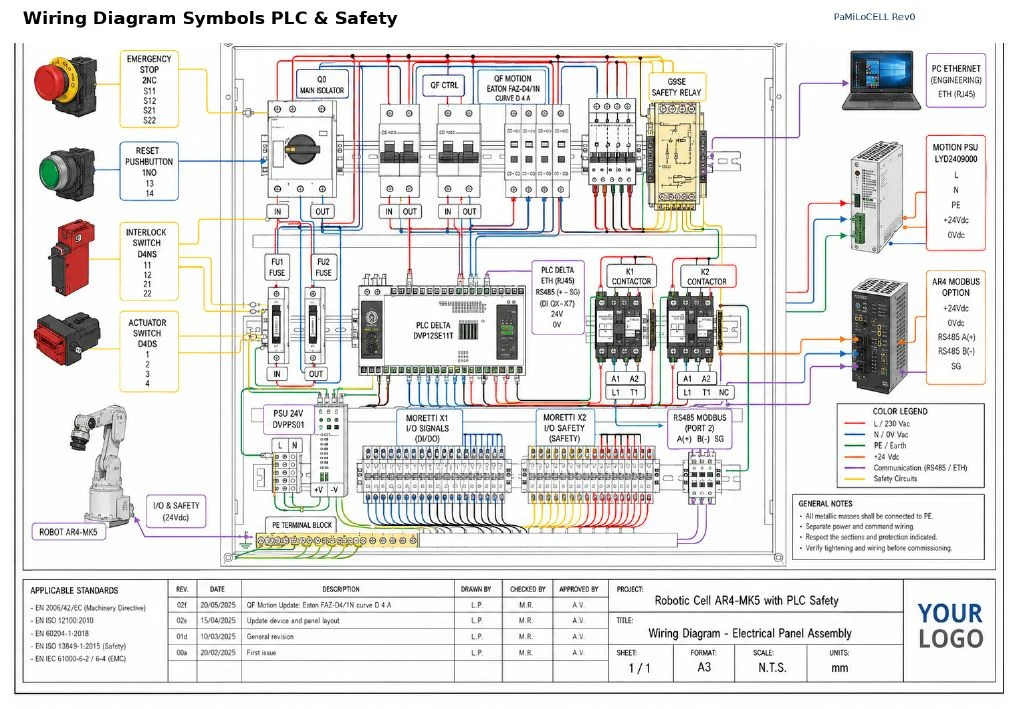
The concept then evolved into preliminary mechanical and electrical documentation covering cell layout, component positioning and a first wiring architecture.
Current project status
Everything is still preliminary and conceptual.
The drawings, layouts and wiring architecture are a development trace to guide the next steps. They are not yet fully verified against the final physical configuration and may contain assumptions, inconsistencies or technical errors.
That is part of the challenge: study the system, build it step by step, identify what does not work, verify assumptions and correct the design as the real cell develops.
The goal is not to present a finished engineering solution, but a structured path where each step can be reviewed, tested and improved.
Development sequence:
Concept & preliminary layout
Initial sketches and system architecture.
Cell preparation
Mechanical environment and spaces for robot, PLC, Safety Panel and Vision devices.
AR4-MK5 installation
Robot positioning and verification of real workspace, reachability and clearances.
PLC & Safety integration
Installation, wiring and verification of automation and safety architecture.
AI Vision integration
Positioning and calibration of overhead camera, RGB-D camera and controlled lighting.
Risk Assessment & Safety Validation
Once the AR4-MK5 is installed and the real cell configuration is available, the project will move to:
PaMiLoCELL_Risk_Assessment_Safety_Validation_Rev0
This phase will evaluate actual hazards and required safety functions, including robot movements, cell access, emergency stop, interlocks, electrical risks and safety architecture.
The project will evolve iteratively:
Concept → Build → Verify → Identify Errors → Correct → Integrate → Validate
The key point is not to assume the first design is correct, but to use each step to learn, challenge assumptions and progressively improve the system.
PaMiLoLAB
During one of my previous hobby projects, assembling and programming the open-source AR4 robotic arm, supported by the Annin Robotics open-source community and AI tools such as ChatGPT and Codex by OpenAI, my perspective gradually moved beyond the robotic arm itself.
That experience led me to explore how Robotics, Industrial Automation, Functional Safety and AI Vision can be integrated into a complete robotic system, with potential applications in Production, Quality and HSE.
This is the starting point of PaMiLoCELL, the first technical development project within PaMiLoLAB.
The first phase is focused on kitting and system preparation: identifying, selecting and organizing the hardware required to build a compact robotic cell around the AR4-MK5.
The planned architecture includes:
• AR4-MK5 robotic arm
• PLC and industrial automation components
• Electrical and functional safety system
• Overhead camera
• RGB-D camera
• Controlled LED lighting
• AI Vision computing platform
• Mechanical enclosure and integration hardware
The objective is not simply to assemble individual components, but to progressively integrate them into a complete, documented and functional robotic cell.
Next steps will cover mechanical assembly, PLC integration, electrical safety, machine vision and AI-based object handling.
PaMiLoLAB
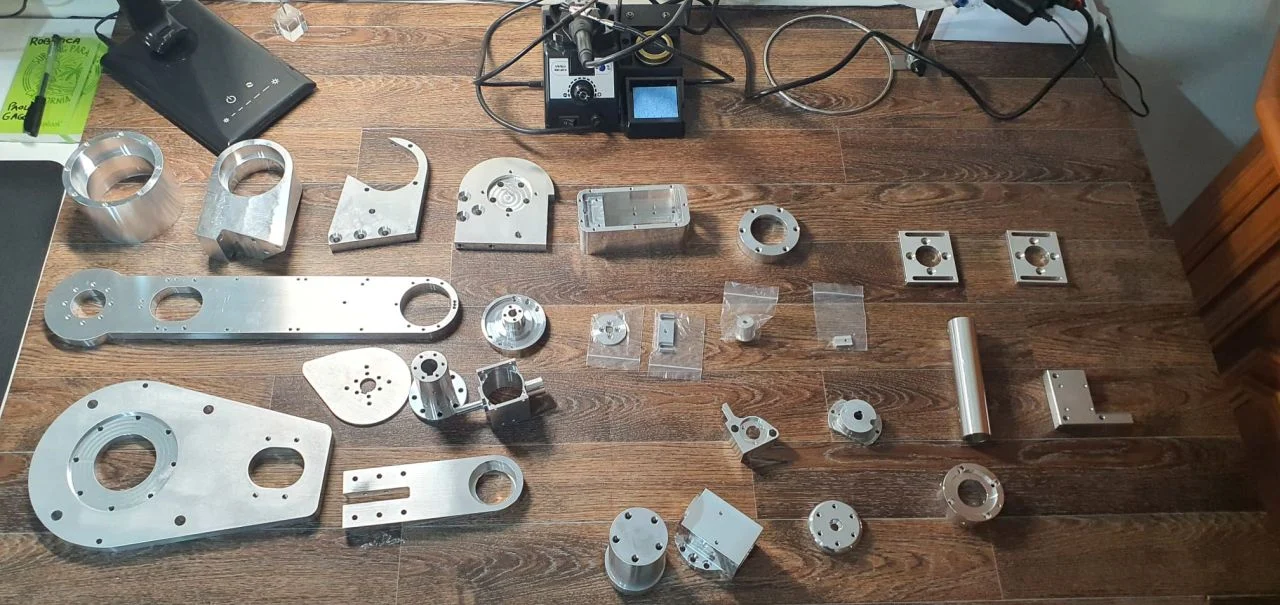
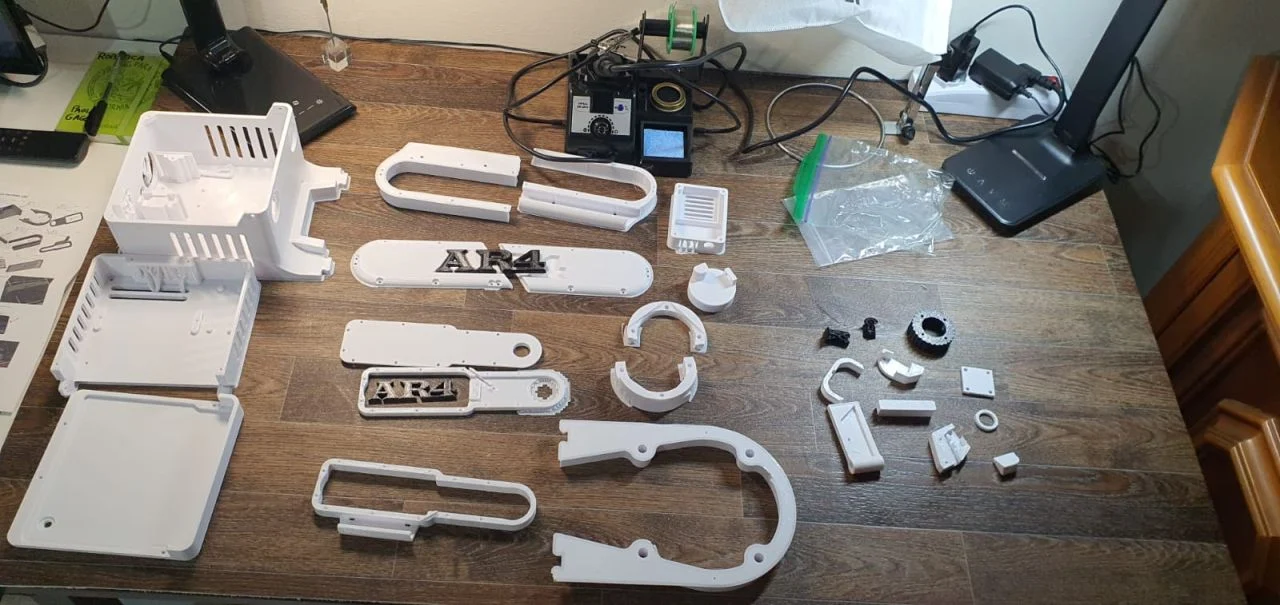
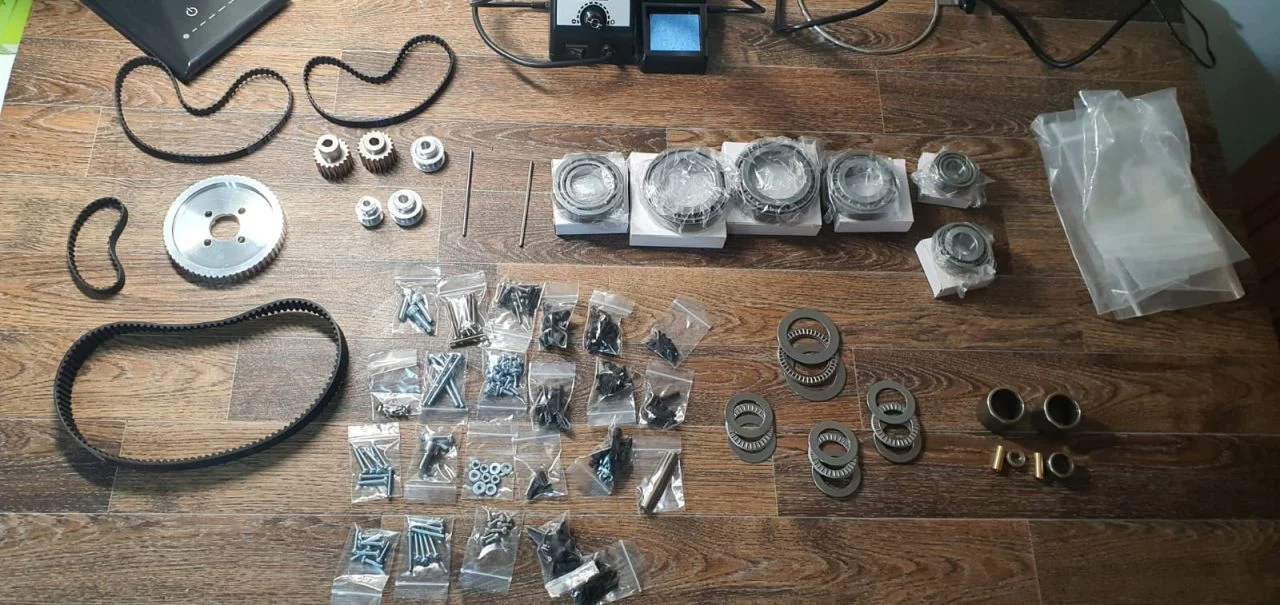

I'm at the point where I need to bolt down the AR3/4 to some sort of table. I don't have a spare table so I thought a box with a tick counter top type work surface.
Rough dimensions: 60L x 30W x 16H. (24"x12"x7"). The top could be a bit longer to take into account the reach of the arm.
So say I did create and top surface say 80cm x 30cm (32"x12") and I wanted to create a grid pattern. If using imperial then 1" squares? If using metric 25mm squares?
Or should they be bigger squares? Should may table top be larger?
The box part will be have openings at the front and back to allow access to the connectors at the back and the ESTOP switch etc. at the front. Likely the control box will sit on a piece of plywood attached with drawer slides to the inside of the box.

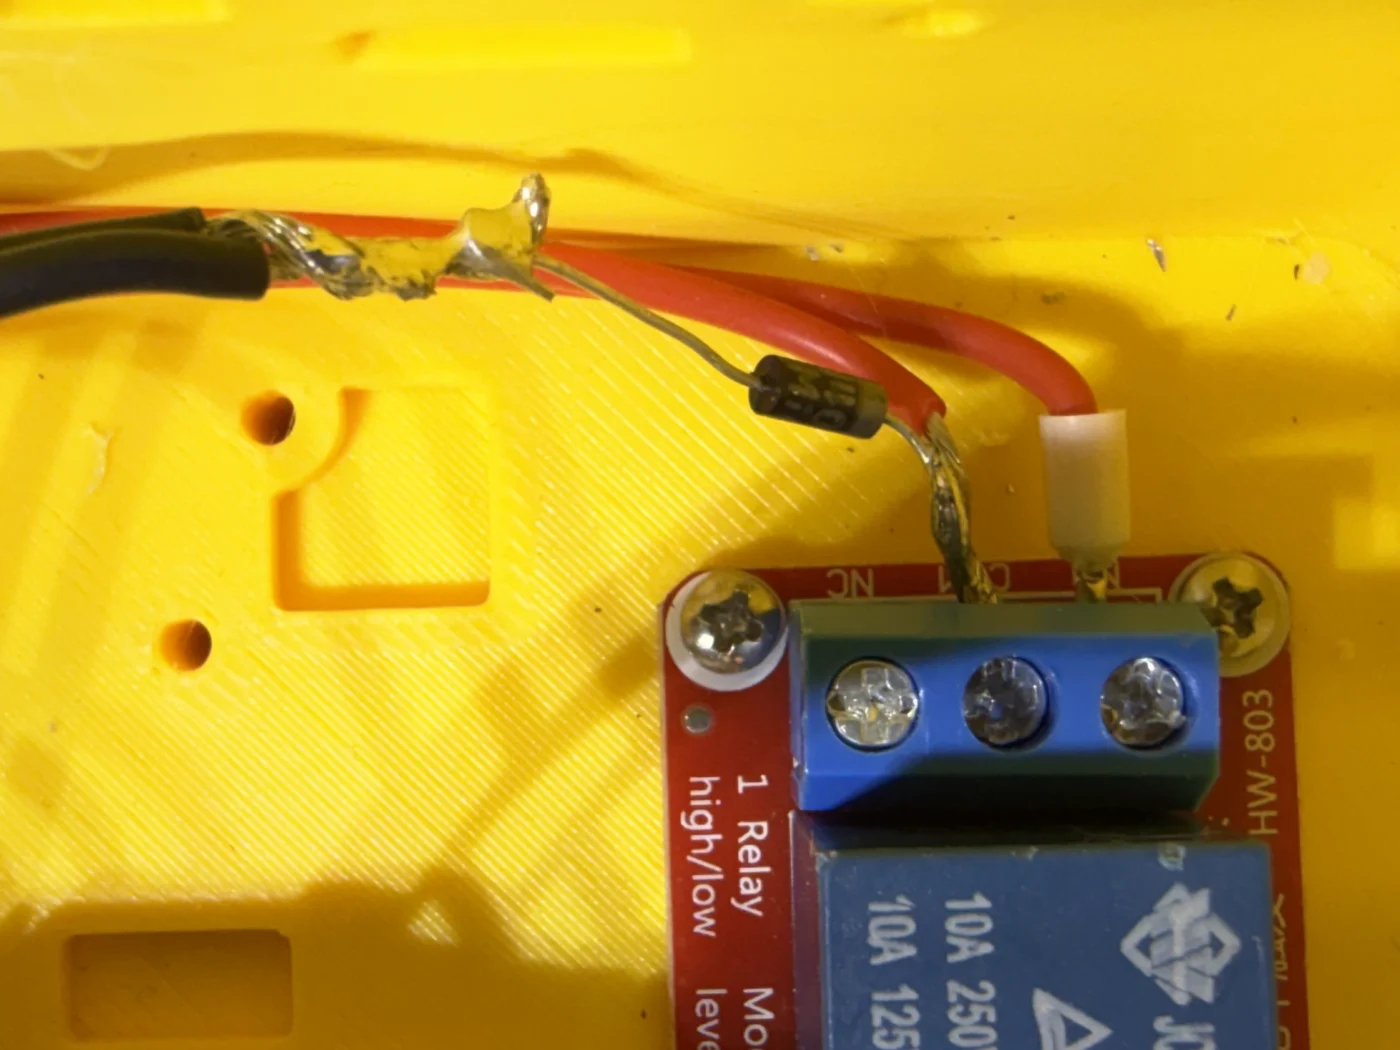
Intermittent disconnect from PC (COM5). I’ve removed and checked the diode and it test OK. Polarity is correct. Resetting the HMI 5v IO Board Com Port back to COM5 works for a little while longer. Seems to always be on D0 off. New install - never worked correctly.
MK3
HMI v6.3
Nano Sketch v1.3
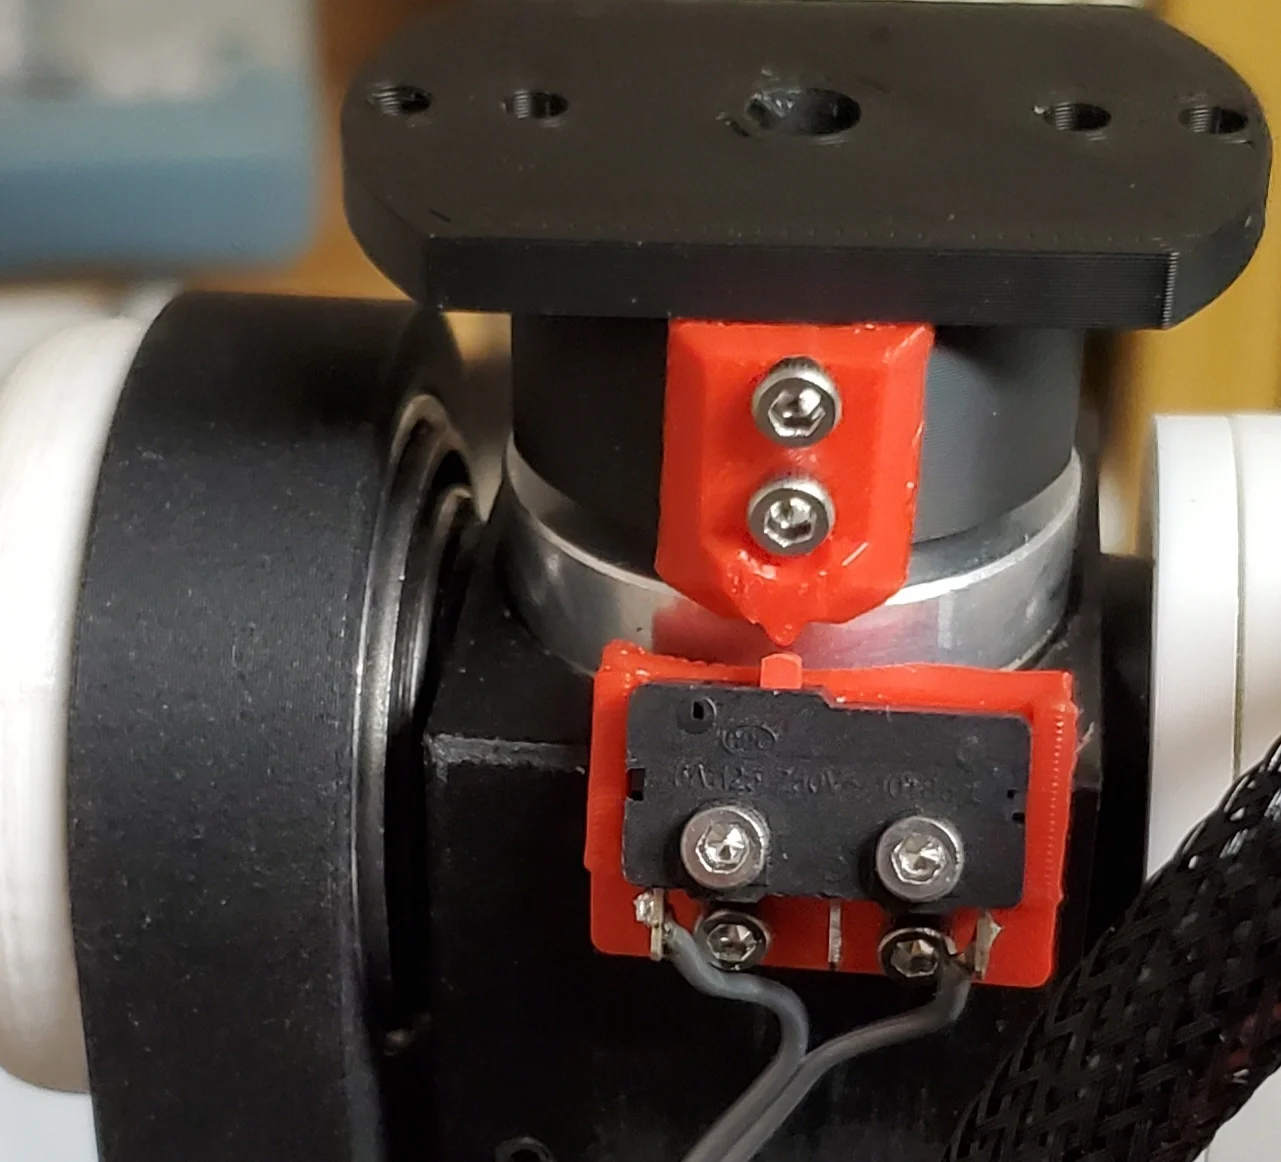
Something in my dimensions is off a tad. Can someone post a photo of what it's supposed to look like when the switch has been made.
It looks like the AR3 motor extends too far. I can make along actuator tab but is the switch made with the slope or the tip? Is the tip really just the mechanical stop?
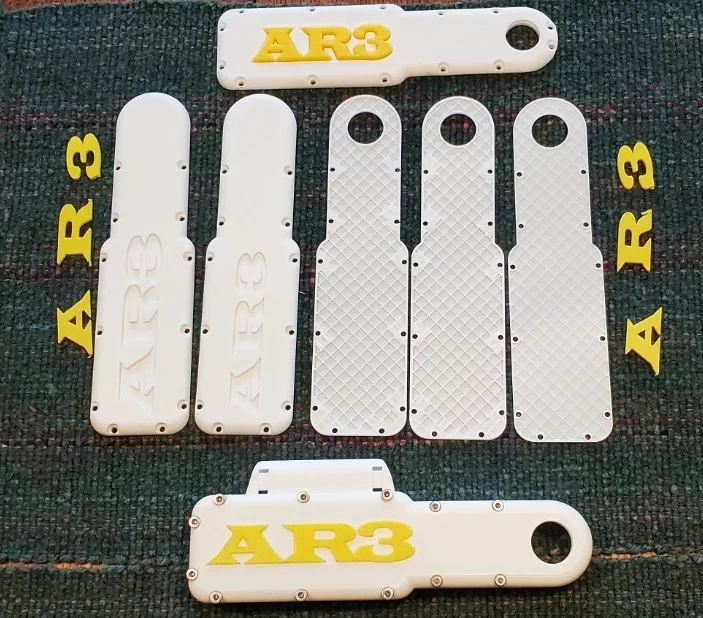
I have all 6 axis now working and homing and moving but the wires go through the tunnels making service a bit of a pain. For the J2 Arm the cover over the belt was easy as the new J2 ARM Cover Spacer had the same hole locations as the AR3 J2 Side Cover.
However, the changes to an internal limit switch for the J5 section means the holes have moved and the AR3 cover no longer fit. Converting the STL into a STEP file created a drawing over 46MB in size so that wasn't an option.
So instead I printed the AR4-MK3 Side and with calipers and a lot of tries (forgetting holes or moving them in the wrong direction) I finally accomplished a new J5 Side Cover and Logo.
The font for the AR3 text is close but a bit wider. And I couldn't create the recess so it was a smooth fit. Had to do a bit of filing on the letters.