
Additional axis guide
7th Axis Robot Arm: Tracks, Turntables and More
A 7th axis extends what a six axis arm can reach or how it presents parts. The AR4 controller drives up to three extra axes, and the build manual shows how to build a linear travel track.
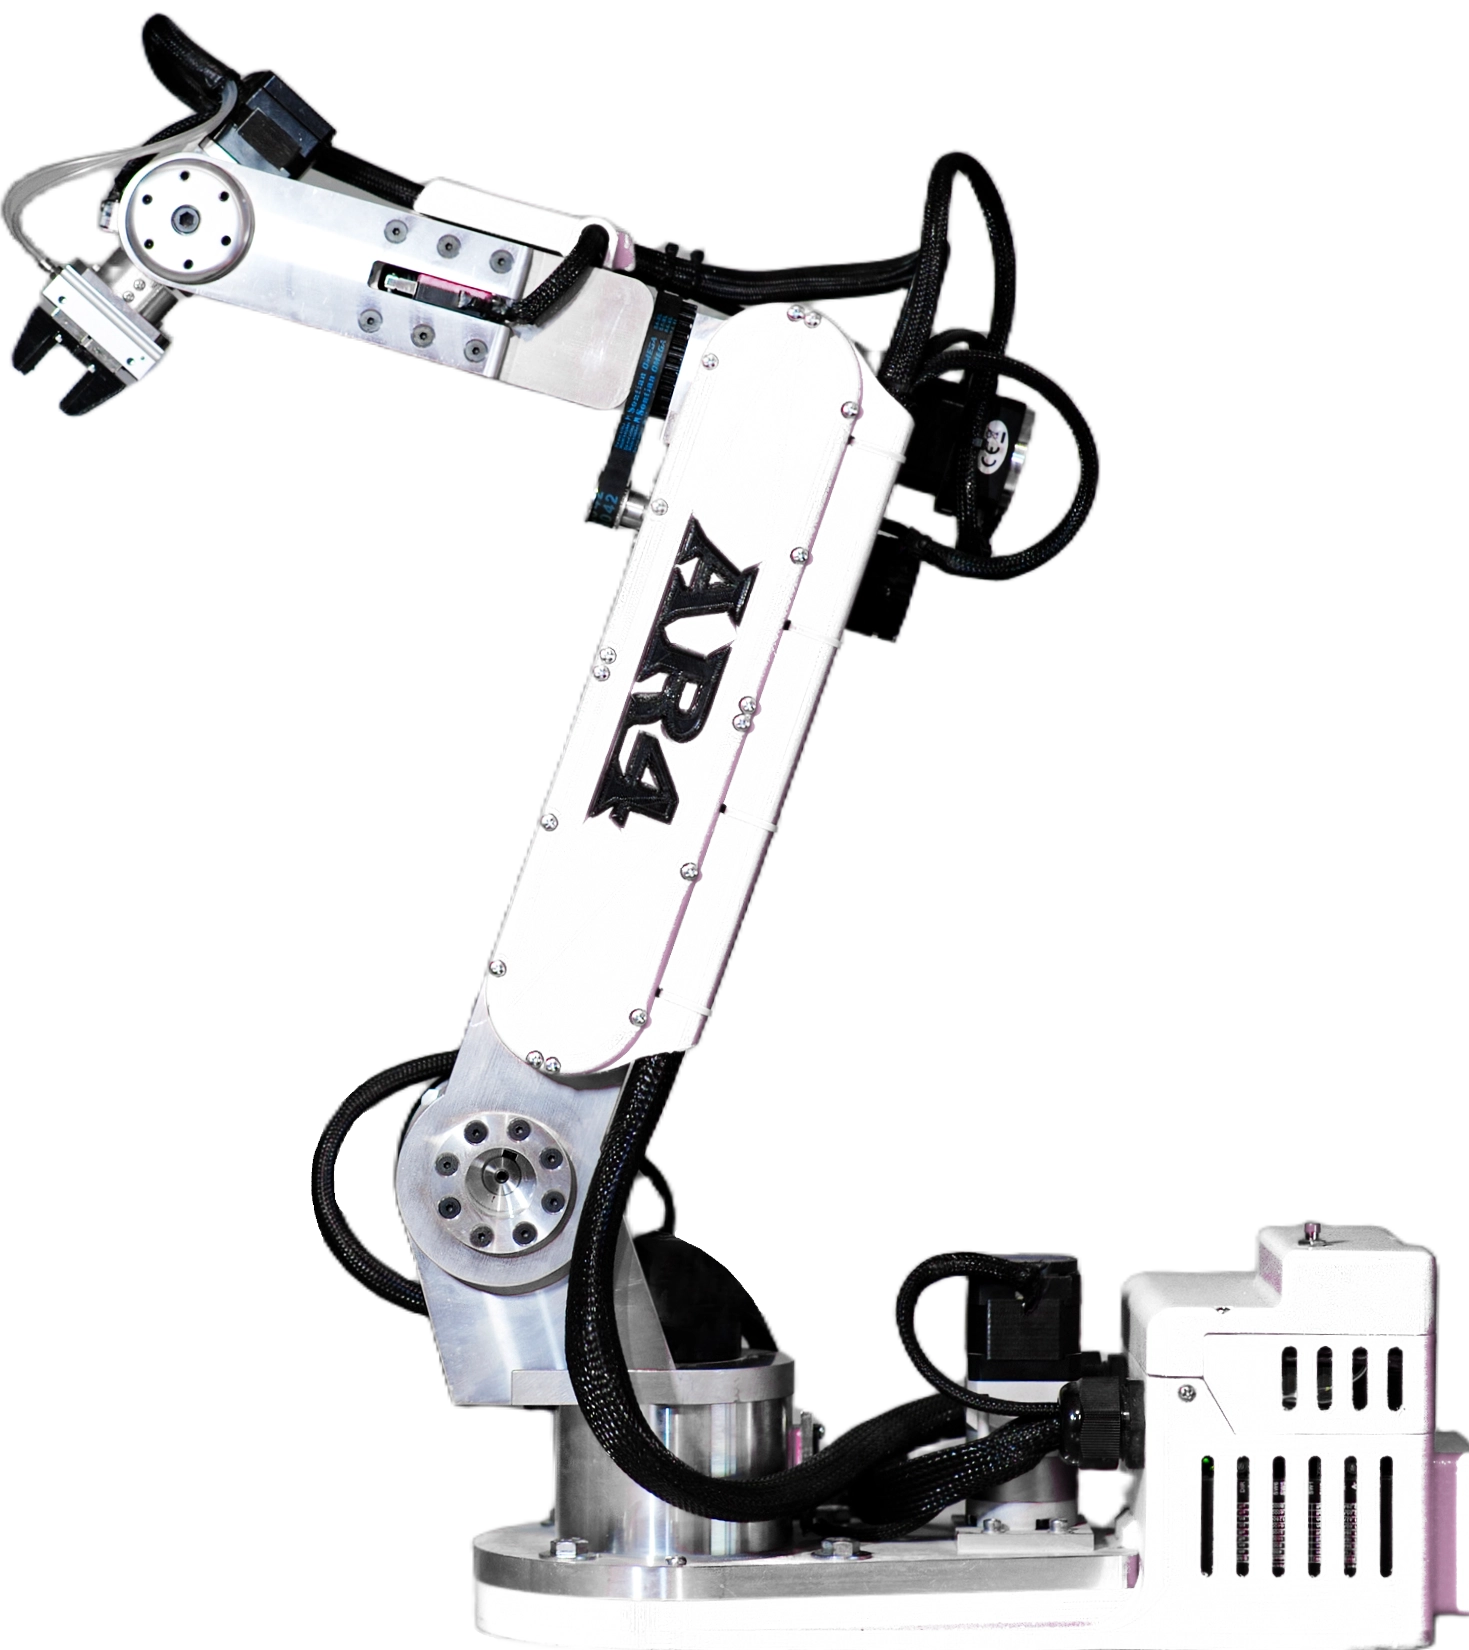
Up to 9 axes
Add stepper driven axes 7, 8 and 9 for a travel track, a turntable, a camera focus drive or a stepper gripper. The HMI jogs, programs and calibrates them alongside J1 to J6.
Extra axes
Up to 3
Track guides
500 mm (any length)
Drive
SFU1204 screw
Driver
DM332T
What an additional axis is for
Linear travel track
Slide the whole arm along a rail to serve two machines or a longer work area.
Turntable
Rotate a part so the arm can reach every side, useful for dispensing, scanning or weld path practice.
Camera focus and aperture
Let the robot adjust a camera as it moves.
Stepper gripper
Drive a gripper with a stepper motor for controlled travel.
Travel track parts (from the manual)
| Ball screw | SFU1204, 500 mm in the manual (any length) |
|---|---|
| Linear slide | SBR-12 12 mm slide with bearings |
| Bearings | KP08 and KP000 pillow block bearings |
| Motor | NEMA 17, 17HS19-2004S1, with ST-M1 bracket |
| Driver | DM332T per axis (DM320T for a smaller motor) |
| Plate | 12 × 6 × ¼ in aluminum plate |
| Electronics | Printed auxiliary enclosure, RJ45 keystone jacks, GX-16 plugs, cooling fan, rocker switch, DC jack |
| Homing | A limit switch per axis |
Wiring and setup
- Step 1Mount the driversInstall the 7th and 8th axis drivers in the auxiliary enclosure. A 9th fits beside them.
- Step 2Set the driverFor the manual's NEMA 17, use the same driver settings as J1 or J3. For another motor, check its manual.
- Step 3Run signalsStep and direction for axes 7 and 8 share a keystone jack; a 9th axis needs separate step and direction wires.
- Step 4Fit a limit switchMount the switch where your axis should home and plug its cable into the enclosure's second jack.
- Step 5CalibrateHome and calibrate the new axis from the HMI, then jog it and add it to programs.
Programming with a 7th axis
Extra axes appear in the HMI as J7 to J9 with their own jog controls and calibration. The Python API accepts J7 to J9 values in its motion and calibration calls, and in the G-code tab an E value drives J7. See G-code robot arm and how to program a robot arm.
Kit plus motors
$1,928
Combo kit $1,229 + StepperOnline motor package $699. Grippers and printed covers are extra.
Keep reading
FAQ
Can the AR4 control a 7th axis?
Yes. The AR4 controller supports up to three additional axes (7th, 8th and 9th). Chapter 6 of the build manual covers the drivers, wiring and a 7th axis travel track.
How long can the travel track be?
The manual builds it with 500 mm guides and a ball screw, but you can build the track any length you want, or use a belt drive instead of a screw.
What else can an additional axis drive?
The manual lists a camera's focus and aperture, a turntable or part rotation device, and a stepper motor driven gripper.
What motor and driver does the 7th axis use?
The manual's track uses a NEMA 17 stepper (17HS19-2004S1) with one DM332T driver per added axis, or a DM320T for a smaller motor. Any stepper within the driver's current rating can work.
Is the 7th axis included in the AR4 kit?
No. It is a separate build from the manual. You source the ball screw, linear slide, bearings, motor, driver and wiring and print the auxiliary enclosure.