
Build guide
How to Build a Robot Arm
A serious, step-by-step path to building an industrial style 6 axis robot arm: machined aluminum joints, closed loop steppers, real kinematics and software you can program like a factory robot.
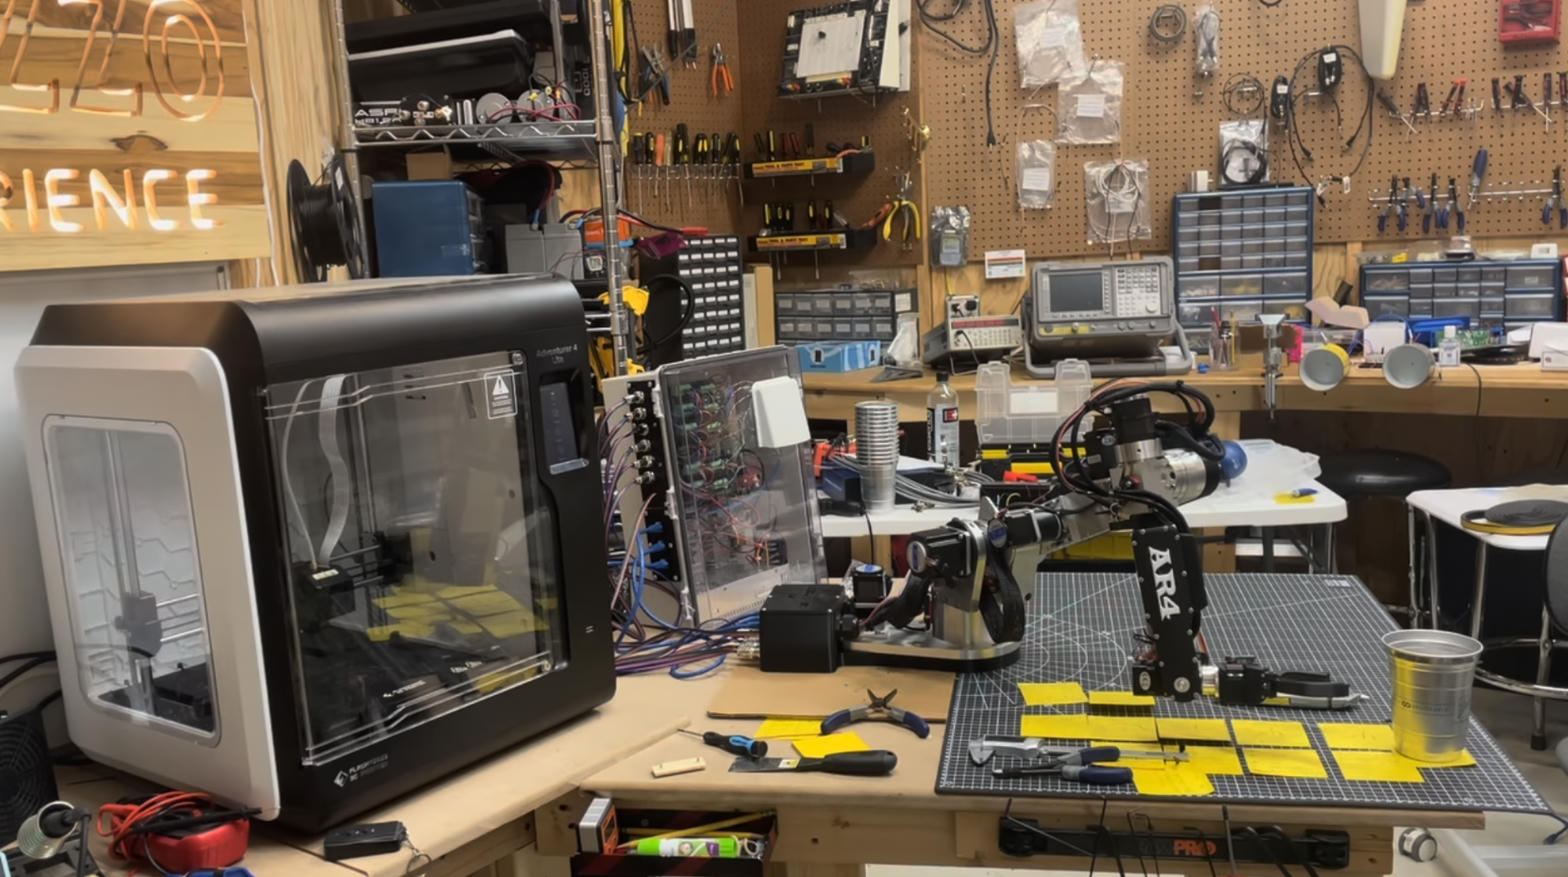
What you are building
This guide follows the AR4-MK5, an open source 6 axis arm. Every step below maps to a chapter of the free build manual, which has the full bill of materials, assembly photos, wiring diagrams and startup procedure.
Axes
6
Reach
629 mm
Payload
1.9 kg
Repeatability
0.25 mm
1. Choose the parts
A robot arm that repeats to a fraction of a millimeter needs a stiff structure, good bearings, motors with position feedback and a controller fast enough for inverse kinematics. These are the AR4 choices.
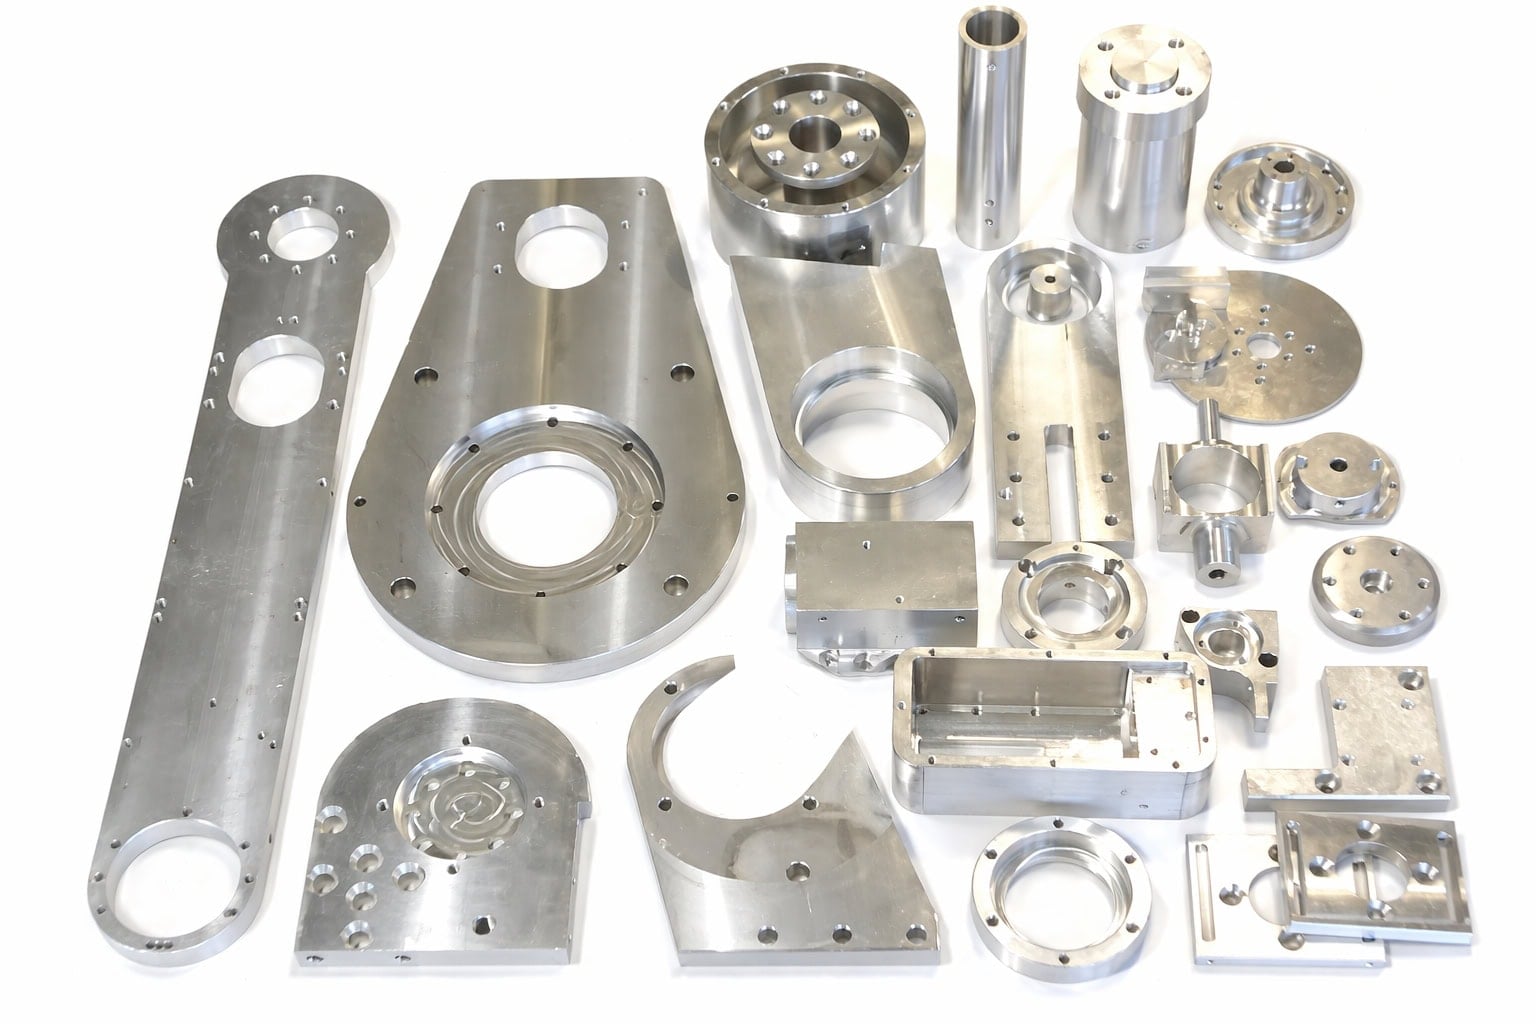
| Structure | 26 machined aluminum structural parts, with bearings, belts, pulleys, shafts and pins |
|---|---|
| Motors | Closed loop stepper motors with encoders, drivers and a 24 VDC power supply (StepperOnline package) |
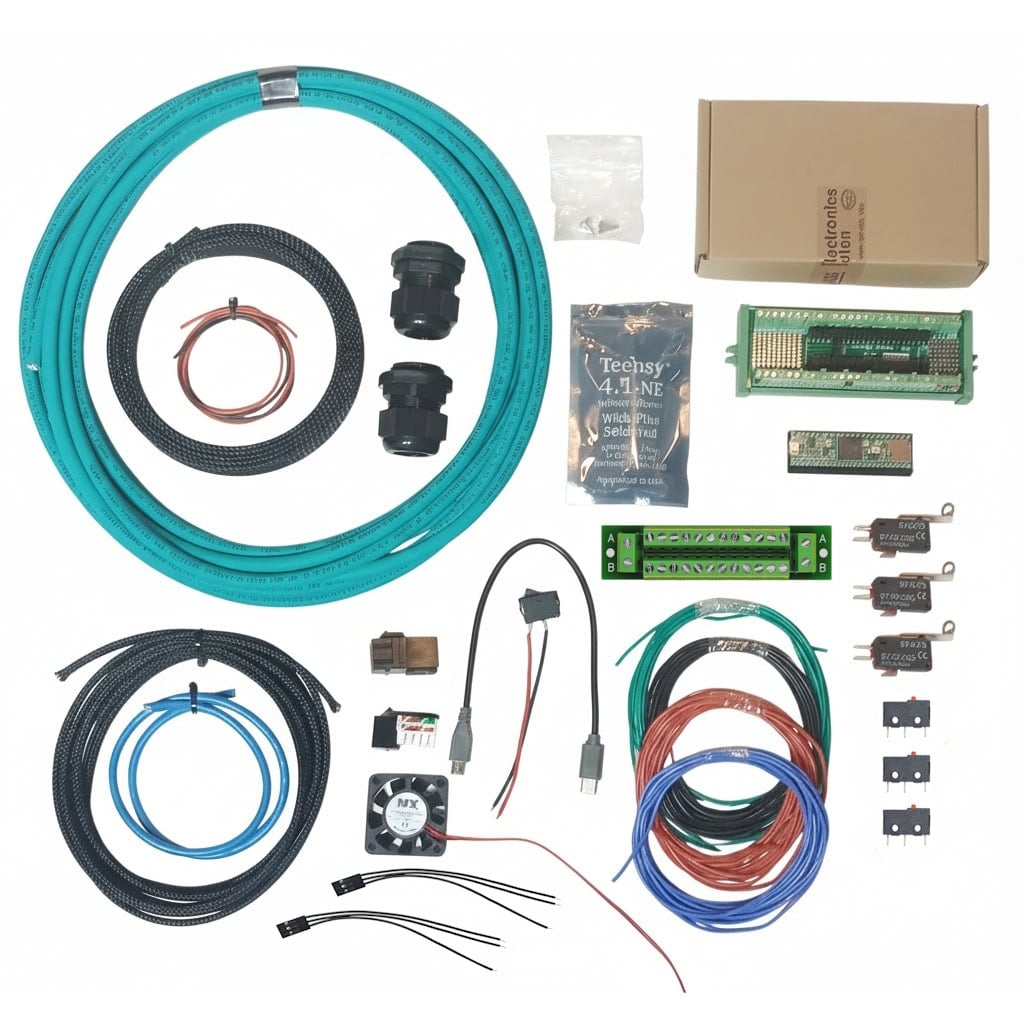
| Controller | Teensy 4.1 (600 MHz) for motion math; Arduino Nano or Mega for 5 V grippers and I/O |
| Homing | Hall effect sensors on joints 1 to 3 |
| Covers | 3D printed covers and spacers: print your own or buy a set |
| Software | Free Python HMI with a digital twin, ROS 2 drivers, Modbus and G-code |
2. Build it step by step
The order the build manual uses, from parts check to first program. Each step links to the page where it starts in the AR4-MK5 Robot Build Manual Version 1.1.
Step 1 · Chapter 1: Robot Bill of Materials
Check your parts against the bill of materials
Read the overview and Chapter 1. Make sure you have every part, tool and printed cover before you start.
Manual page 15Step 2 · Chapter 2: Robot Assembly
Base enclosure, drivers and power wiring
Prepare the printed base, mount the stepper drivers, rocker switch, fan and power wiring.
Manual page 55Step 3 · Chapter 2: Robot Assembly
J1 spindle, platform and J2 turret
Install the J1 spindle and bearing, the J1 platform and the J2 turret housing.
Manual page 67Step 4 · Chapter 2: Robot Assembly
Teensy controller and base wiring
Install the Teensy 4.1 and breakout board in the base and wire the drivers and encoders.
Manual page 87Step 5 · Chapter 2: Robot Assembly
J2 arm and motor
Install the J2 spindle and arm, the J2 cable, sensor and motor support.
Manual page 109Step 6 · Chapter 2: Robot Assembly
J3 joint
Install the J3 bearing cup, spindle, pulley and belt, then wire and route the J2 and J3 harnesses.
Manual page 135Step 7 · Chapter 2: Robot Assembly
J4 turret housing
Secure the J4 turret housing to the J3 spindle and install the J4 bearings and motor.
Manual page 167Step 8 · Chapter 2: Robot Assembly
J5 and J6 wrist
Install the J5 idler tension block, J5 housing, J6 main bearing arm and wrist belts.
Manual page 185Step 9 · Chapter 2: Robot Assembly
J6 cable and arm wiring
Cut and wire the J6 cable, sleeve the harness and choose the gripper option for the rest of the chapter.
Manual page 221Step 10 · Chapter 2: Robot Assembly
Route the harness and close the base
Feed the complete harness back through J2, land every wire on the terminal blocks and secure the enclosure tray.
Manual page 235Step 11 · Chapter 2: Robot Assembly
J6 gripper mount, limit switch and mounting
Install the J6 limit switch and gripper mount, then secure the robot to your work surface.
Manual page 251Step 12 · Chapter 8: Startup Procedure
Load the firmware and control software
Upload the Teensy sketch and install the robot control software that matches it (downloads page).
Manual page 377Step 13 · Chapter 8: Startup Procedure
Test limit switches and encoders, then calibrate
Check every encoder and limit switch, jog each axis and run the auto calibration.
Manual page 377Step 14 · Chapter 9: Robot Programming
Program your first moves
Jog the robot, teach positions and run your first program.
Manual page 389
3. Load firmware, test and calibrate
Once the arm is wired, the startup video walks through installing the firmware, testing every sensor and switch, and calibrating each joint.
4. Program your first moves
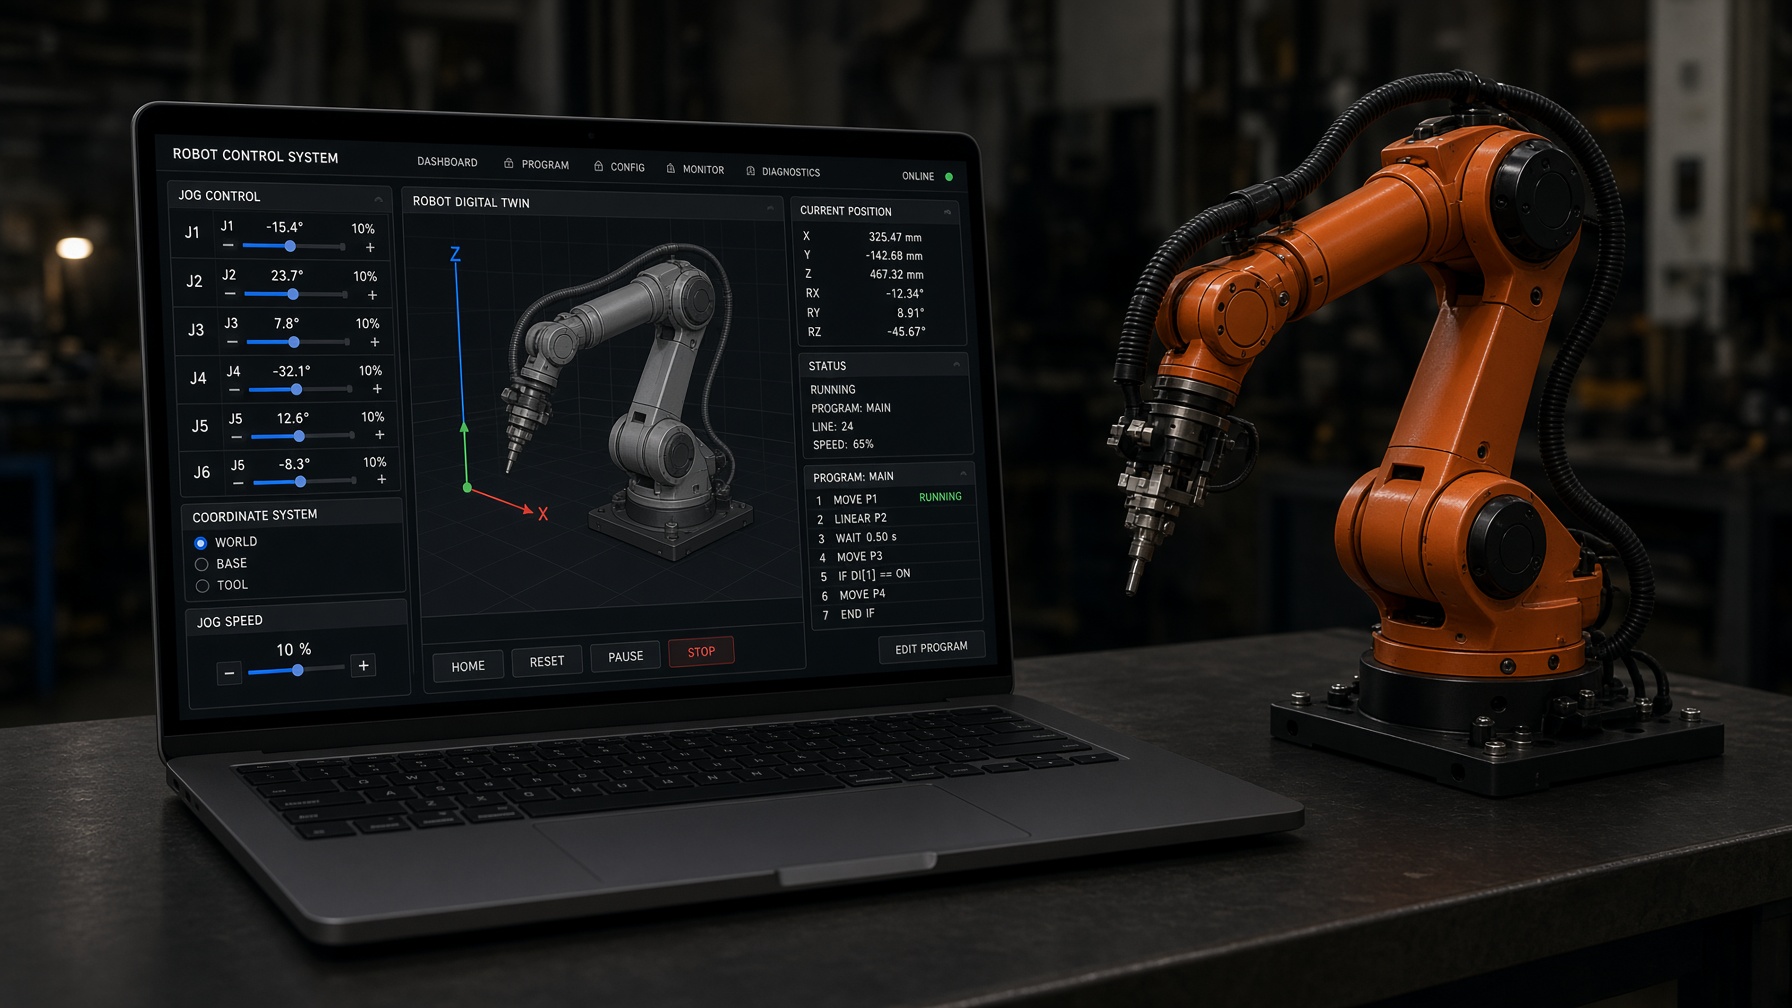
Teach positions, write programs and run them from the free HMI, or move to ROS 2 with MoveIt. Firmware, software, print files and kinematic sheets are on the downloads page, and the online build course follows the manual lesson by lesson.

Start your build
$1,928
Combo kit $1,229 + StepperOnline motor package $699. Grippers and covers are optional extras.
FAQ
What do I need to build a 6 axis robot arm?
A structure, six motors with drivers, a motion controller, homing sensors, power, wiring and software for kinematics. The AR4 kit supplies the machined aluminum structure, bearings, belts, hardware and electronics; motors come as a matched package from StepperOnline.
Do I need a machine shop or a 3D printer?
No machine shop: the aluminum parts arrive machined. The covers and spacers are 3D printed. Print them on your own printer, or buy a printed set.
What tools do I need?
Chapter 1 of the build manual lists the parts and tools for the build, along with the printed covers. Check it before you start.
How do I load the firmware?
Install the Teensy 4.1 sketch from the Arduino IDE with Teensy board support and the ModbusMaster and ArduinoJson libraries, as described in Chapter 8 of the manual. The startup video shows the same steps.
How do I program the arm after it is built?
Use the free AR4 Python HMI to jog, teach positions and write programs, or drive the arm from ROS 2 with MoveIt. Chapter 9 of the manual covers programming.
What does it cost to build an AR4?
The combo kit is $1,229 and the motor package is $699, for $1,928 together. Grippers and printed covers are extra.